Archive | February, 2013

Grant’s skull nails (freehand)

7 Feb

So, this was what I was trying to do.

skull nails

My handsome, hilarious, charismatic friend Canadian Ian emailed me that picture, knowing I love all things skull and nail art.  I screamed and decided to give it a go, enlisting my favourite hand model Grant and his nice big neat fingernails.

IMG_2561

I started off painting the ‘ribs’ hand black with Barry M Nail Paint in Black.  For the hand with the skulls, I painted a big white spot with my white nail striper from www.sparkly-nails.co.uk, outlined with my black nail striper.  Grant commented that this was a bit of a 60s/mod kind of look, and I agree – in fact it reminded me of these nails from MAC’s Glamour Daze collection (late 2012)….

mac glamour daze

…which I tried to recreate on myself a few months ago, long before I owned nail stripers, I was painting the black on with a regular (ie, too thick) nail polish brush so it was impossible to get the thin lines I was after.  So I improvised and only did three sides of each nail, I thought they looked pretty funky and graphic.  I like the combination of candy pink and black.

532255_4479951010271_1287276337_n

And here are those nails in action, just for fun.

DSC04111

Anyway, back to the skulls.  They then transformed into panda feet and something kinda Aztec, when I painted the teeth on with my white nail striper.

IMG_2564 IMG_2565

Before finally becoming what I think is a decent copy of the photo up the top of this post!

IMG_2566

In the original picture she’s got nail stickers on her thumbs; here’s me with two different types of Nail Rock stickers on my pinky and ring fingers (for some reason they WILL NOT stay on my middle and index fingers on either hand). 

  200012_4242288388854_1968200531_n 

So what do you think?  Do you find fiddly nail art easy or does it take you FOREVER (like me!)?

skull nails

IMG_2566

Thanks to Instagram Queen Carissa for the snaps of my nails!

Chloe’s budgie-eye

5 Feb

To begin, take 1 x sister who wants fancy feature eye makeup for a night at the pub.

DSC04395

Chloe has very good skin, the lucky so-and-so, however I did still feel the need to use some colour-correcting concealer under her eyes, which can look quite blue.  (Agi calls under-eye bags ‘douche bags’, fun fact for today).

DSC04396

Using a mini Benefit Realness of Concealness kit, I put the lemon-yellow concealer under Chloe’s eyes from the inside corner, down alongside her nose and back up under the eye again, kind of in a triangle if that makes more sense.  Boots green primer was buffed along her t-zone to correct redness, and Garnier BB cream in Light was used just under the cheekbones as it’s slightly darker than the light MAC tinted moisturiser I used sparingly over the whole face.

chloe

lemon, lime, PURDY!

And now time for the budgerigar-inspired green and yellow smokey eye…

budgerigar

Using MAC Paintpot in Pharaoh, MAC eyeshadows in Wondergrass and Eyepopping and MAC Pigment in Chartreuse, it’s a standard smokey eye … but green!   Woooo.  The Paintpot creme eyeshadow goes on first to give the powder shadow something to stick to, intensifying its colour.  

The darker powder shadow is in the outer corner of the eye and underneath, and the lighter shadow blended out from the inner corner with the glitter pigment applied on top.  The pigment is messy (or maybe it’s just me), so I press it on carefully so it doesn’t go EVERYWHERE.

chloe 2

and now for the finishing touches, with MAC Hi-light powder (this is a limited edition one that I bought in Australia about 100 years ago, from the Dame Edna range – check the catseye specs on the front).  I used two types of blush, because two types of a good thing at the same time is the secret to success.  

The two blushes are a MAC matte peachy-apricoty powder blush in Goddess, and a dirt-cheap-but-one-of-my-faves Miss Sporty brand blush (from Superdrug for about a quid, from memory) that’s a very pale and just-sparkly-enough pink.  

Eyebrows filled in with Maybelline eyebrow pencil in Dark Blonde, which is one of the best eyebrow pencils I’ve ever used – waxy, sticks to the hair not the skin, grooms perfectly.  And it’s the right price.  Wink.

chloe3

To finish, a bit of black eyeliner on the waterline and under the lashes (Chloe’s favourite part of getting her makeup done – NOT – but she is getting much much better at it).  The best eyeliner I’ve used cost me 50p from Primark.  The colour is INTENSE, it’s really soft and goes on like a dream, and lasts and lasts and lasts.  They have it in brown occasionally as well, and when I come across it, I stock up.  Recommended.  The mascara is Maybelline Colossal Volume in black.

Isn’t she pretty?

DSC04429 DSC04430 DSC04431 DSC04432

bat bat

3 Feb

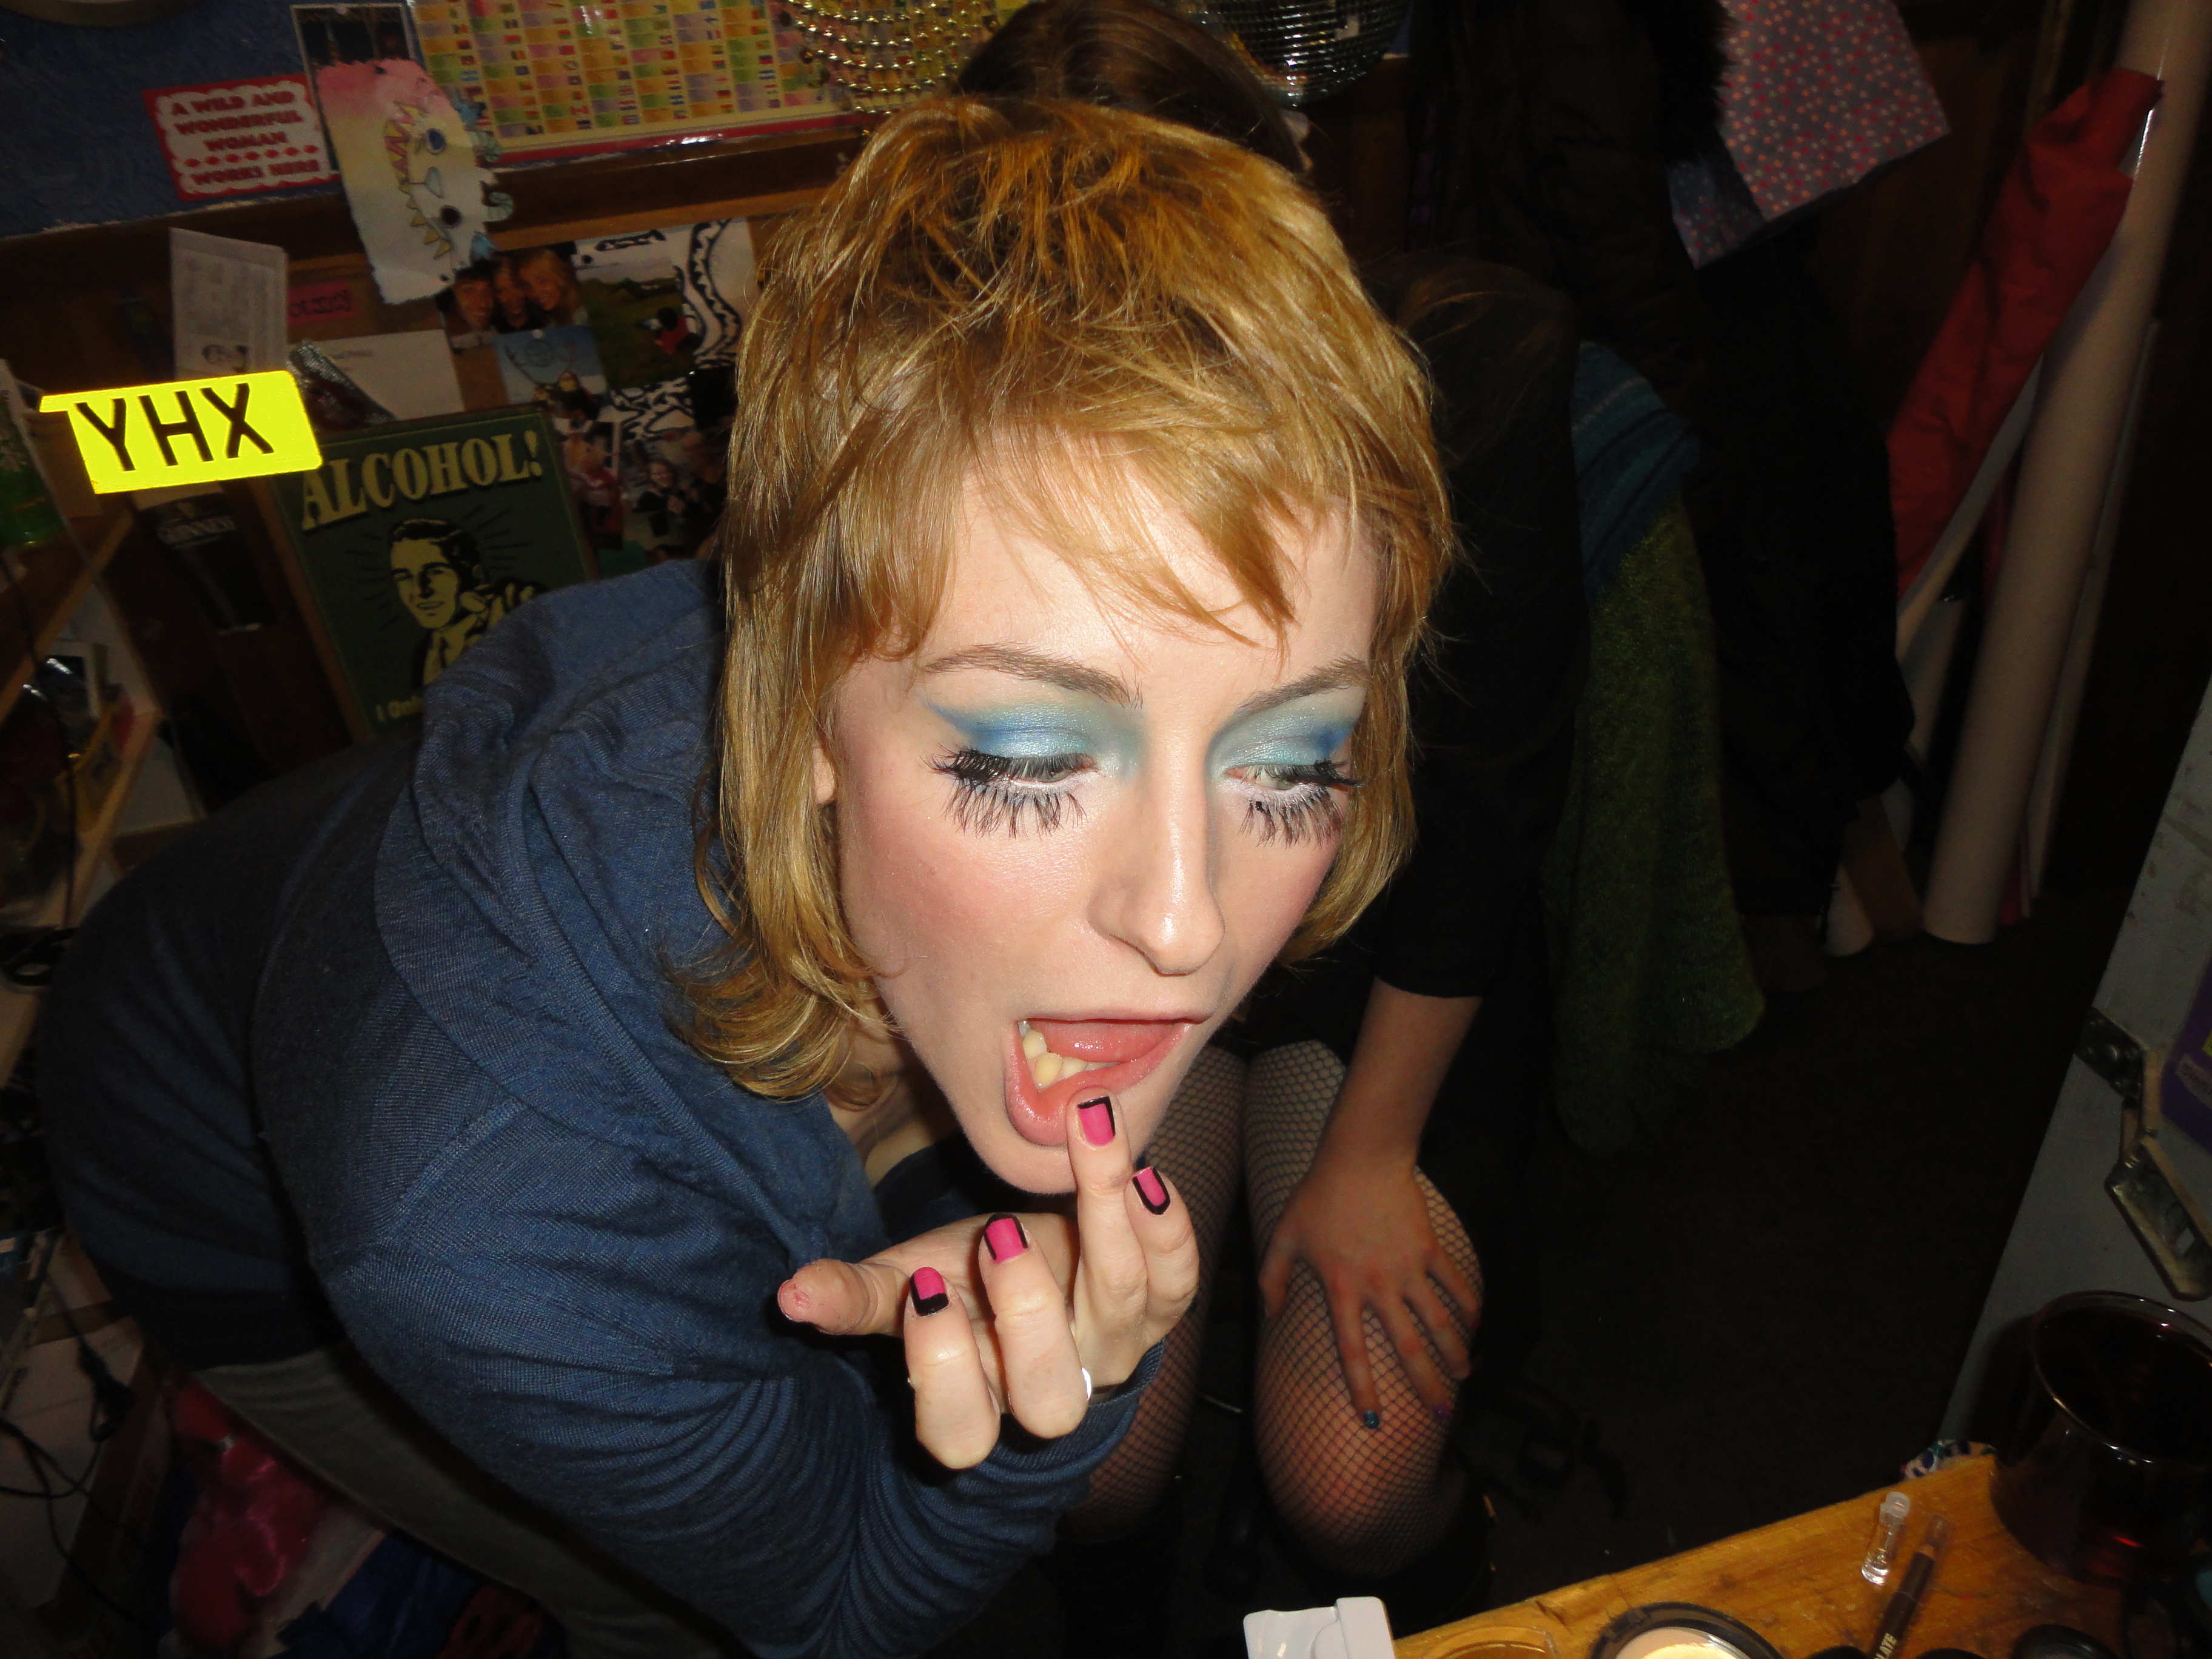
“Ermagherd, are they real?”

I get this a lot.  Strangers, friends and members of my own family alike have even reached out, closed them between their finger tips and given them a too-rough tweak to check if they’re the real deal.  And, dear reader, while they might look too good to be true, let me assure you that in all their full, perfectly curved perfection, they’re all mine.

BALI

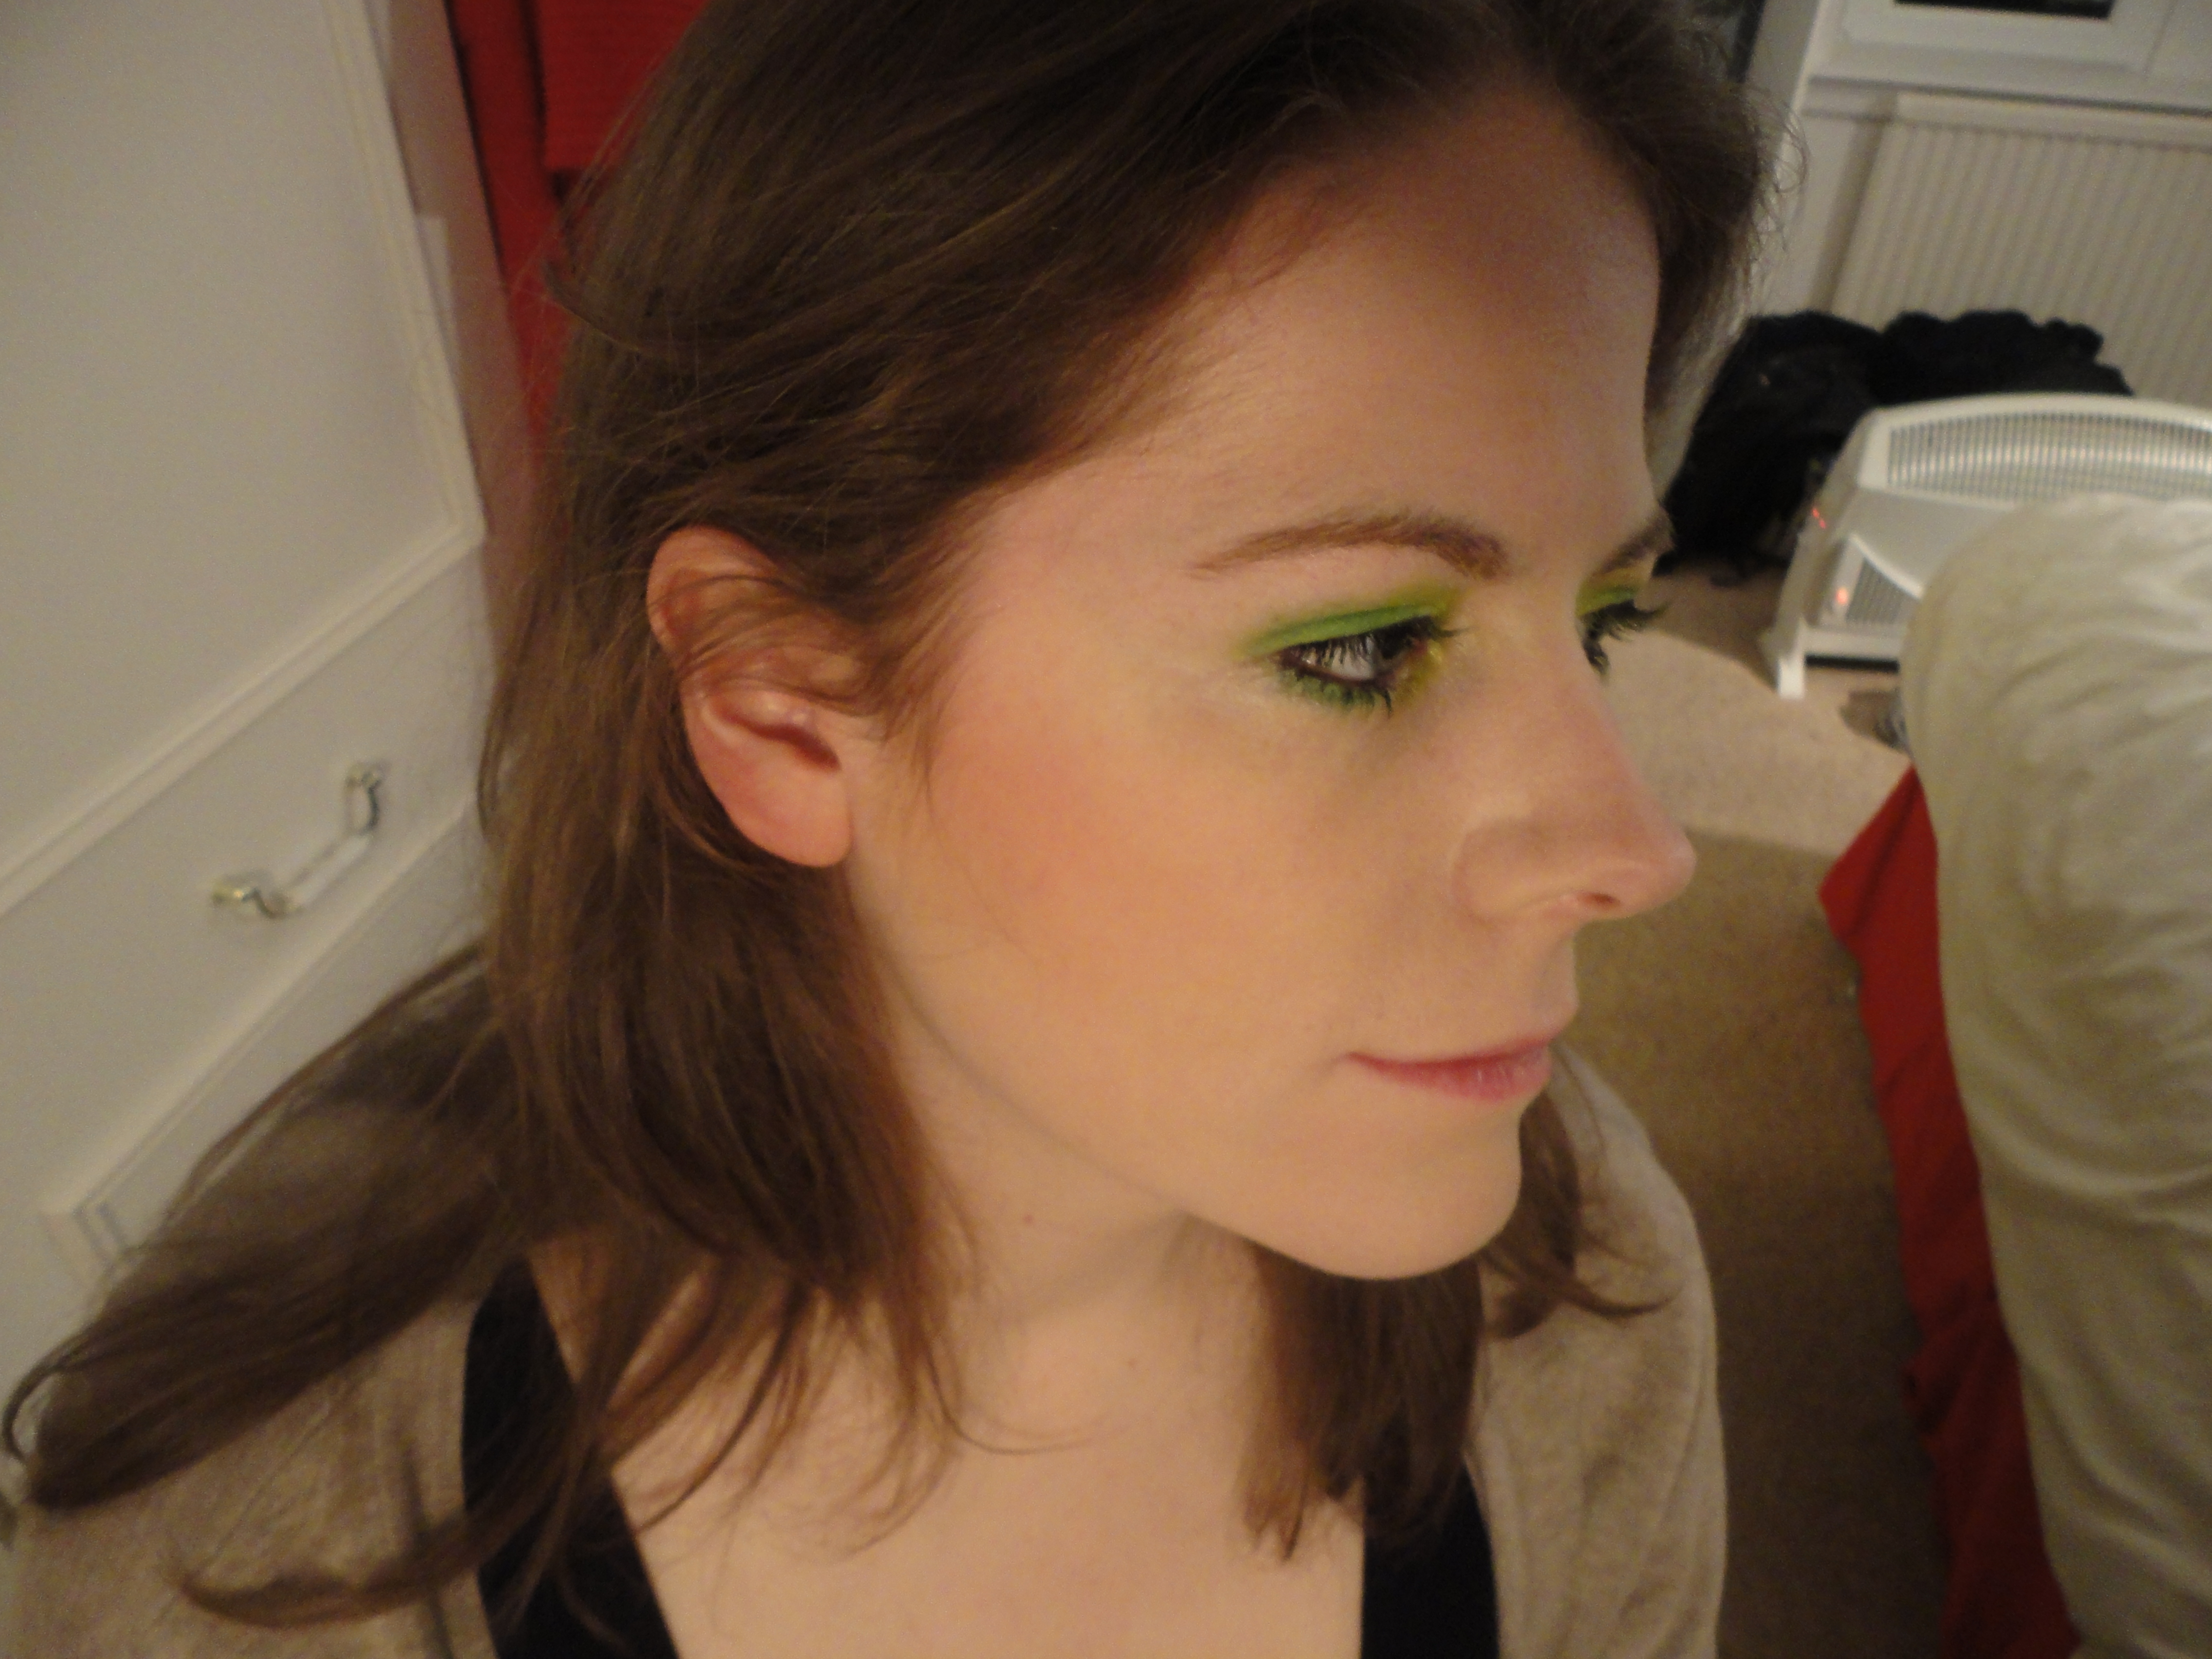
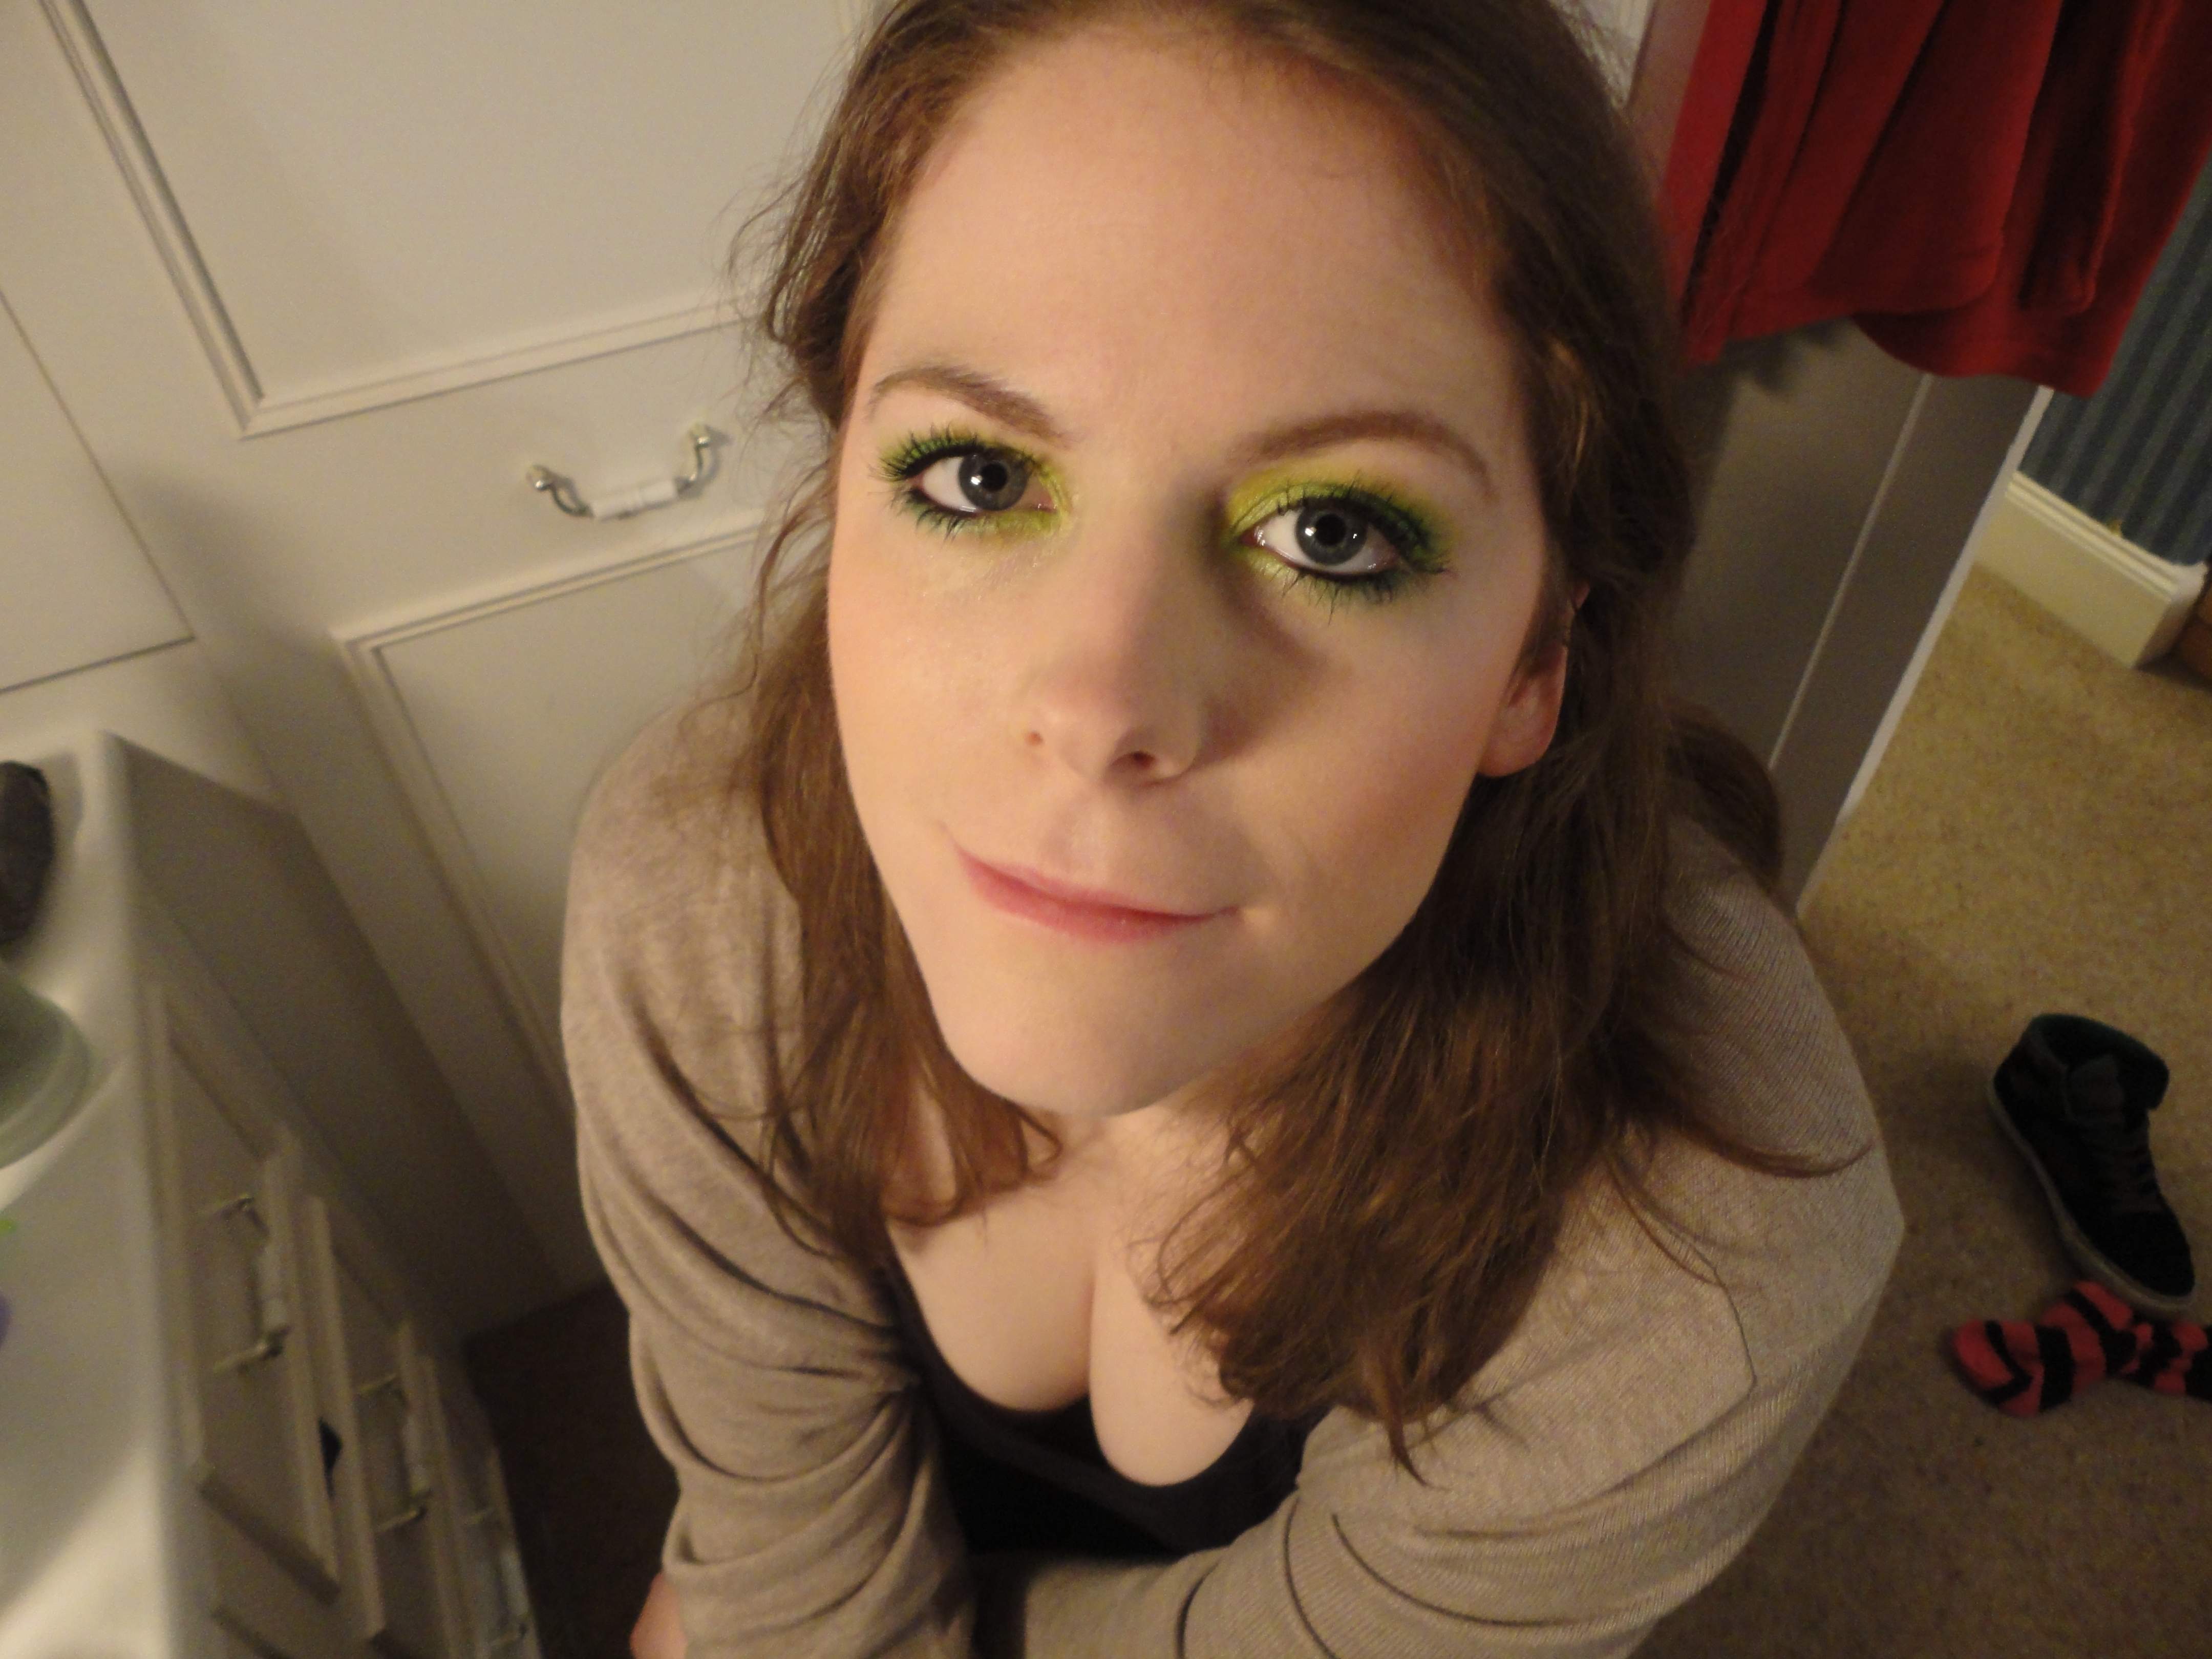
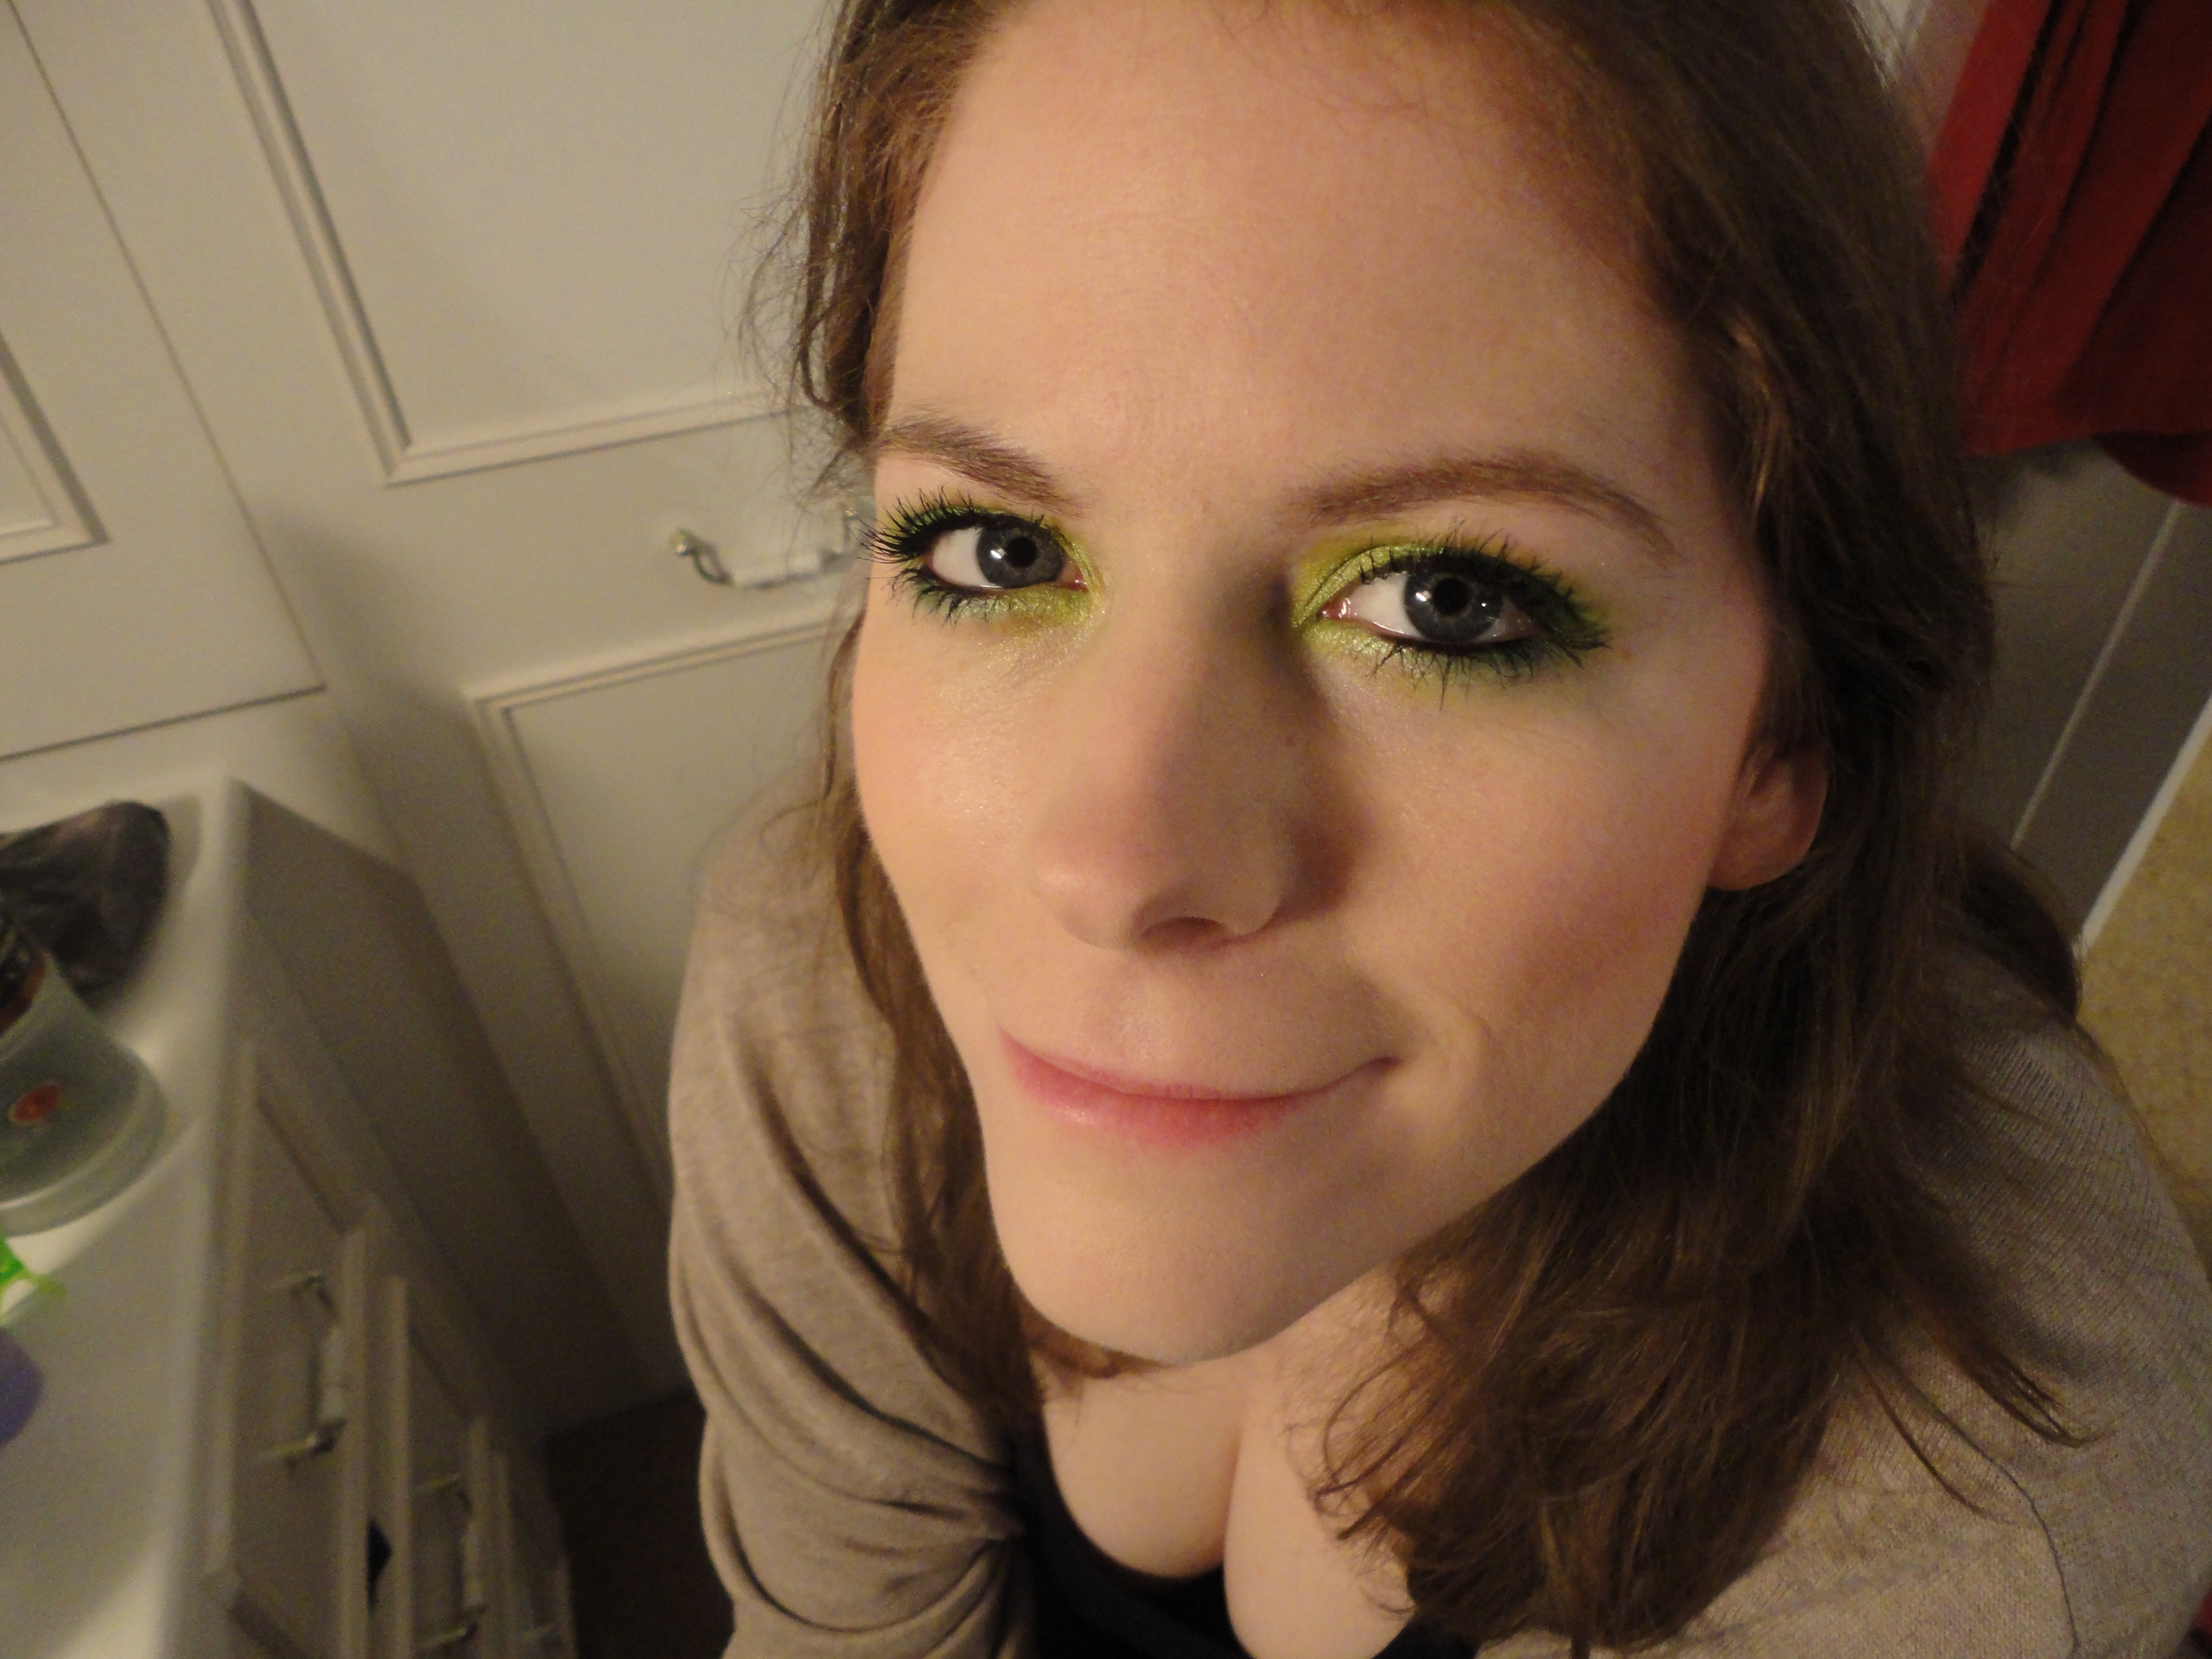
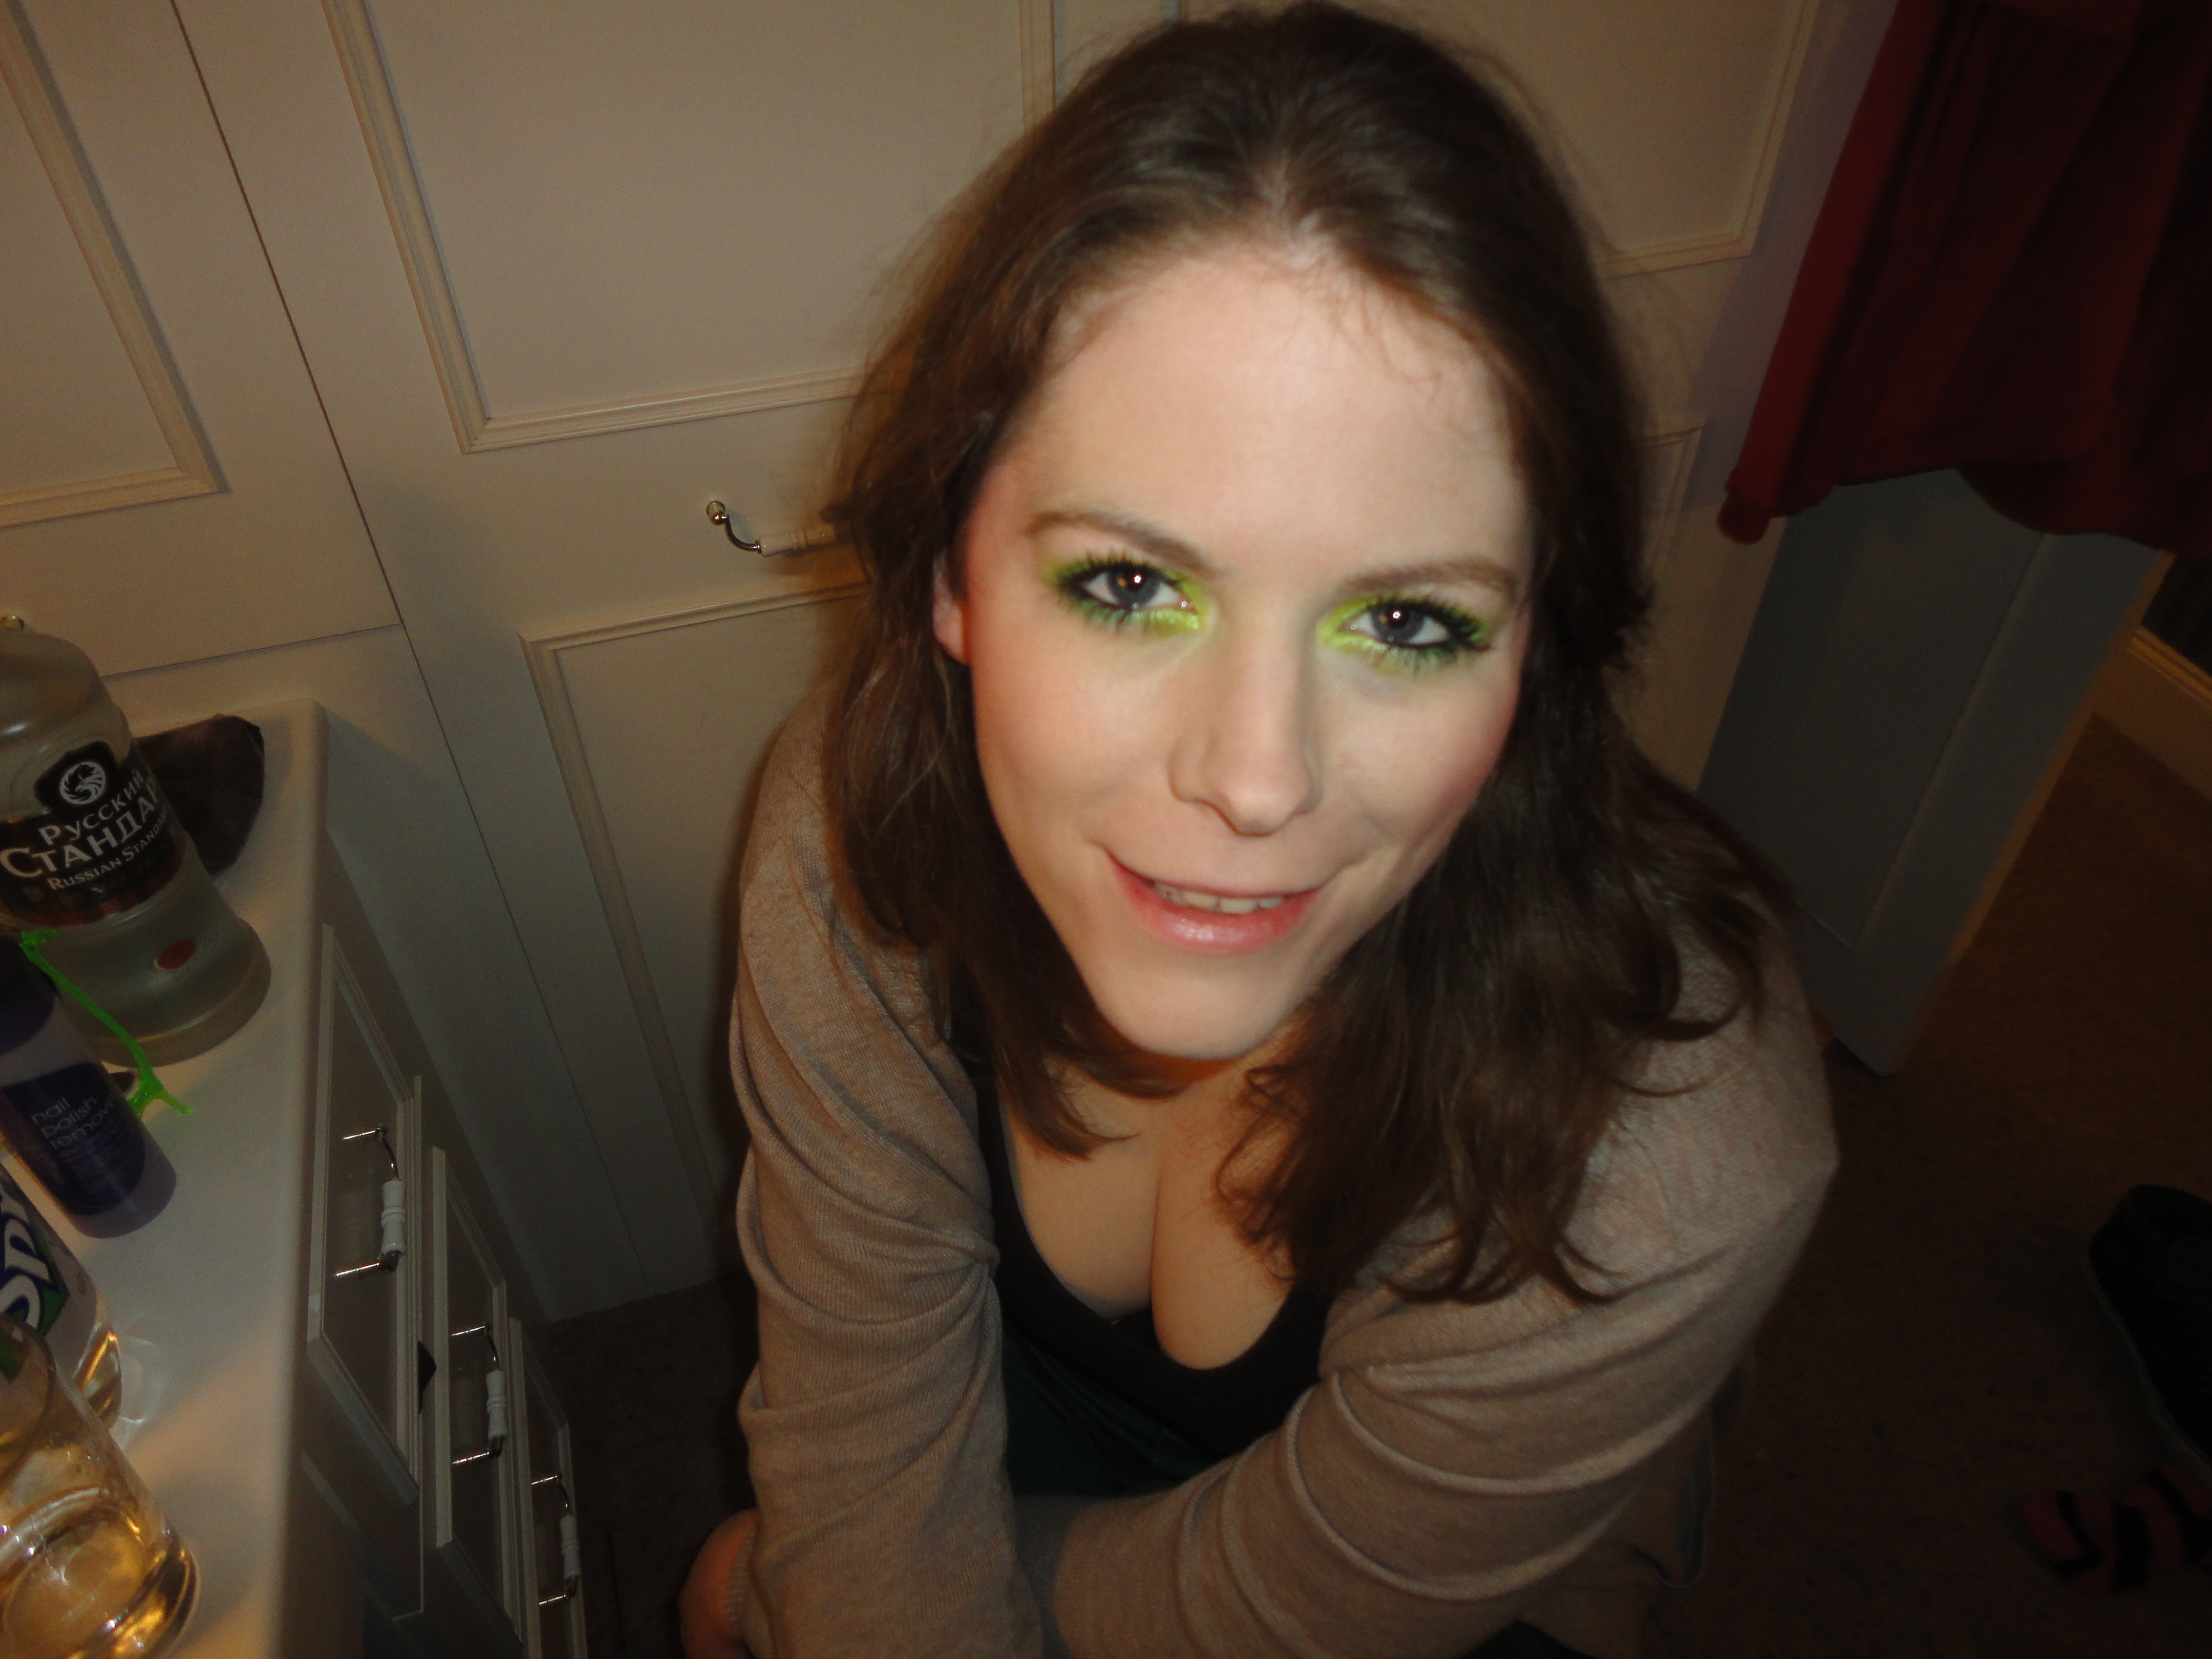
While a lot of you filthy animals out there will assume that I’m talking about my magnificent rack, may I remind you that this is a makeup blog and I’m talking of course about my eyelashes.  Inherited from my mother, they’re probably my favourite body part.  They’re long, thick and naturally curled.  Maybe they could be a bit darker, which is why we’re here talking about mascara.

If I know one thing, it’s everything about mascara.  So involved am I with my eyelashes that I would say I spend more time lovingly mascara’ing them than I do on any other part of my usual makeup routine.  Putting on mascara is one of my favourite things about being female, and I genuinely believe that you can have a bad-eyelash day.

Some may say that I take eyelashes perhaps a bit too seriously, but they also can’t deny that it’s something I do well, and I am often asked what’s what with mascara.  I have tried a LOT of mascaras in my time.  You wouldn’t probably be reading this blog if you weren’t also interested in makeup, so you’ll probably understand why it is completely reasonable to own and use fifteen different tubes at the one time.  Black, ultra-black, brown, brown-black, blue, green, ‘eggplant’, charcoal, navy, clear.  Waterproof, smudgeproof,  fade-proof, Titanic-proof, all-day, all-night, volumising.  thickening, enhancing, curling, long-lasting, easy-off, fibre-length, nourising-strength.

And that’s before we even approach the bewildering variety of falsies.  You can even get different coloured glue for your false lashes, for crying out loud.

Anyway.  There is a lot that I have to say about mascara, and I think I’ll leave product reviews for another time.  Here’s how I do it.  It’s all just my opinion, and personal preference will mean that not all of this will work for you.  It all depends on what kind of look you’re going for.

1.  Whatever I do to my eyelids, I do that first (eyeshadow, eyeliner etc)

2. Eyeliner (pencil, brown if I’m wearing brown mascara, otherwise black) goes underneath my top lashes.  Your eyes will water to buggery the first time you try it, but with practice you too will soon be scrubbing that pencil back and forth to grind as much pigment into your lash roots as you possibly can.  Why?  It makes your lashes look thicker.  Whether you’re doing it on your own eyes or on someone else, you’re best off going for the softest, meltiest pencil you can.  Pencils with a bit of colour or shimmer in them can add an interesting and subtle accent, too.

3. Mascara time!  All the usual tips about wiggling the brush right into the roots, zig-zagging it up to the tips of your lashes and so on and so forth.  If you’re going to do more than one coat, move quickly – if you let it dry between layers, it’s more likely to crumb and clump.  Remember, you can blink while you do it.  Having your mouth wide open (pref. with your tongue out) is recommended.  To apply mascara to your bottom lashes, narrow your eyes slightly to lift the lashline and make your bottom lashes stick out away from your skin.  When I apply mascara to other people, I get them to lift their chin a bit and look over my shoulder, and always remind them they can blink while you do it.  Their eyes won’t water if they’re allowed to blink.

The first coat of mascara for me is about brushing my lashes forwards.  Mine grow out at a bit of an angle towards my temples, like most people I would guess.  So I brush them forward with the first coat, and if I do a second coat, it’s either smoothing them back out for a winged effect (suits a smokey eye or a feline-flicked eyeliner nicely) or brushing them even more forward for what I tell myself is a wide-eyed, gamine look.

4. Personally I don’t fart about with lash curlers or lash combs, but if I’m putting false eyelashes on someone else I occasionally use a lash comb to blend the natural and false lashes together.  In my opinion lash curlers are overrated, even if your lashes are straight.   That’s cos I like poker-straight, downwards-growing lashes, I think they look cool.  And most falsies only flick up towards the tip anyway, so you don’t actually NEED to curl them if you don’t want to.  But having said that, I’ve seen some pretty impressive things done with lash curlers, so it could just be that I don’t know how to use them properly.  More practice.  Another area for improvement for me would be lash fibres, I haven’t ever really used them and I am curious.

The mascaras I use most often are a brown Boots No 7 mascara, and Maybelline Volume Express Colossal in black – I always come back to Maybelline for mascara, they’re unbeatable for everyday.  Good value, good formula, good brushes.  As I have long eyelashes I like to use the biggest fluffiest brush I can get my hands on, which is becoming less common these days.  A lot of brands seem to dedicate quite a bit of energy to developing these new amazing brushes that prevent clumps and so on, and I do like to try them if I get a chance – but I always prefer to use an ‘old-style’ mascara brush to really get into the roots.

mascara


That’s what I’m talkin’ ’bout.

So that’s my love letter to mascara.  Tell me your thoughts!

men with makeup: David Bowie

1 Feb

If you’re super sleuthy and very observant, you’ll have picked up that I’m a bit of a David Bowie fan. If you need a quick reminder of what there is to love about the guy, check this out quickly.

I could bang on all day about his awe-inspiring, before-his-time approach to entertainment, image, performance, reinvention and alter-ego, but you don’t have all day.  Suffice to say he’s a bitchin’ rockstar from Mars.  People (or Martians) like David Bowie don’t come along all that often.  Lady Gaga is the only one who immediately springs to my mind as anywhere near in the same league of experimental, high-concept creativity.  And let’s face it, she is not shy about displaying his influence on her either.  Come to think of it, she’s got lightning bolt makeup in one of her videos, doesn’t she?

Let’s have a quick perve on his Labyrinth look.  That hair!  That crotch!

yes yes oh my god yes

There are a lot of David Bowie ‘looks’ I plan to recreate, but today let’s talk about the one that I sported for a dress-up party in July 2012.  The pub hosts a dress-up party every time it’s Friday the 13th in any month, and they choose a theme and everyone gets right into it.  The theme for this one was ‘hippies’ but I wanted to be David Bowie on his Aladdin Sane album cover, so I just went right ahead and did my own thing.

ziggy.jpg

Cool, huh?  Here’s how I did it.

1. Watch a handful of tutorial videos on YouTube.

2.  Go!

I used a really pale concealer pretty much all over my face as foundation, which was dense and tight and uncomfortable to wear, and I have since bought an Illamasqua foundation that’s pretty white, which I’ll be using next time I need to go super-pale.  Even paler than I already am, I mean.

One of the instruction videos I watched used sticky-tape to get straight lines, but I found it easier to go freehand  – using a lip brush and pink lipstick for my lightening bolt, and blue cream makeup for the blue accents, I just painted it on in long straight strokes.  Speed and confidence are your secret weapon when it comes to straight lines.  There is gold eyeshadow on my forehead and pink eyeshadow on my eye sockets to set the lipstick and stop it from smearing everywhere.

I had a half-assed go at covering my eyebrows using a gluestick, but this is an area of continued improvement for me.  Haven’t quite nailed the covered-eyebrow yet.

There’s a bit of contouring done at the collarbones, temples, cheekbones, jawline, sides of the nose, chin-bum and above the cupid’s bow/top lip.  For that I used a cheap dark brown bronzer followed by an apricot blush to blend the edges off.  I still wanted the contouring to be quite exaggerated, as in the original David Bowie picture the contrast is quite high.

David Bowie does not have a generous mouth, but it’s more generous than mine so I relocated my lower lipline for the evening with a nude lipliner, and filled in my lips with a beigey-goldy lipstick.

Mullet is stylist’s own.

imo bowie306505_10151071016755589_2102045672_n imo bowie 2

Stay tuned for more Bowie album cover re-creations, coming soon.