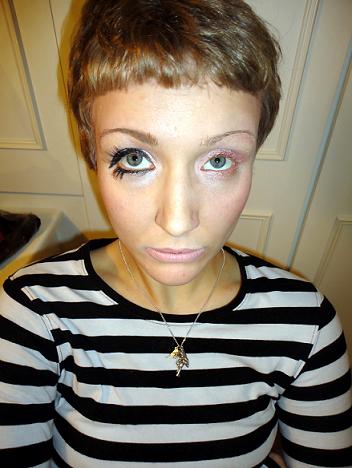
Guess who’s got an interview on Wednesday at the Clydebank College for a place on the HND Makeup Artistry course?

Glasses by Primark
Lady Danger lipstick by MAC
Guess who’s got an interview on Wednesday at the Clydebank College for a place on the HND Makeup Artistry course?
Glasses by Primark
Lady Danger lipstick by MAC
For Halloween 2012, Chloe wanted a Lichtenstein-style pop-art cartoon face to match her favourite comic-strip skirt. And I was like, bring it on.

We decided against the small-pox dots all over the face, mostly because by the time we got to that stage, we were running sooooo late for the party that there simply wasn’t time.
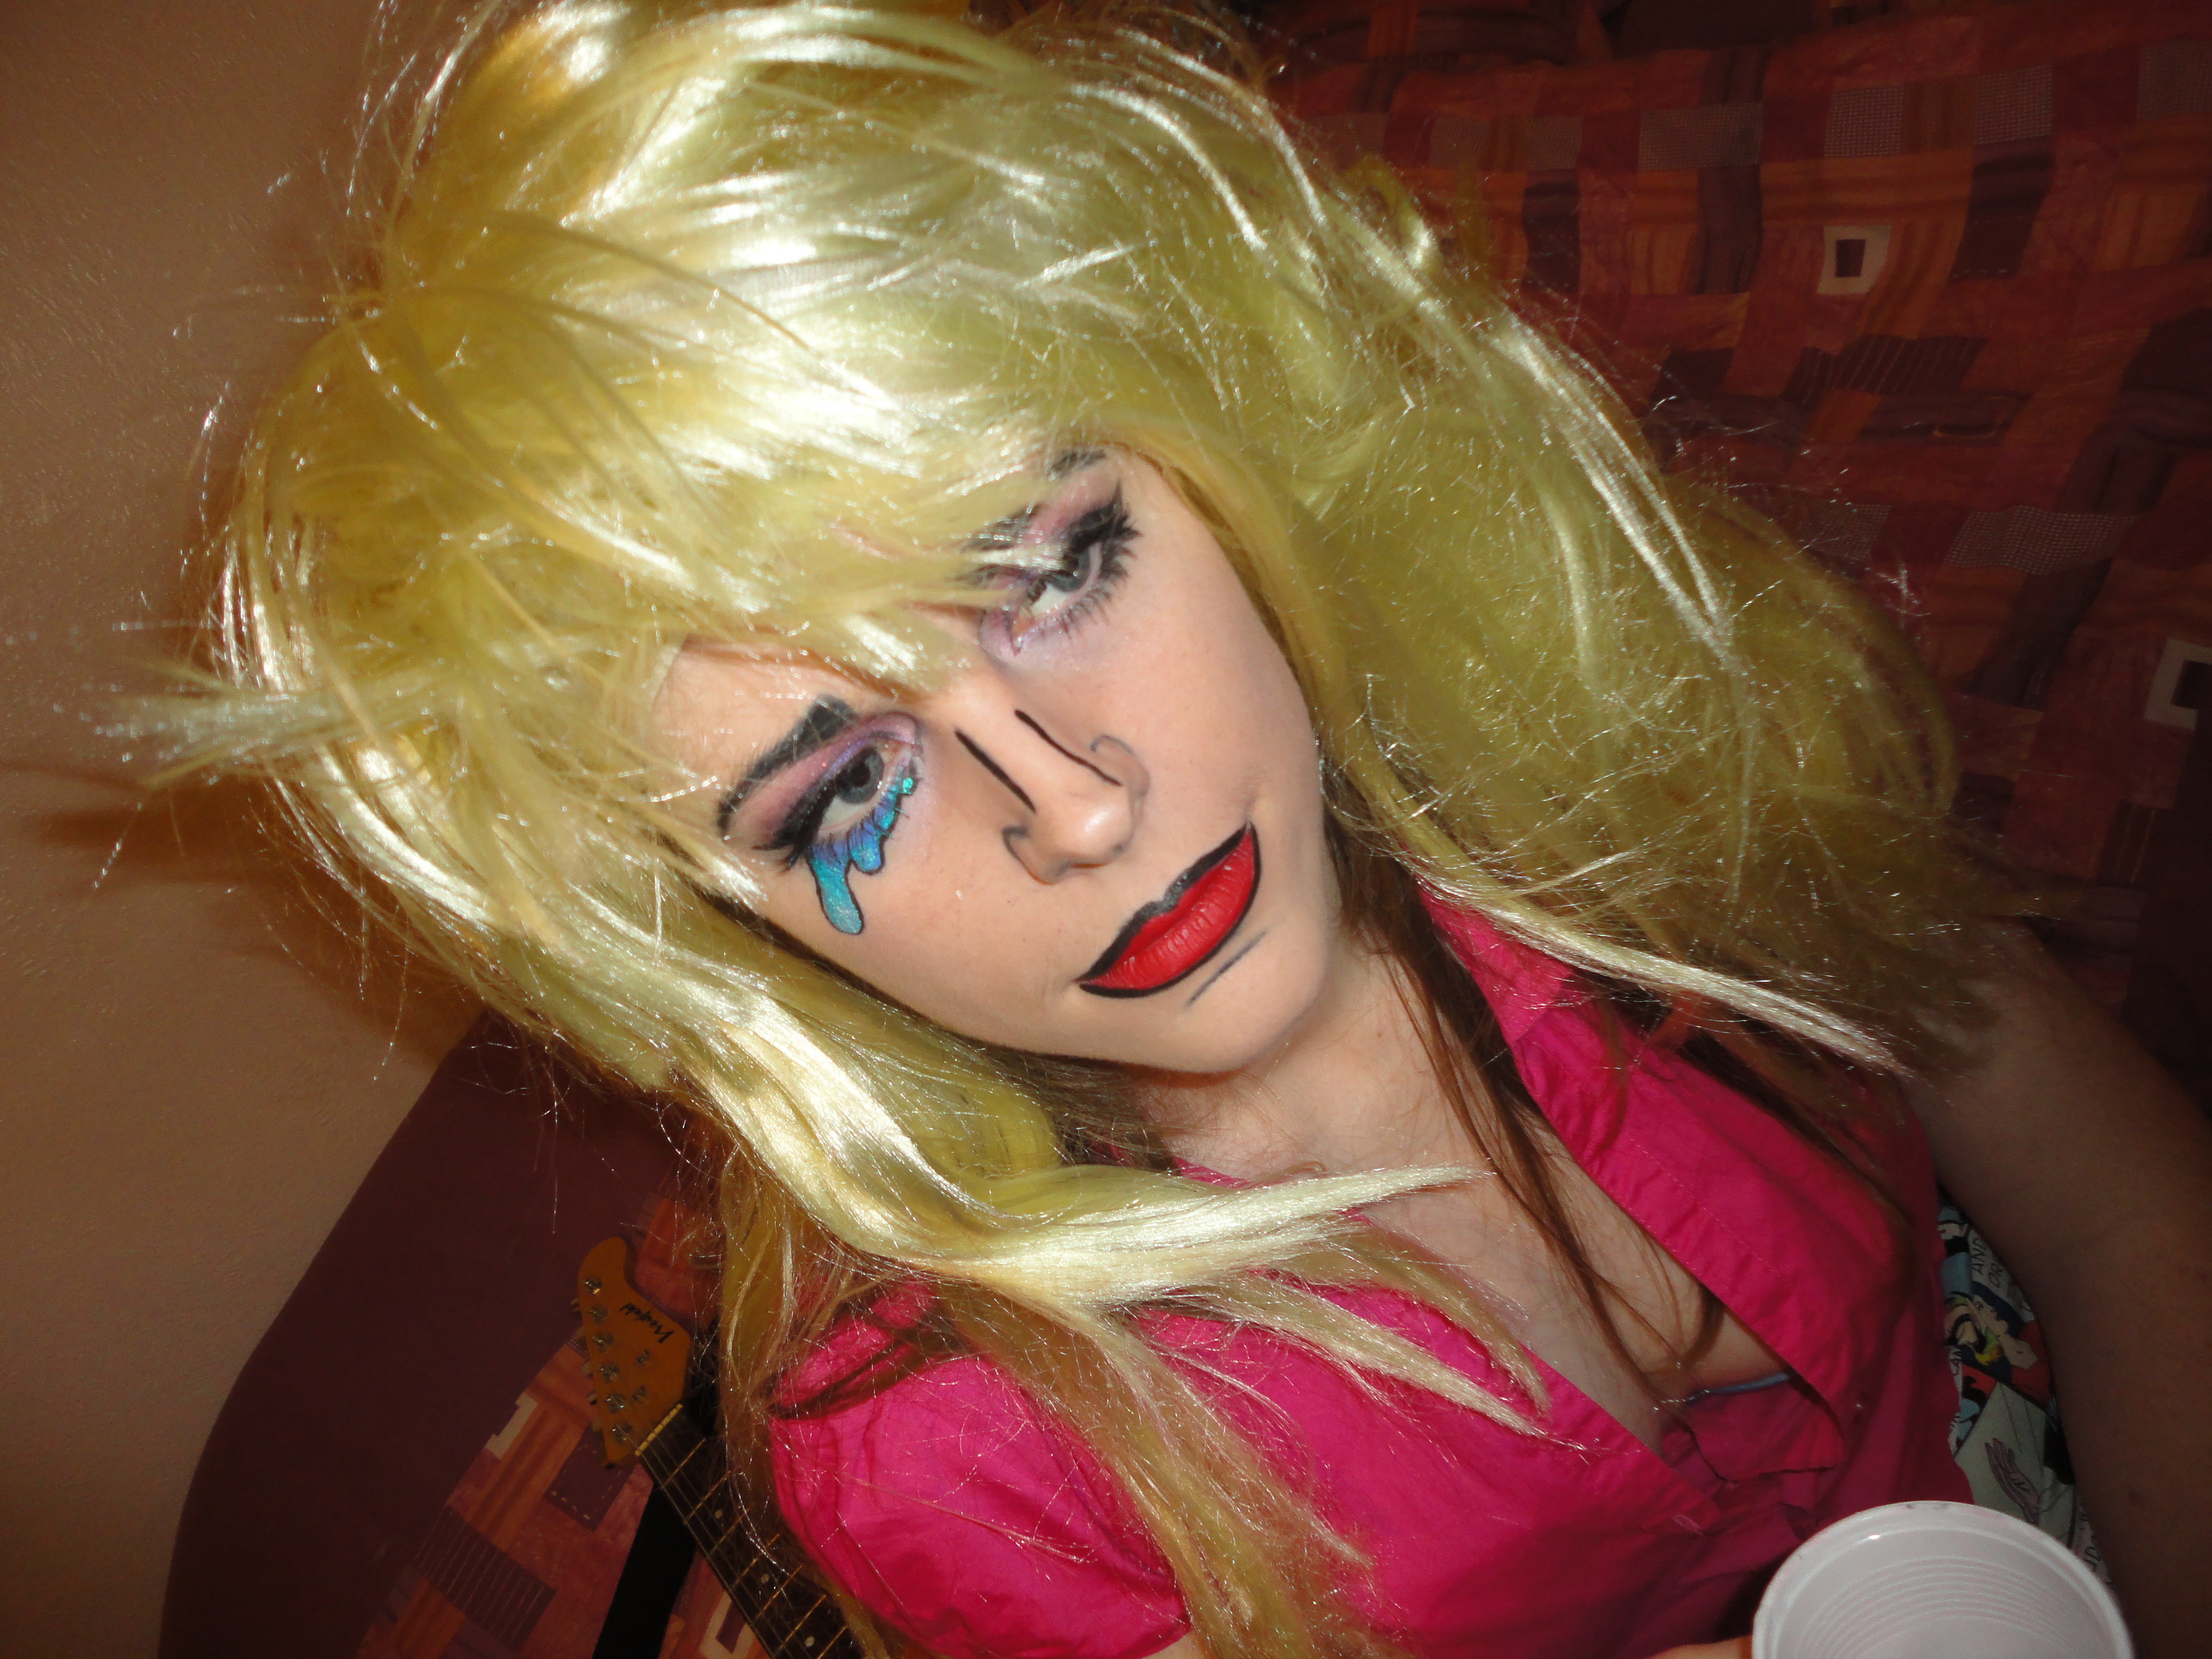
Pretty much, I just went to town on her with a black liquid liner. Starting the eyebrows higher in the inside corner, and ending them lower on the outside creates a miserable, about-to-cry expression, as if by magic. Try it, and you’ll have everyone coming up to you all night, saying “are you OK?”

The tear was a work of art, if I do say so myself. Shiny and long-lasting thanks to MAC Liquid Last eyeliner and with extra sparkle, care of MAC Pigment.
So off we went to our party. Me, Chloe and Zoe Winehouse.

May I remind you all that this boo-hoo expression on Chloe’s face is drawn on, she’s actually not pulling a face at all. Or she wasn’t, until we arrived at the party…

and Faron was also a Lichtenstein-inspired cartoony face! OMFG!
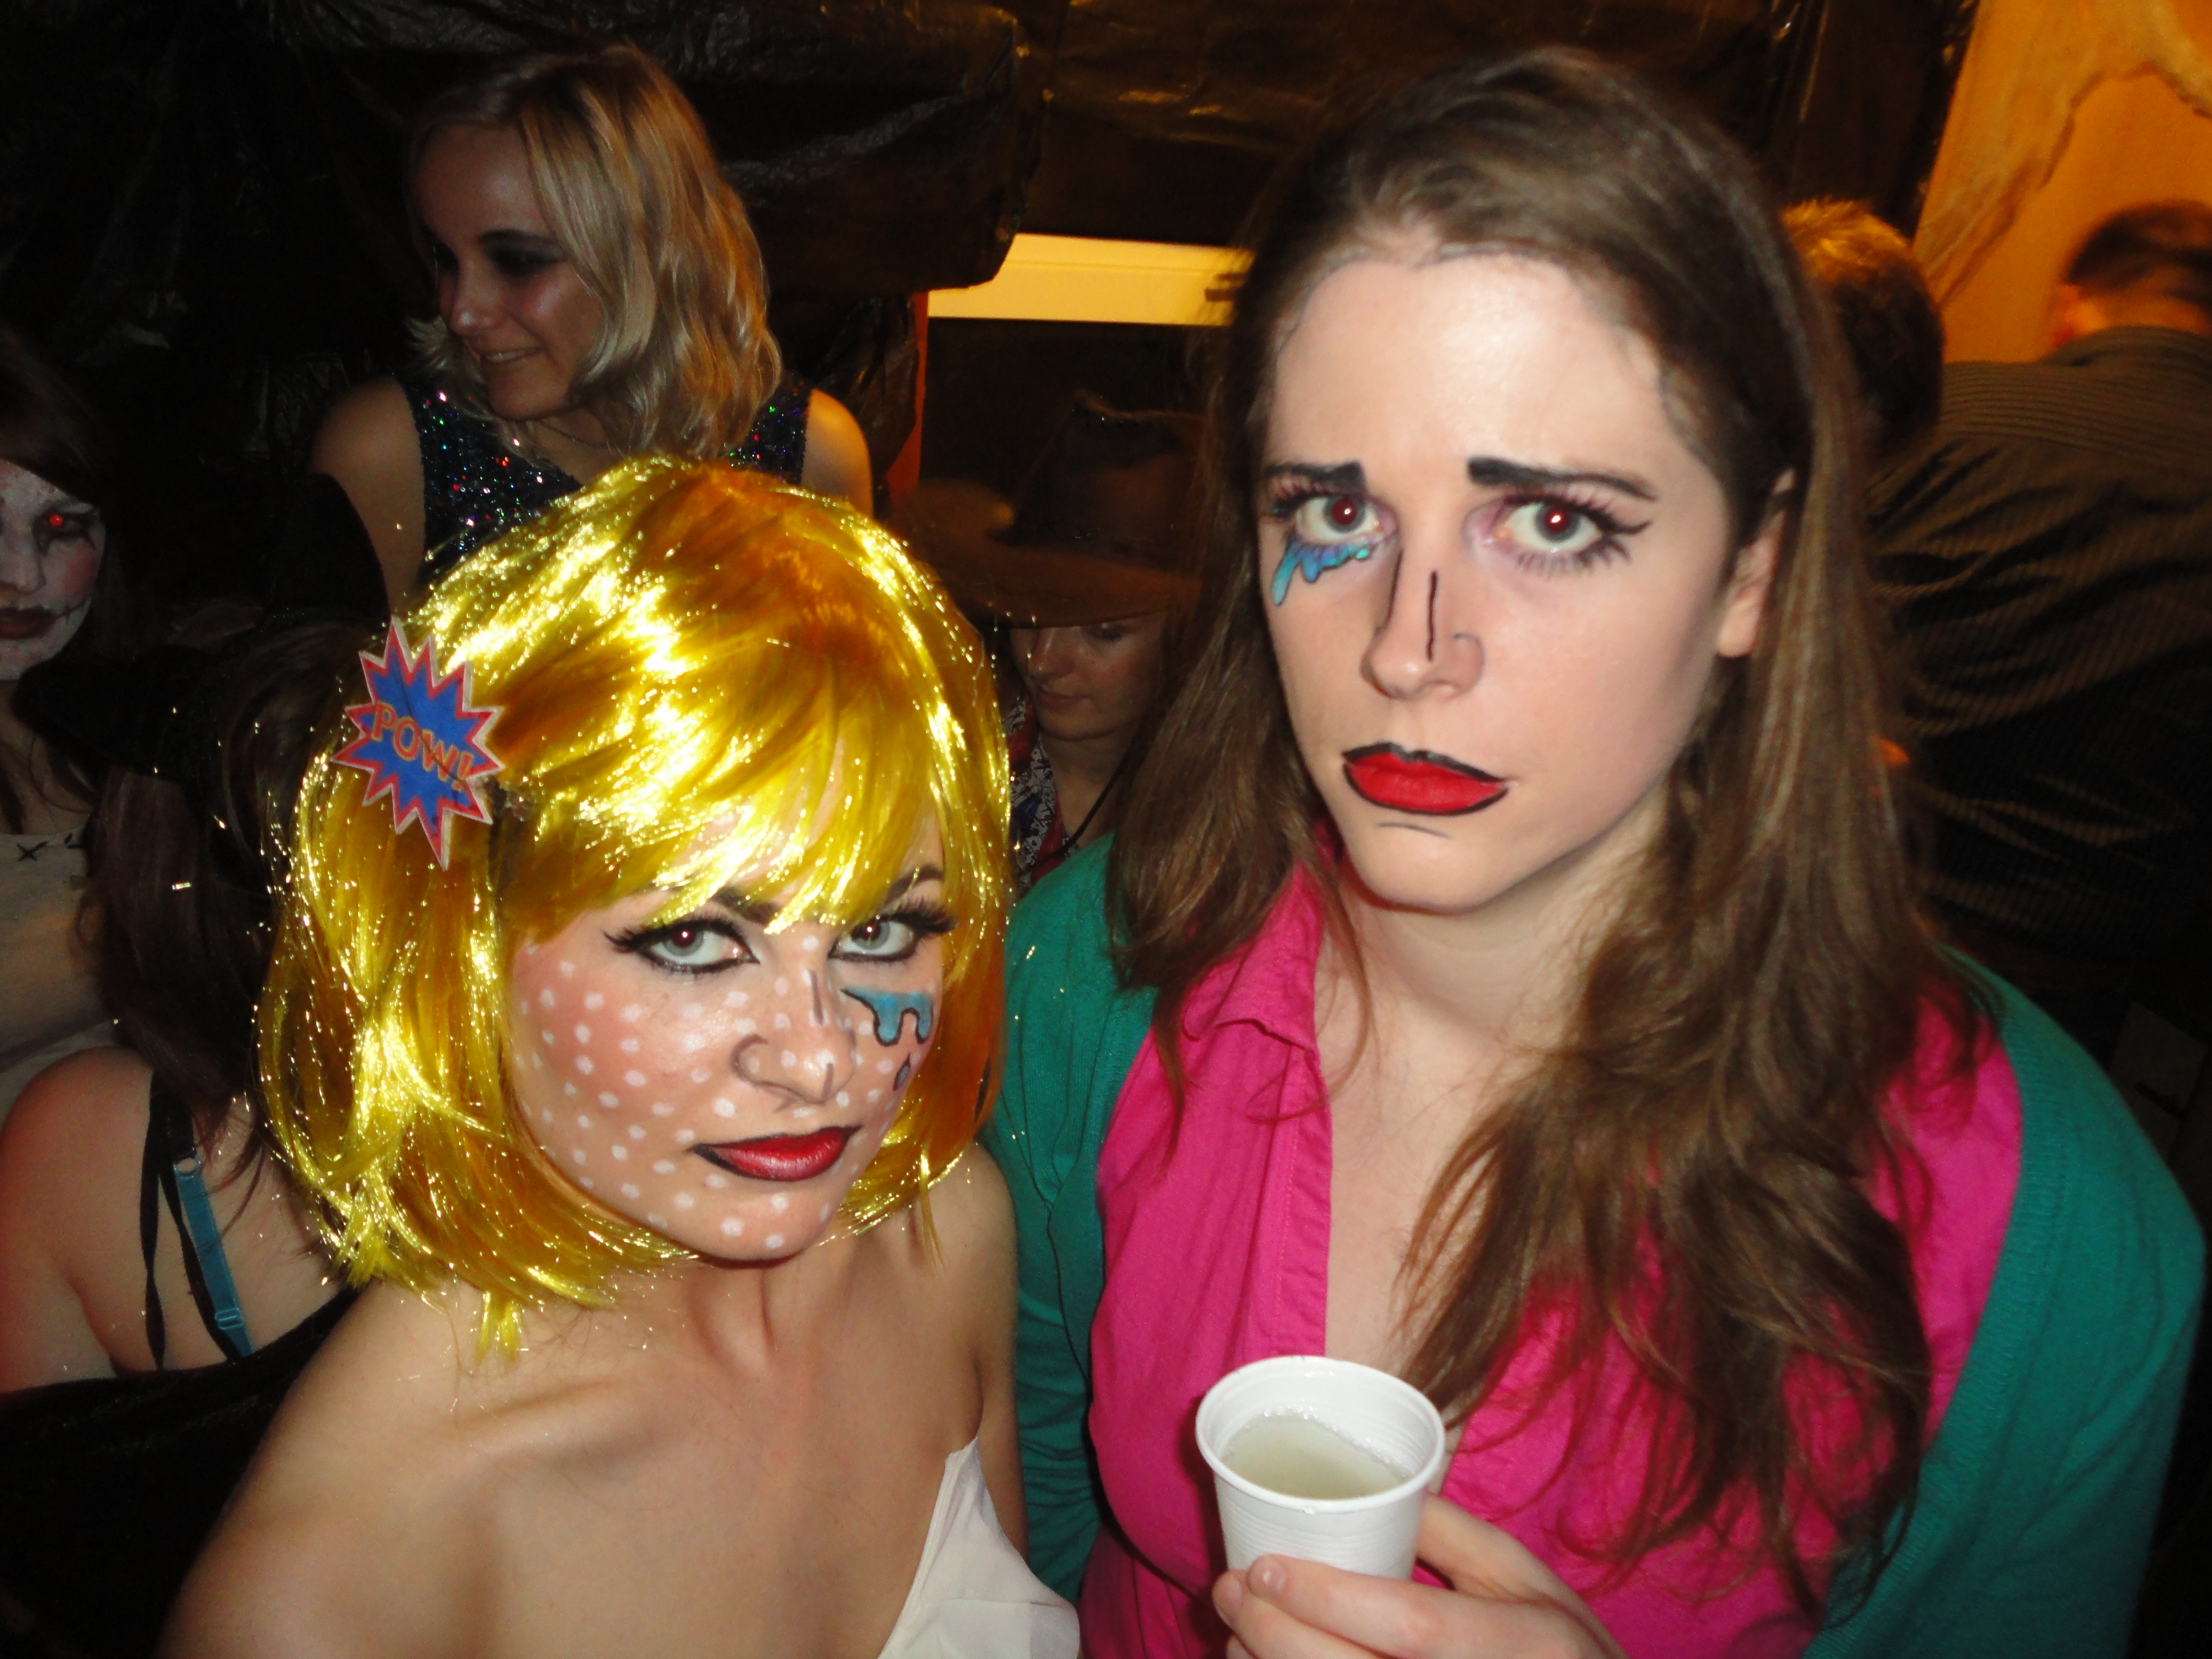
And Chloe ripped off her wig in a rage, and was all like, waaaaah.

The end.
Or was it?….
In the thrilling sequel to today’s post, CHLOE WEARS A DIFFERENT BLONDE WIG! Stay tuned!
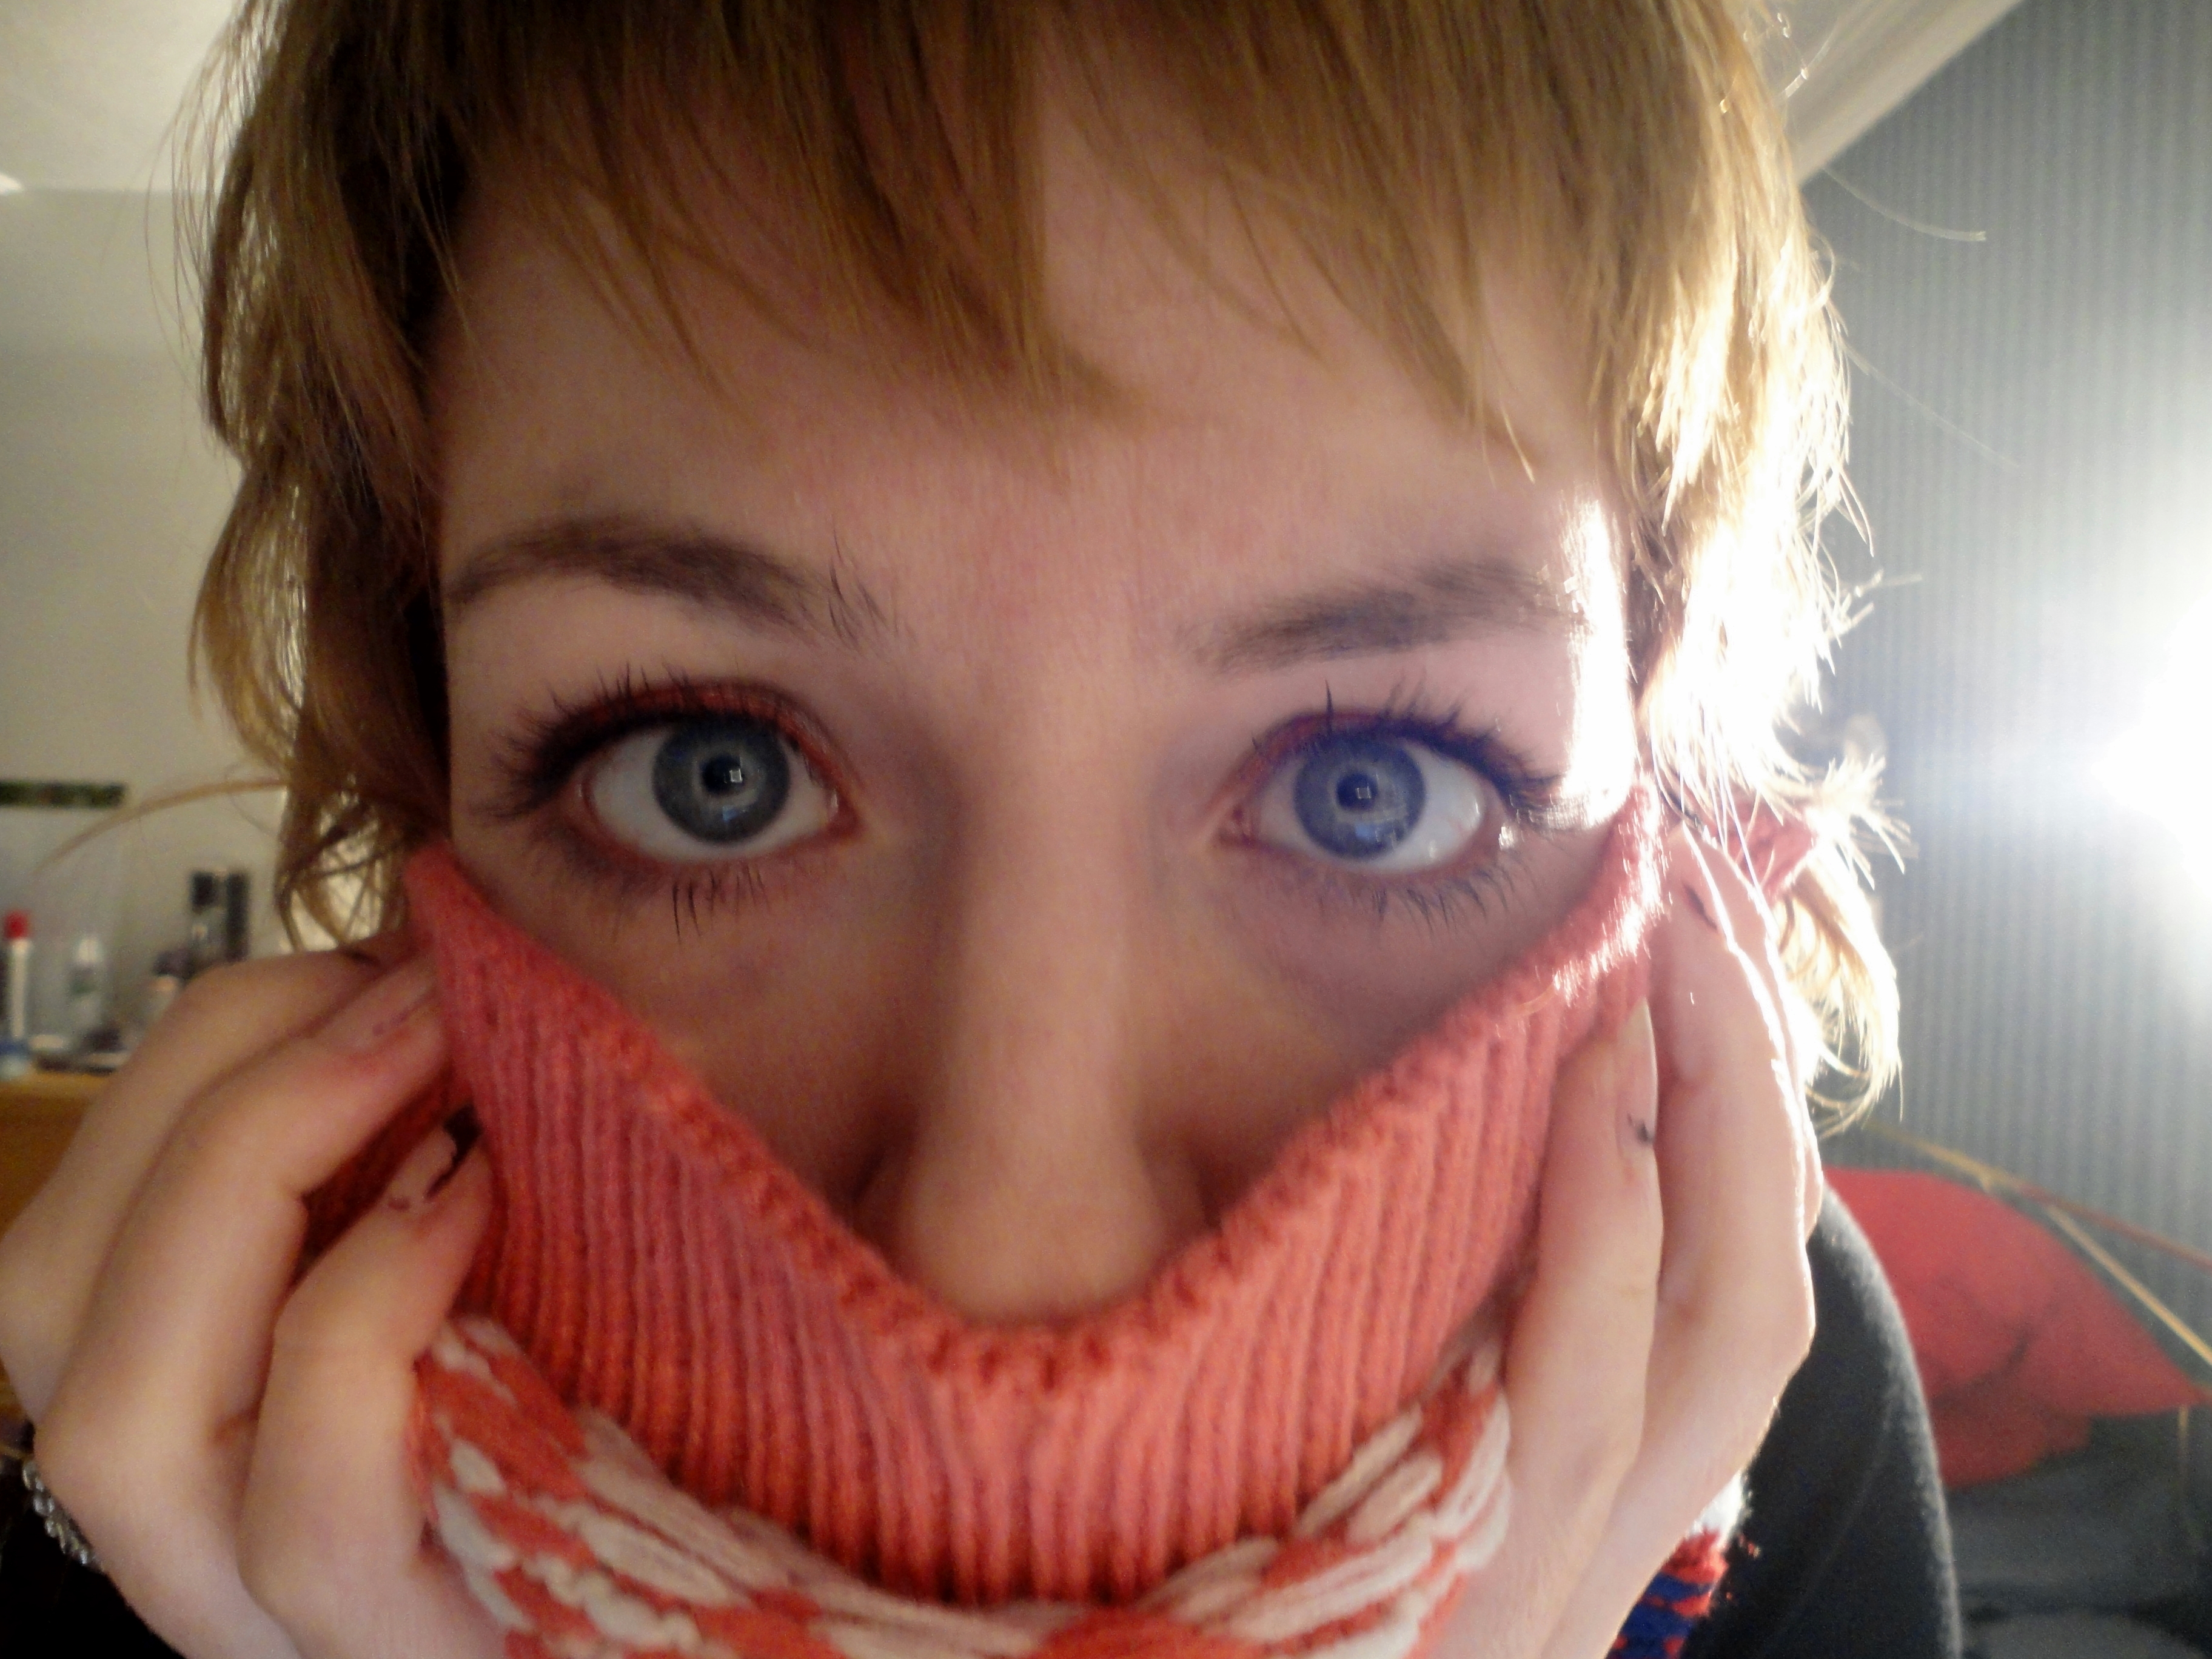
Just a wee experiment with this product, which I bought a couple of weeks ago and only today got around to trying out. It’s been raved about by all and sundry, the new miracle product to mix into your powder eyeshadow to instantly turn it into a high-density liquid liner.
I have been using a similar miracle product for years – called “water” – but I’m always up for trying these things out.
These shots were all taken after about 14 hours of wear and tear, including me intermittently rolling my eyes then squeezing them shut in frustration for 8 hours straight at college.

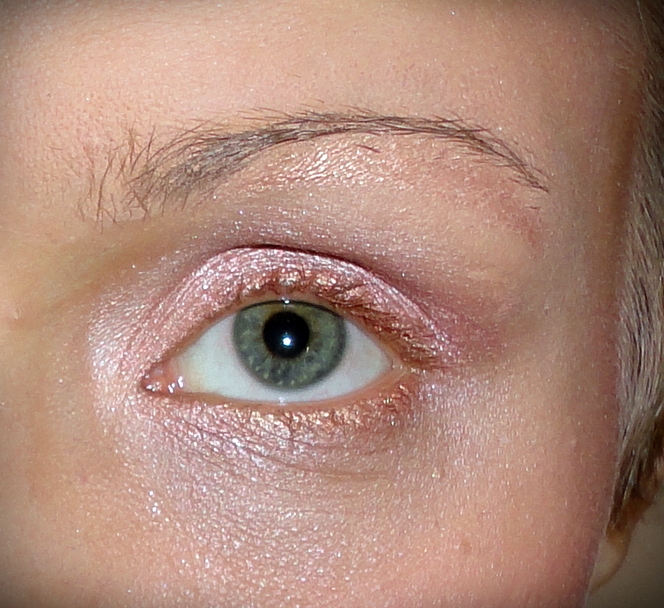
oop, let’s see if we can crop that down a bit, less nose, more eyelid.
and even closer…
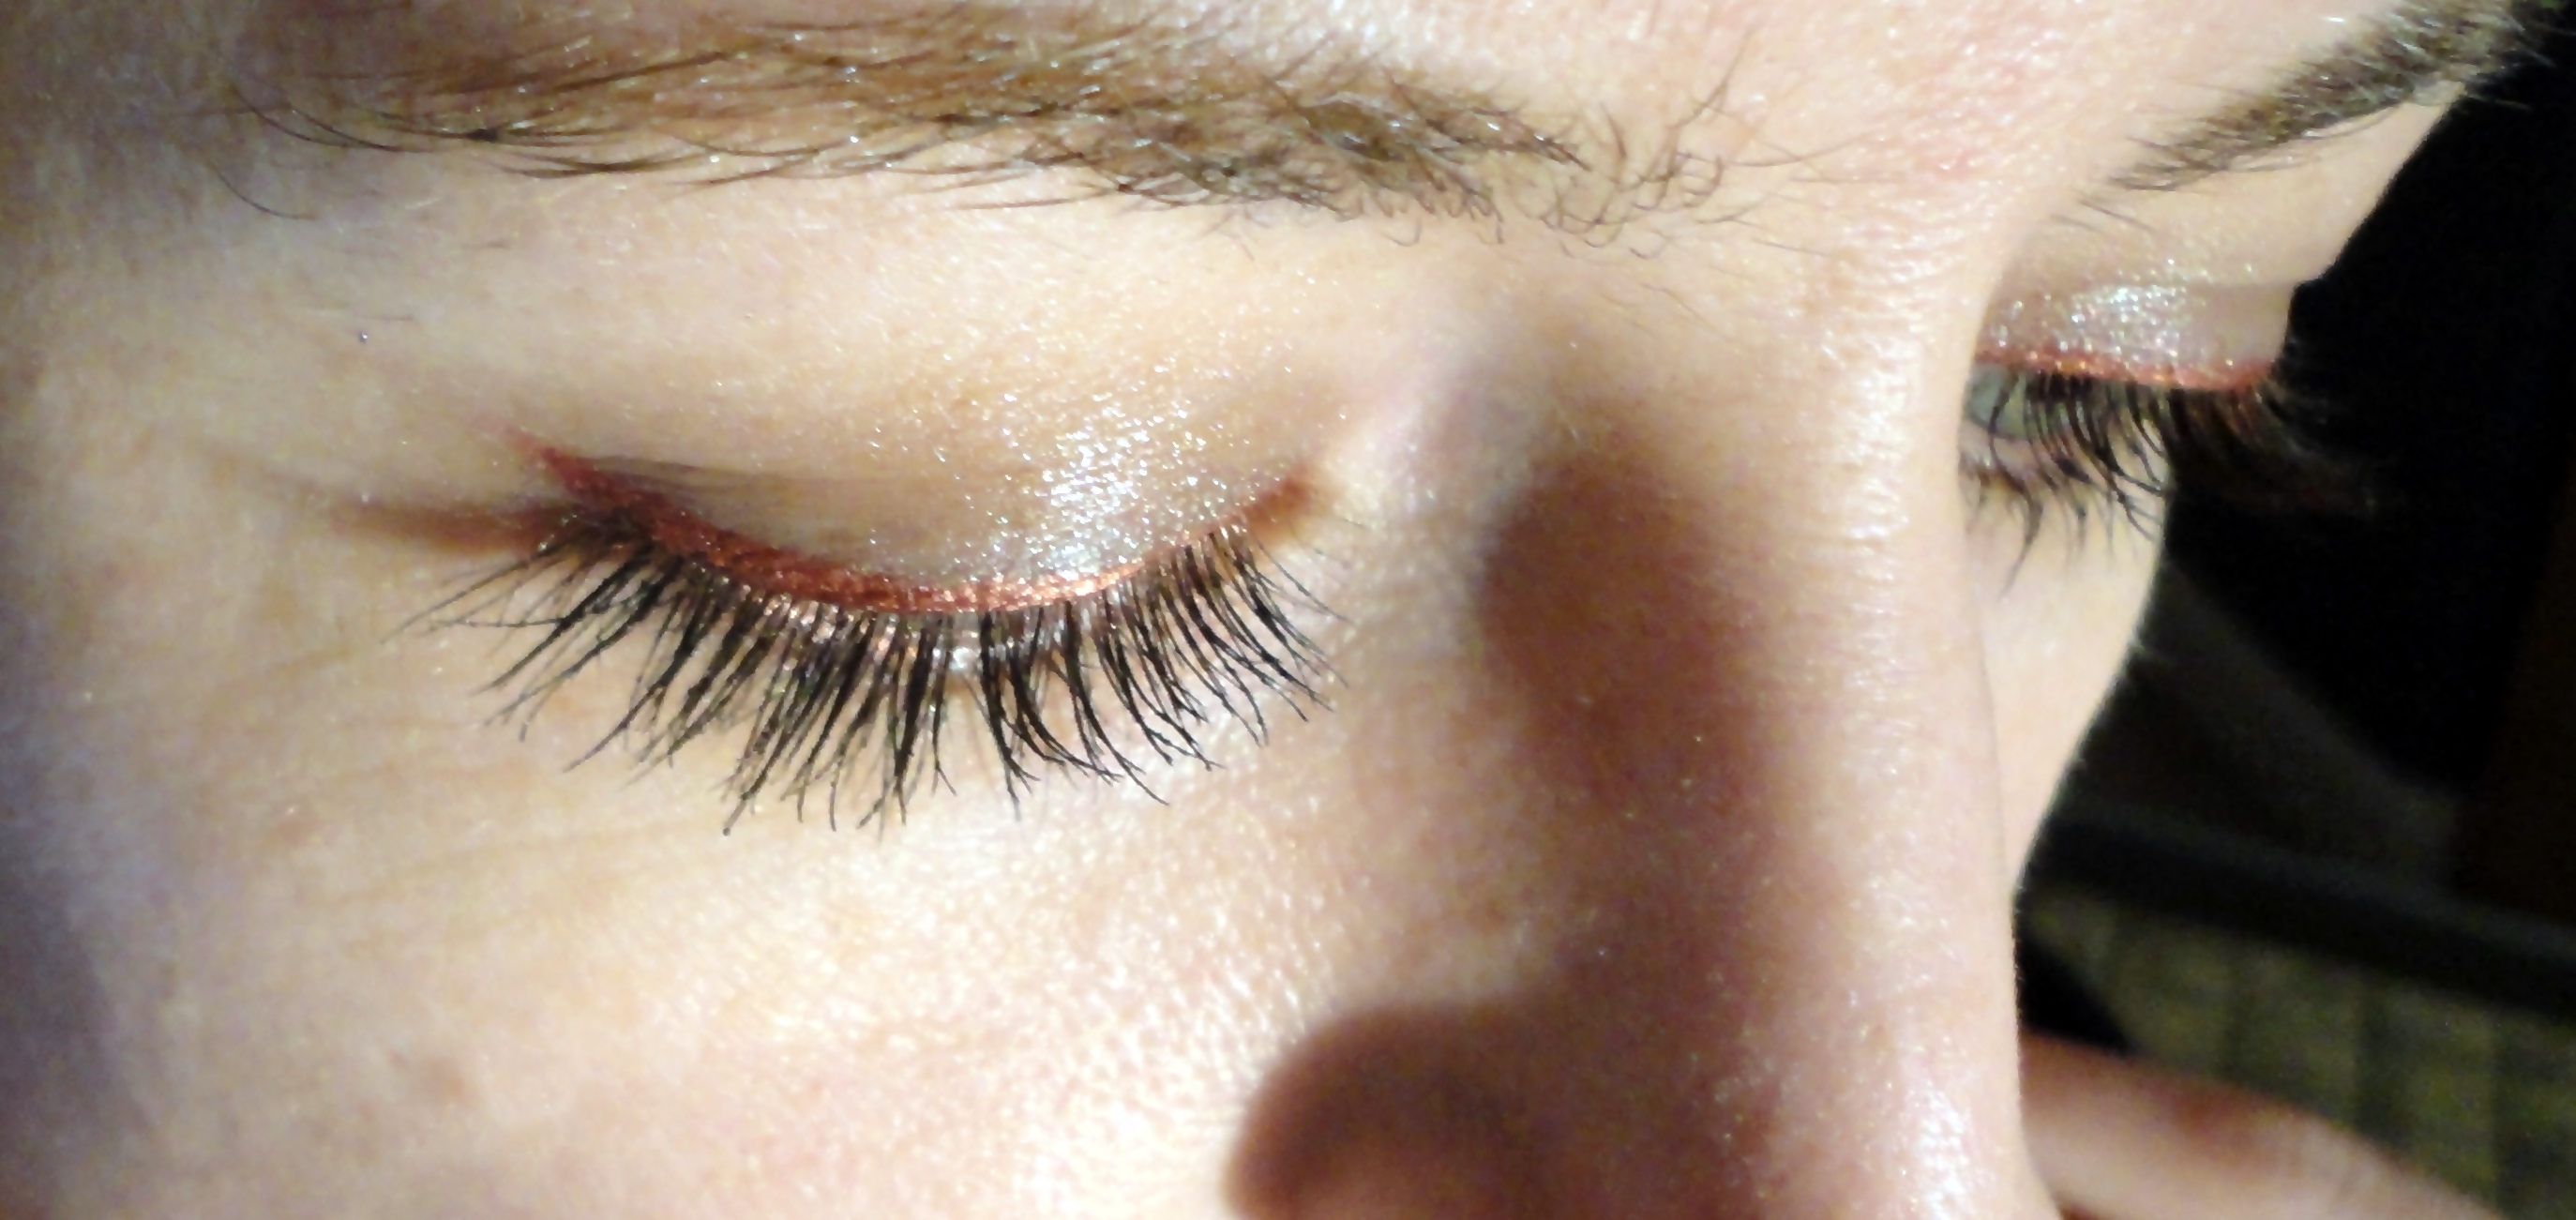
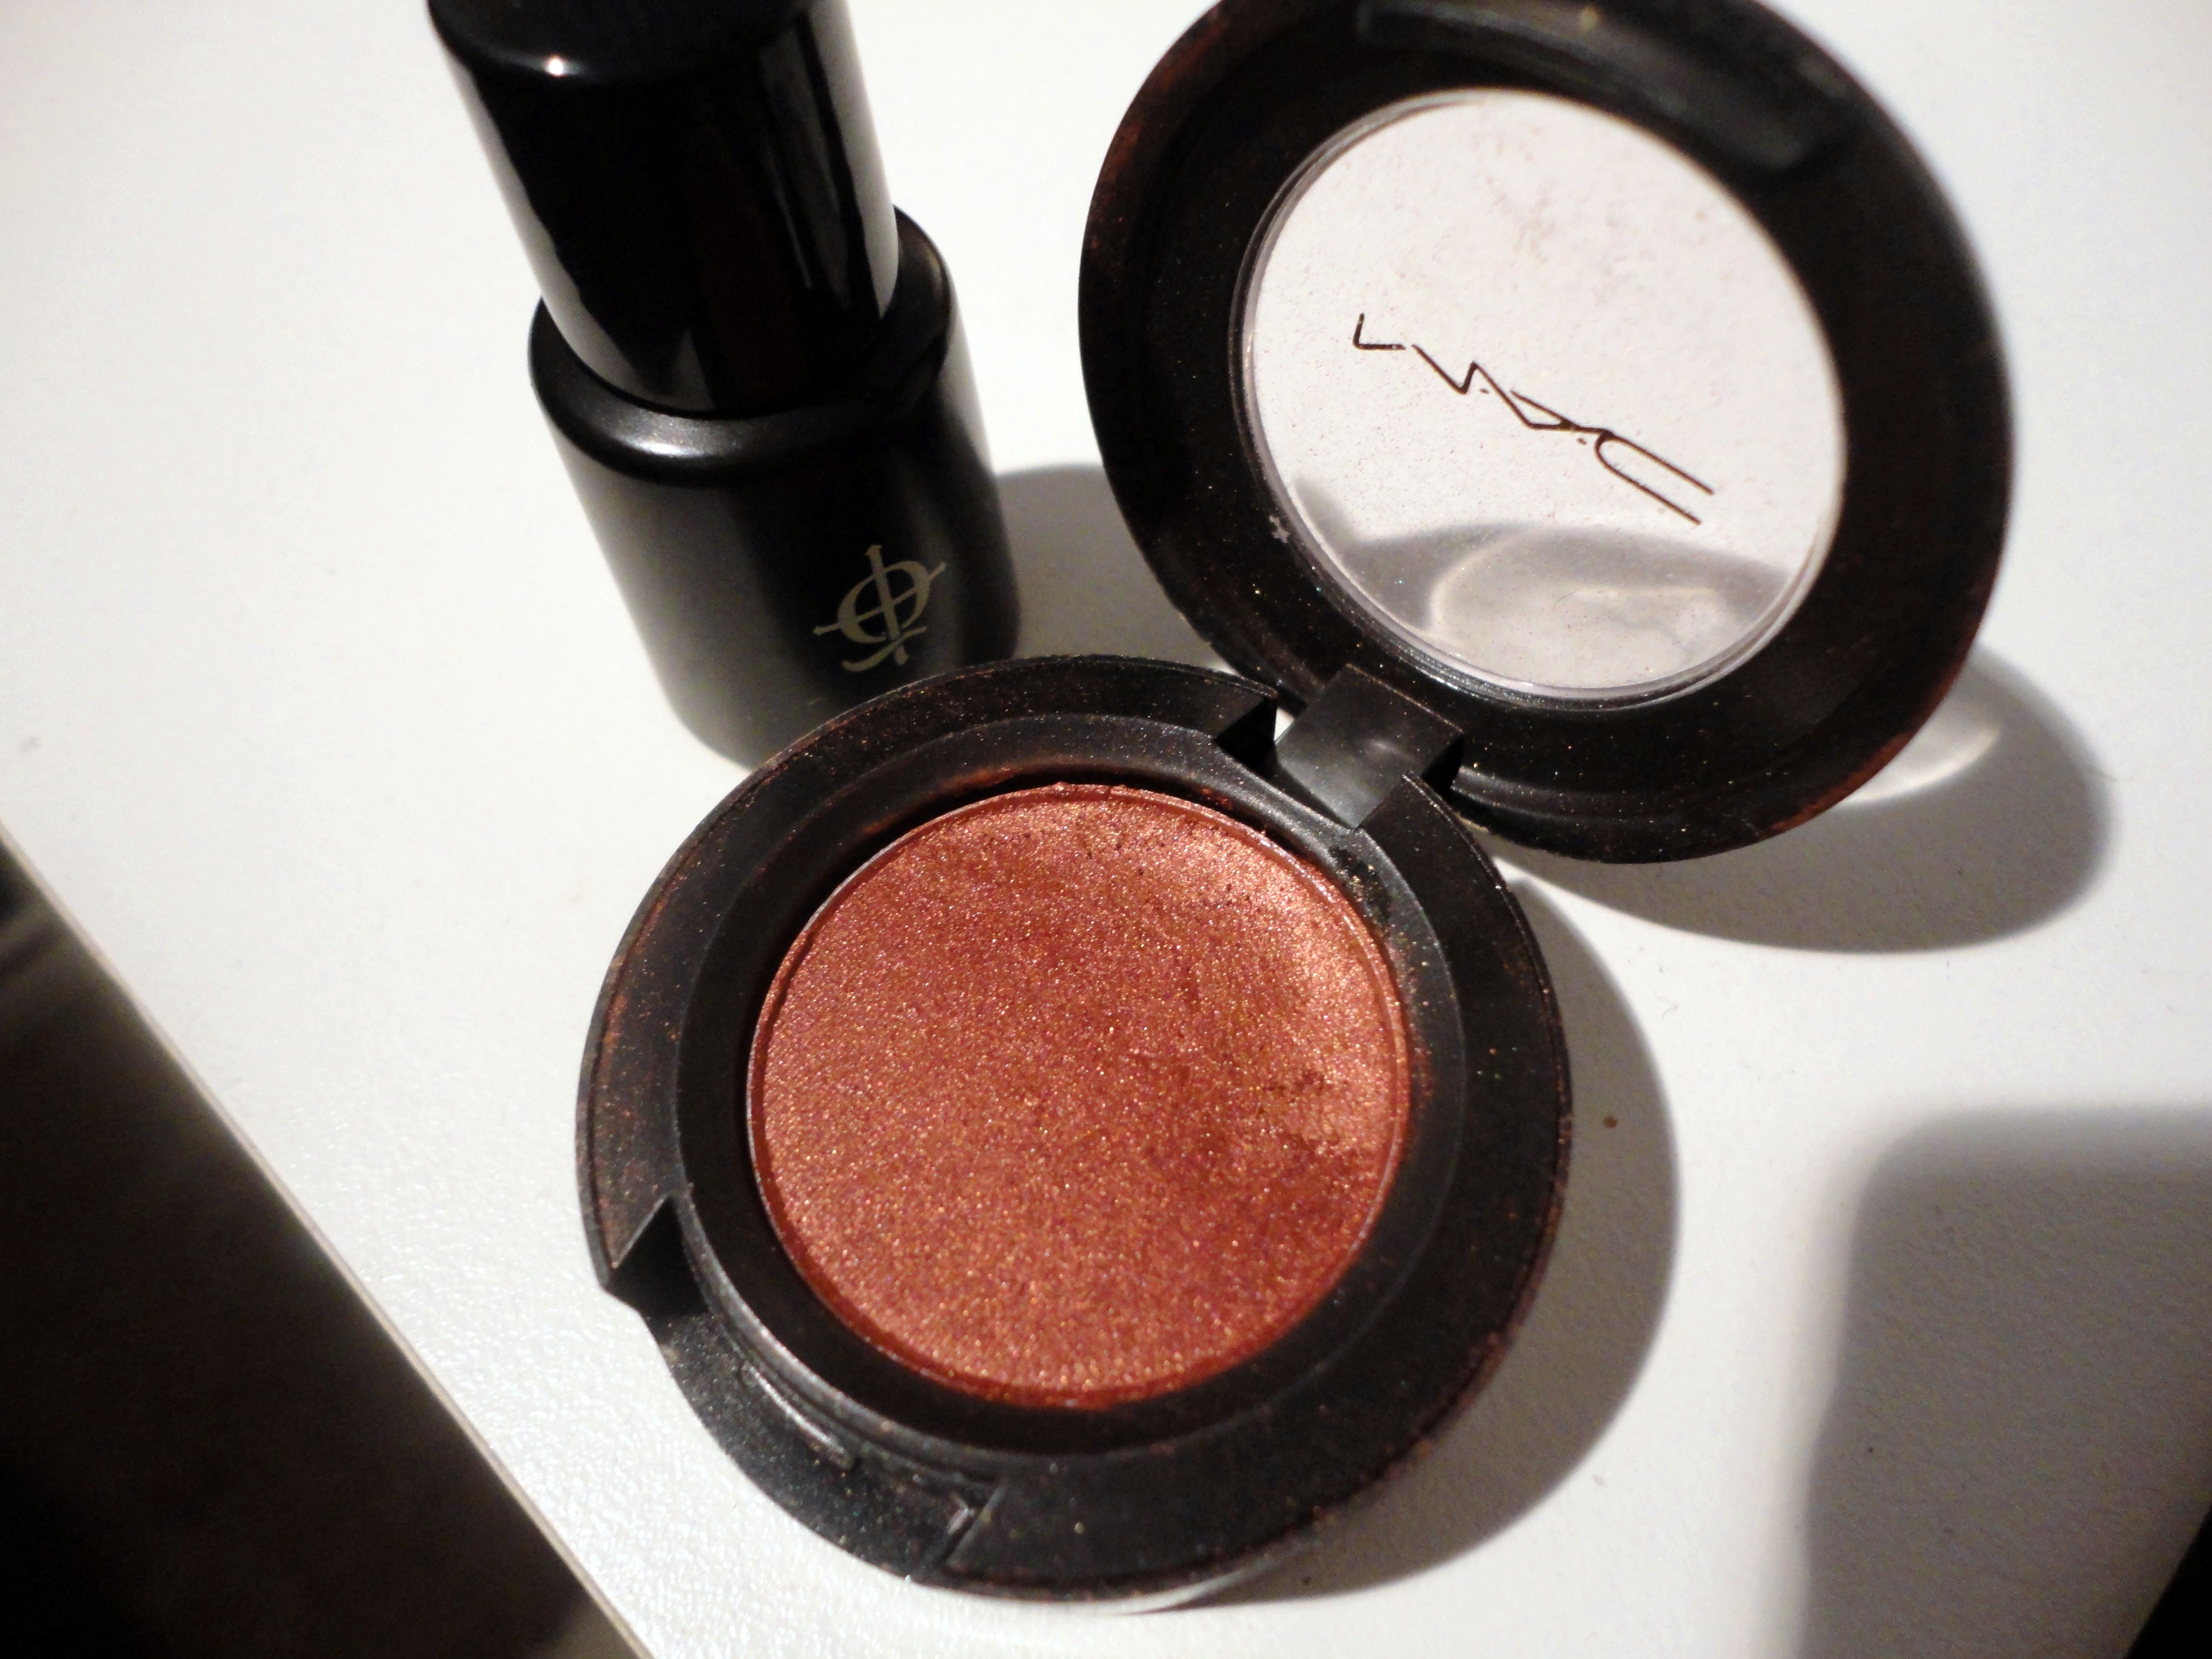
What we have here is MAC eyeshadow powder in Coppering (a daring reddish shade that if applied right, makes blue eyes insanely blue, and if applied even a little too heavy-handedly, makes one look as if one has a scorching case of pink-eye), mixed with a little – and I mean a tiny drop – of Illamasqua Sealing Gel, applied with a flat brush in a thin line, slightly winged out in a flick on the outer corner of the eye.
There’s a bit of Maybelline gel-cream eyeshadow (24 Hour Colour Tattoo in On and On Bronze) on my eyelids, although it’s mostly worn off, and Boots No. 7 brown mascara.
If you can only set aside 10 seconds for eye makeup yet want to look incredibly incredible, get your ring-fingertip into a pot of Maybelline 24 Hour Colour Tattoo and smear it on. You cannot f_ck it up, I swear. Shimmery, flattering colours for everyone! The 24-Hour claim is a bald-faced lie, obviously, but the good news is that you can just pat it back into place if it does travel or crease during the course of the day. Maybe she’s born with it, or maybe that’s just me and my greasy eyelids.
The MAC Coppering/Illamasqua Sealing Gel is all the way along the top lashline, right down into the inner corner of my eyes, and there it stayed all day, not a smudge or a wrinkle or a fade or a blur in sight. I’m well impressed, Illamasqua.
Sealing Gel, welcome to my makeup kit.
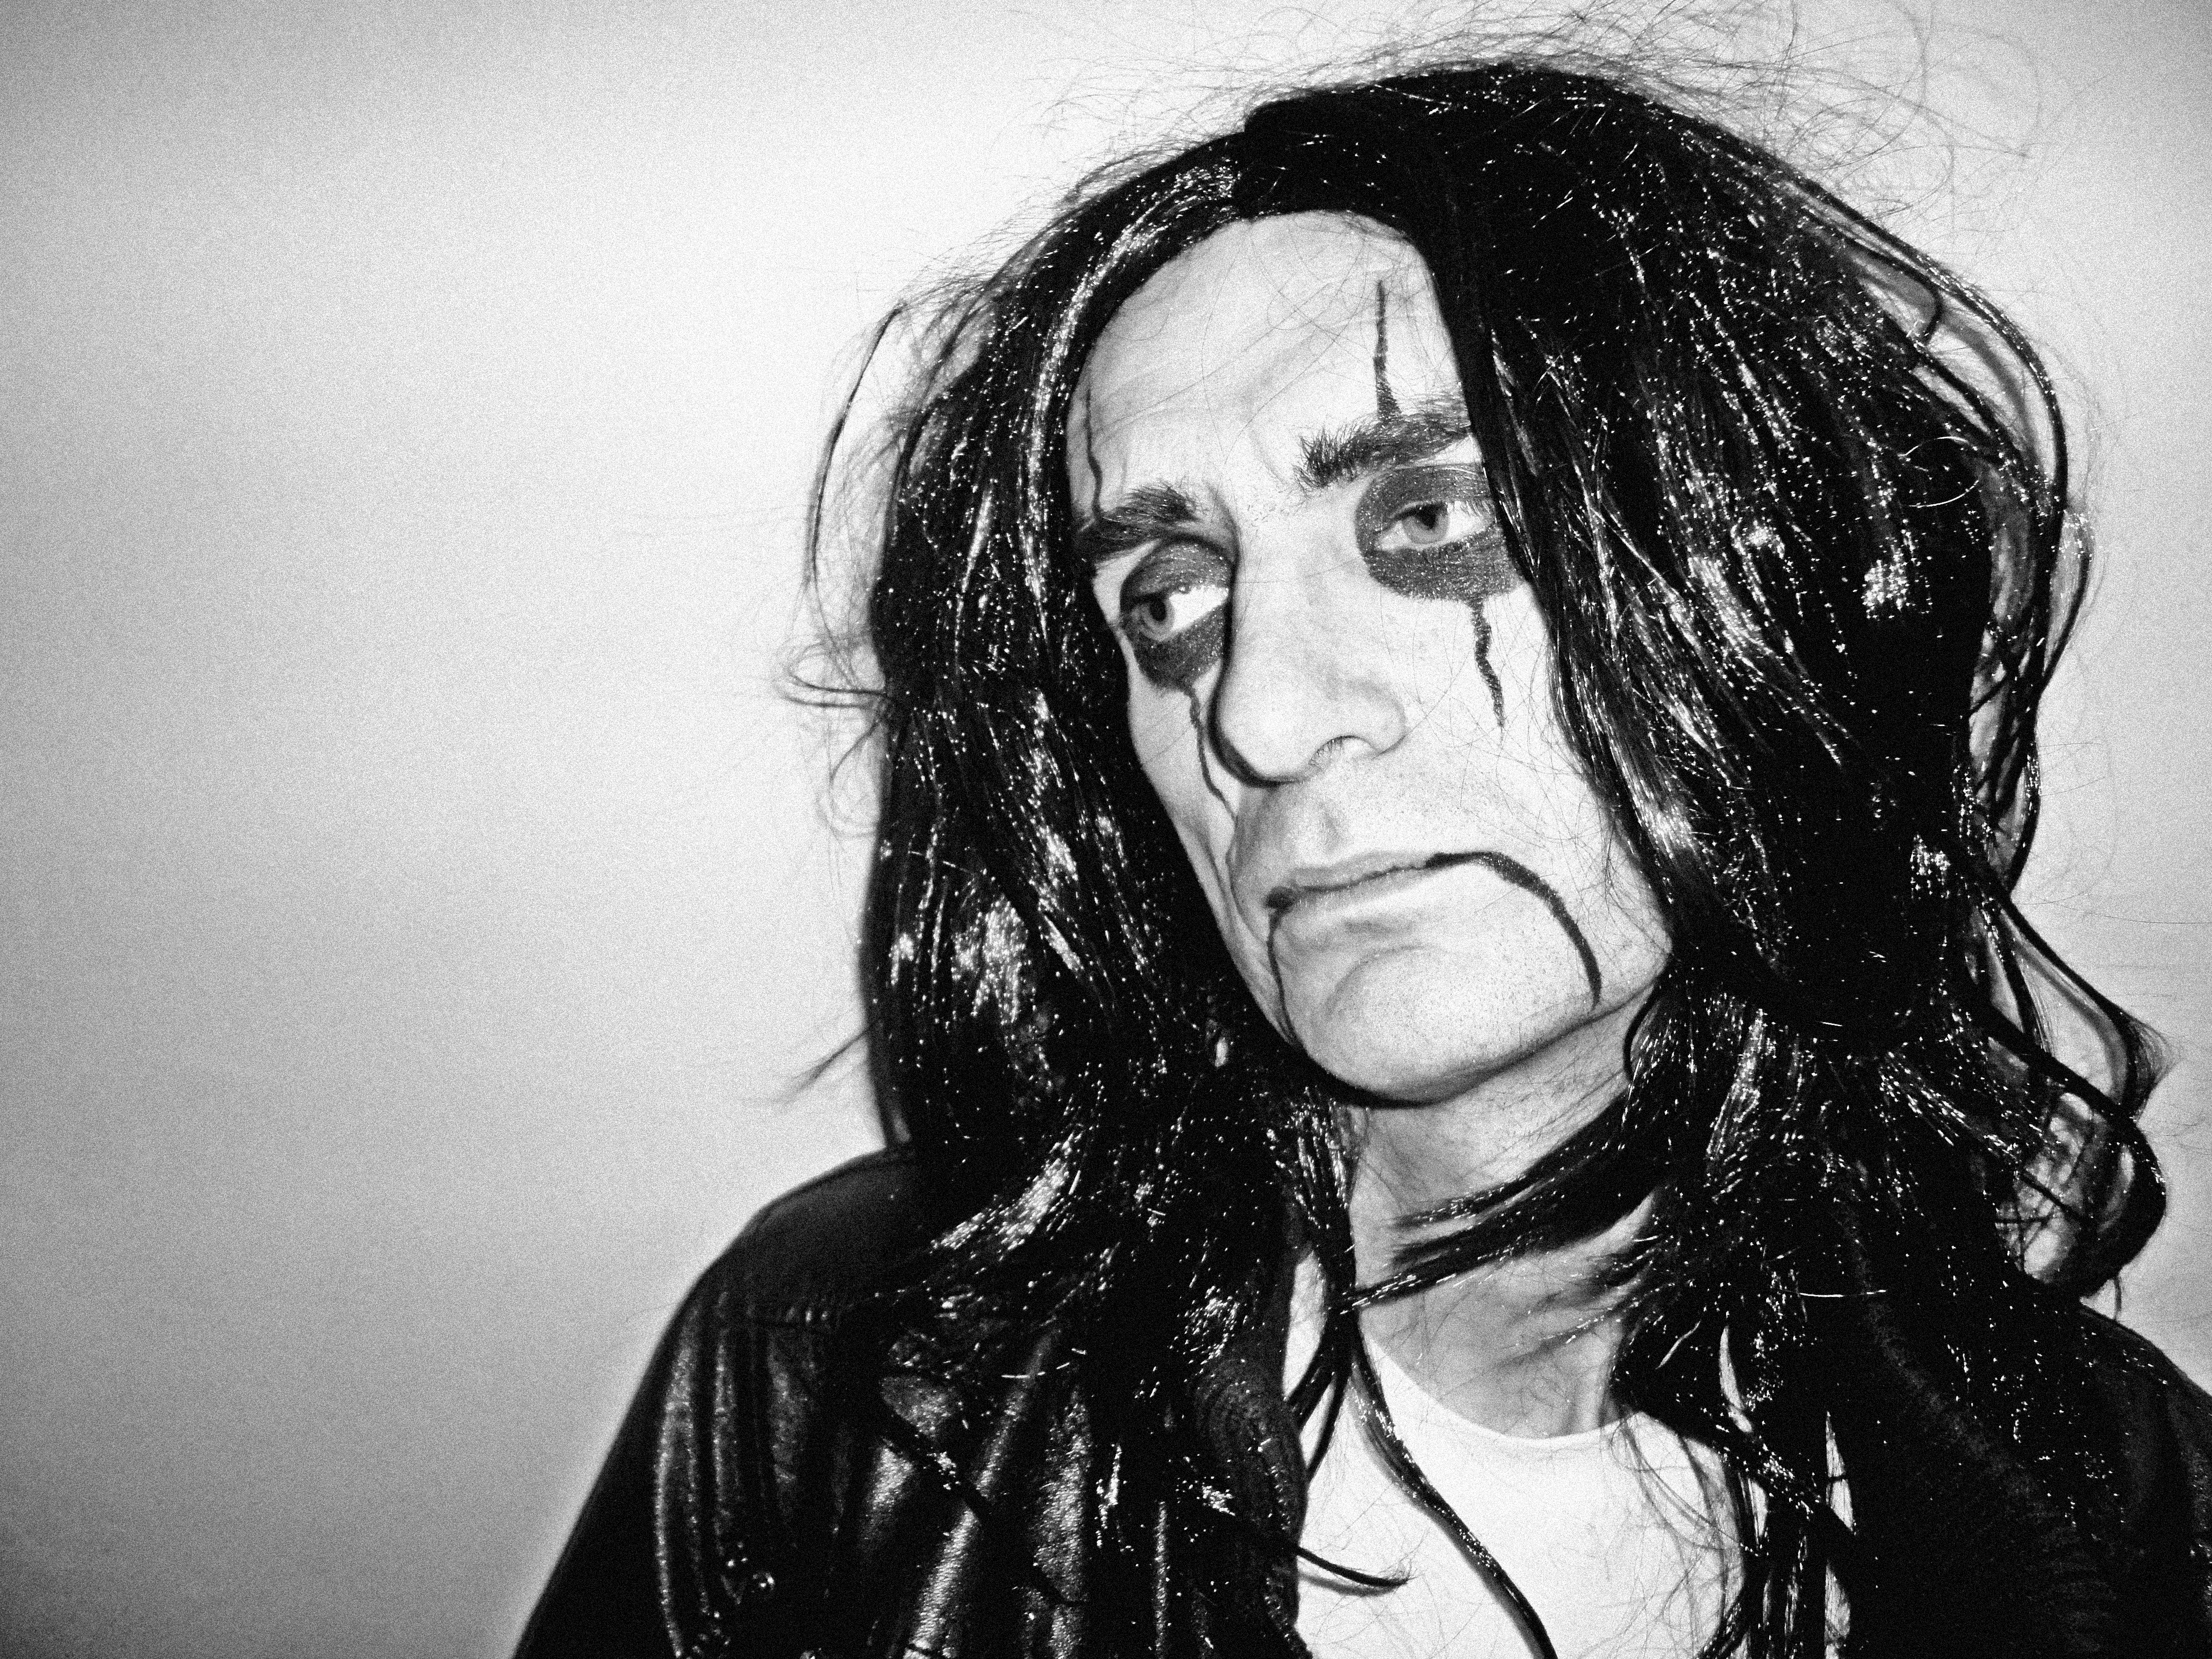
No. It’s Grant in makeup and a wig!
Why so sad, Alice-Grant? Is it because my plan to see your performance in Edinburgh on Halloween last year fell through, and you’re all bummed out because one of your fans never got to see you live on stage? I was disappointed, too – Chloe and I were going to go as Wayne and Garth. But it was not to be.
I didn’t think tickets would sell out as fast as they did, then BOOM all of a sudden they were £140. Damn the scalpers, damn them all to hell (but not the good part of hell where I will be roasting marshmallows with all my friends in due course – the bad part, for bad people who rip music fans off. Hisss)
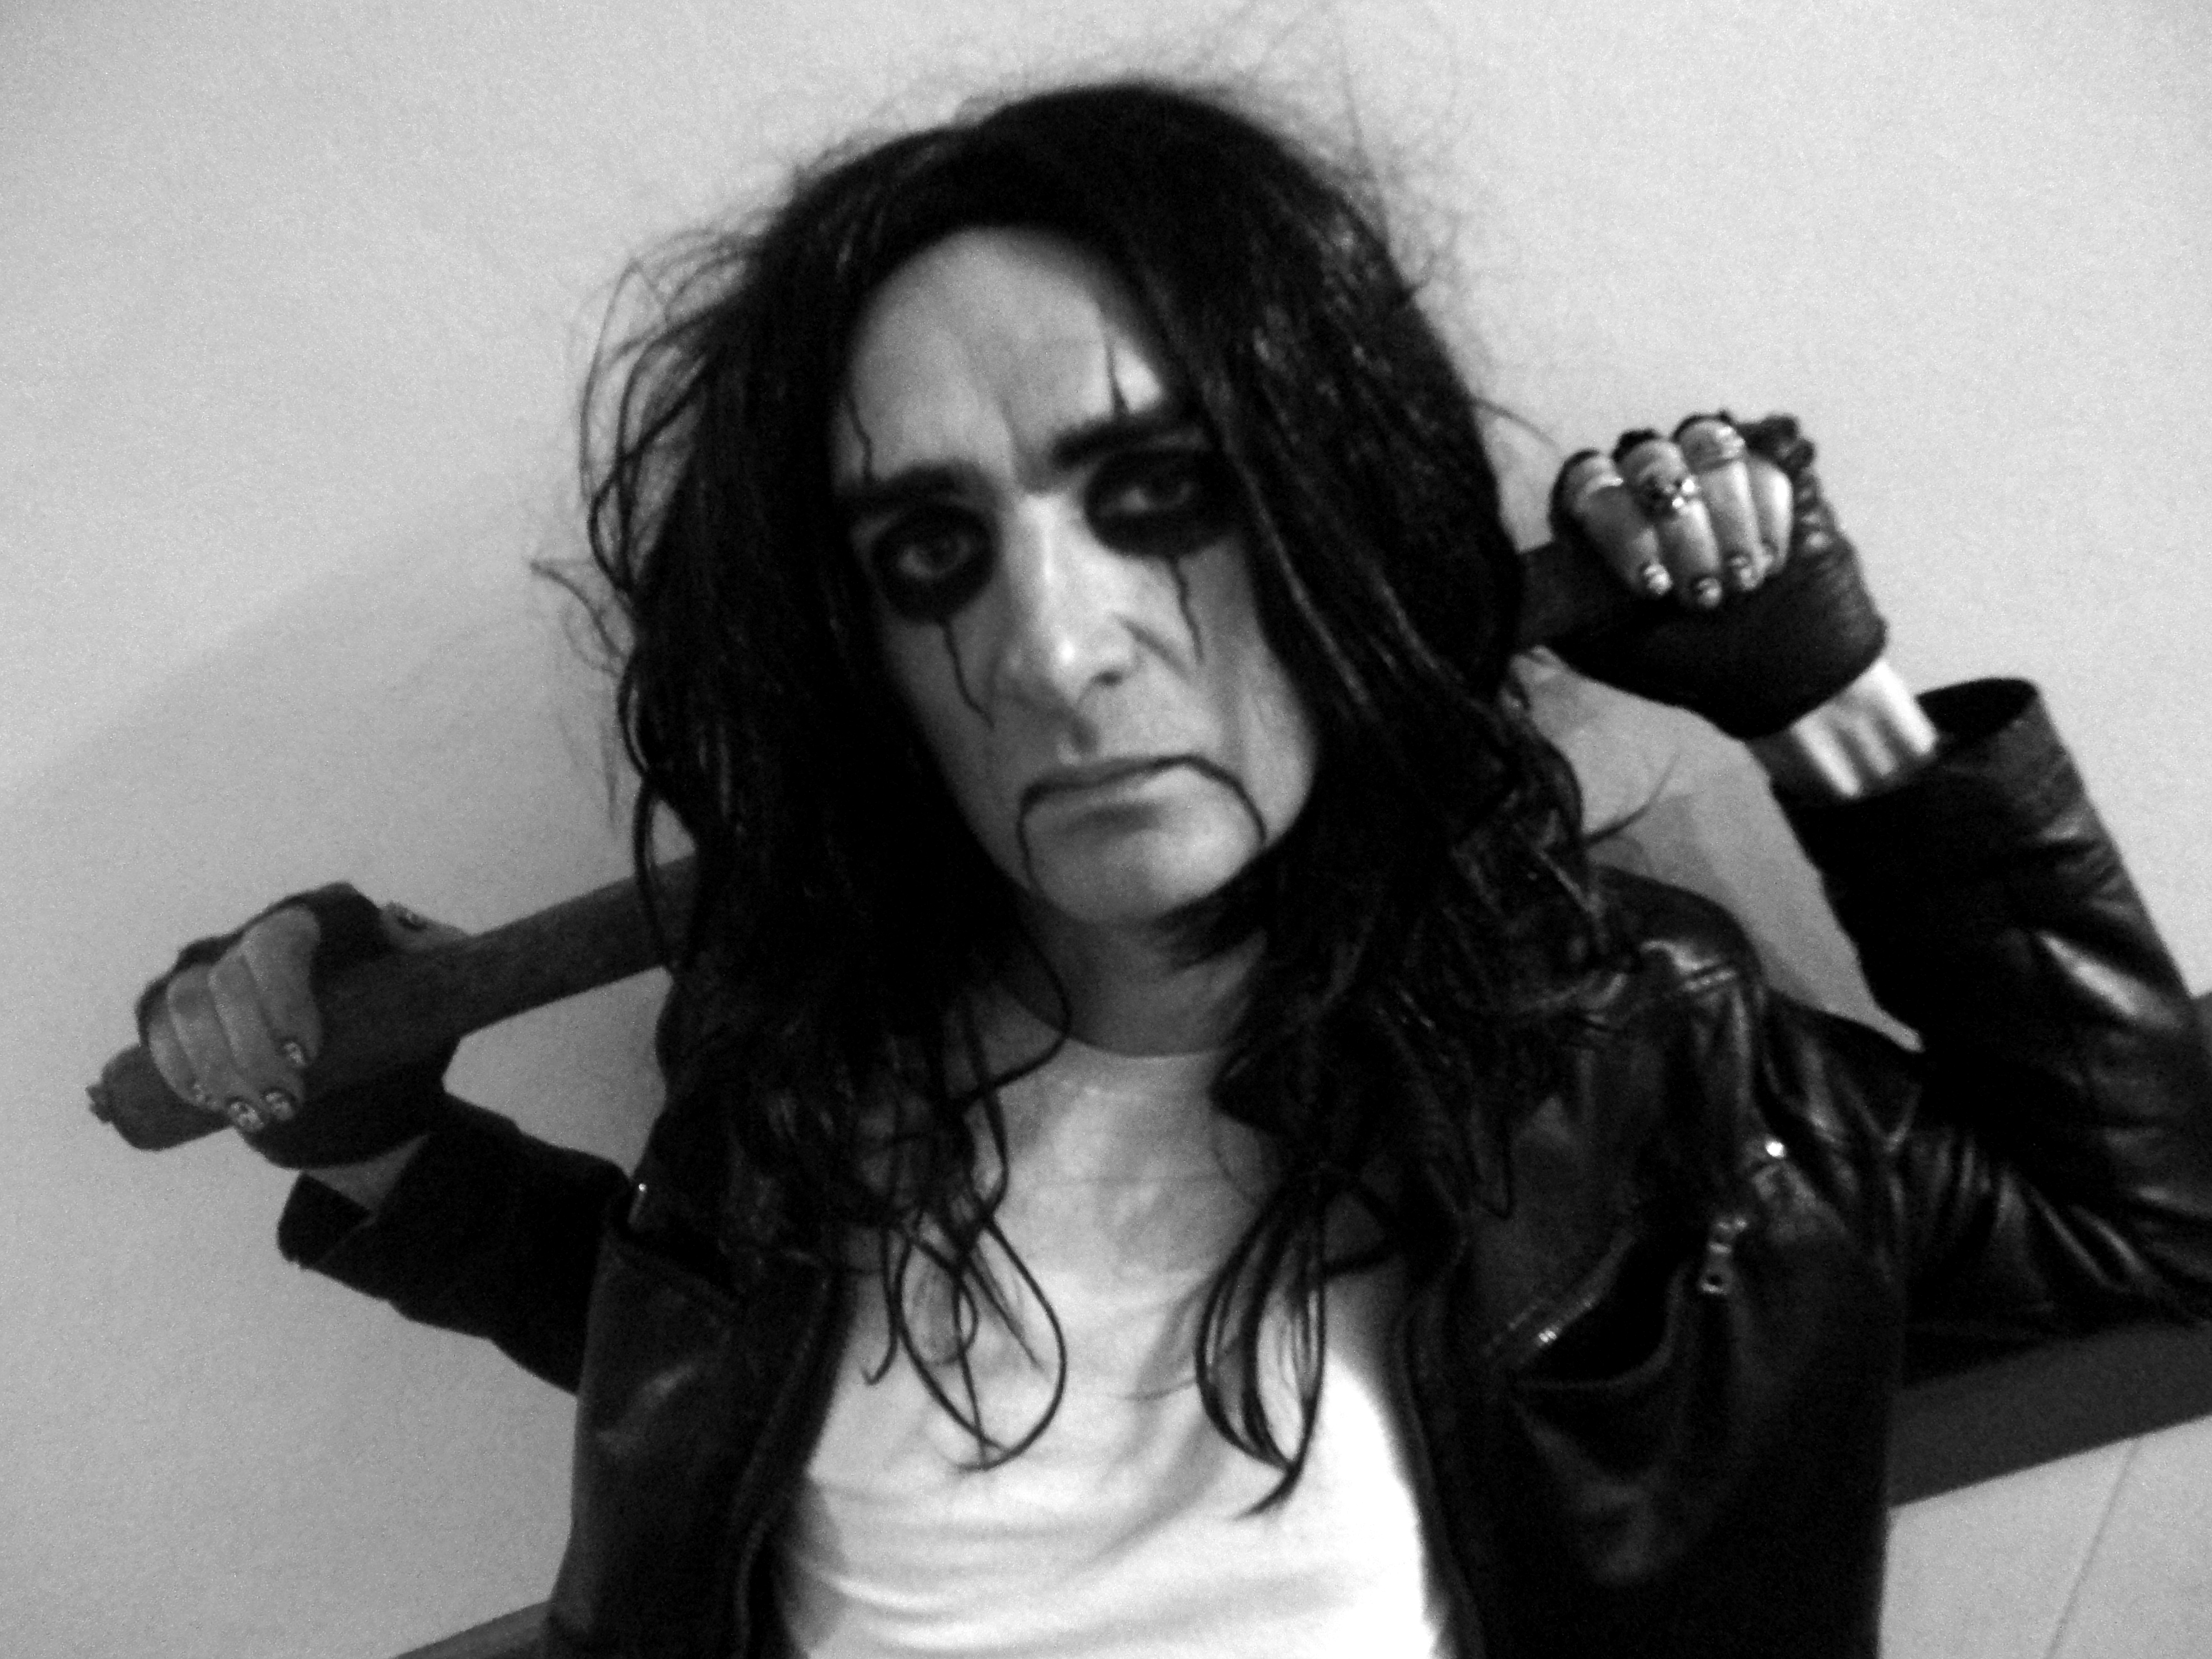
Well. As I always say, if you want something done, you’ve got to do it yourself. Didn’t get to meet Alice Cooper? Just paint someone else up to look like him and voila. We are the masters of our own destinies, the architects of our own fortunes, the creators of our own fan-girl photo opportunities, are we not?
What we have here, for those curious about the technicalities, is MAC Paintpot in Blackground (that bad-boy’s been getting quite the workout lately, but it really is good stuff), just painted on with a concealer brush.
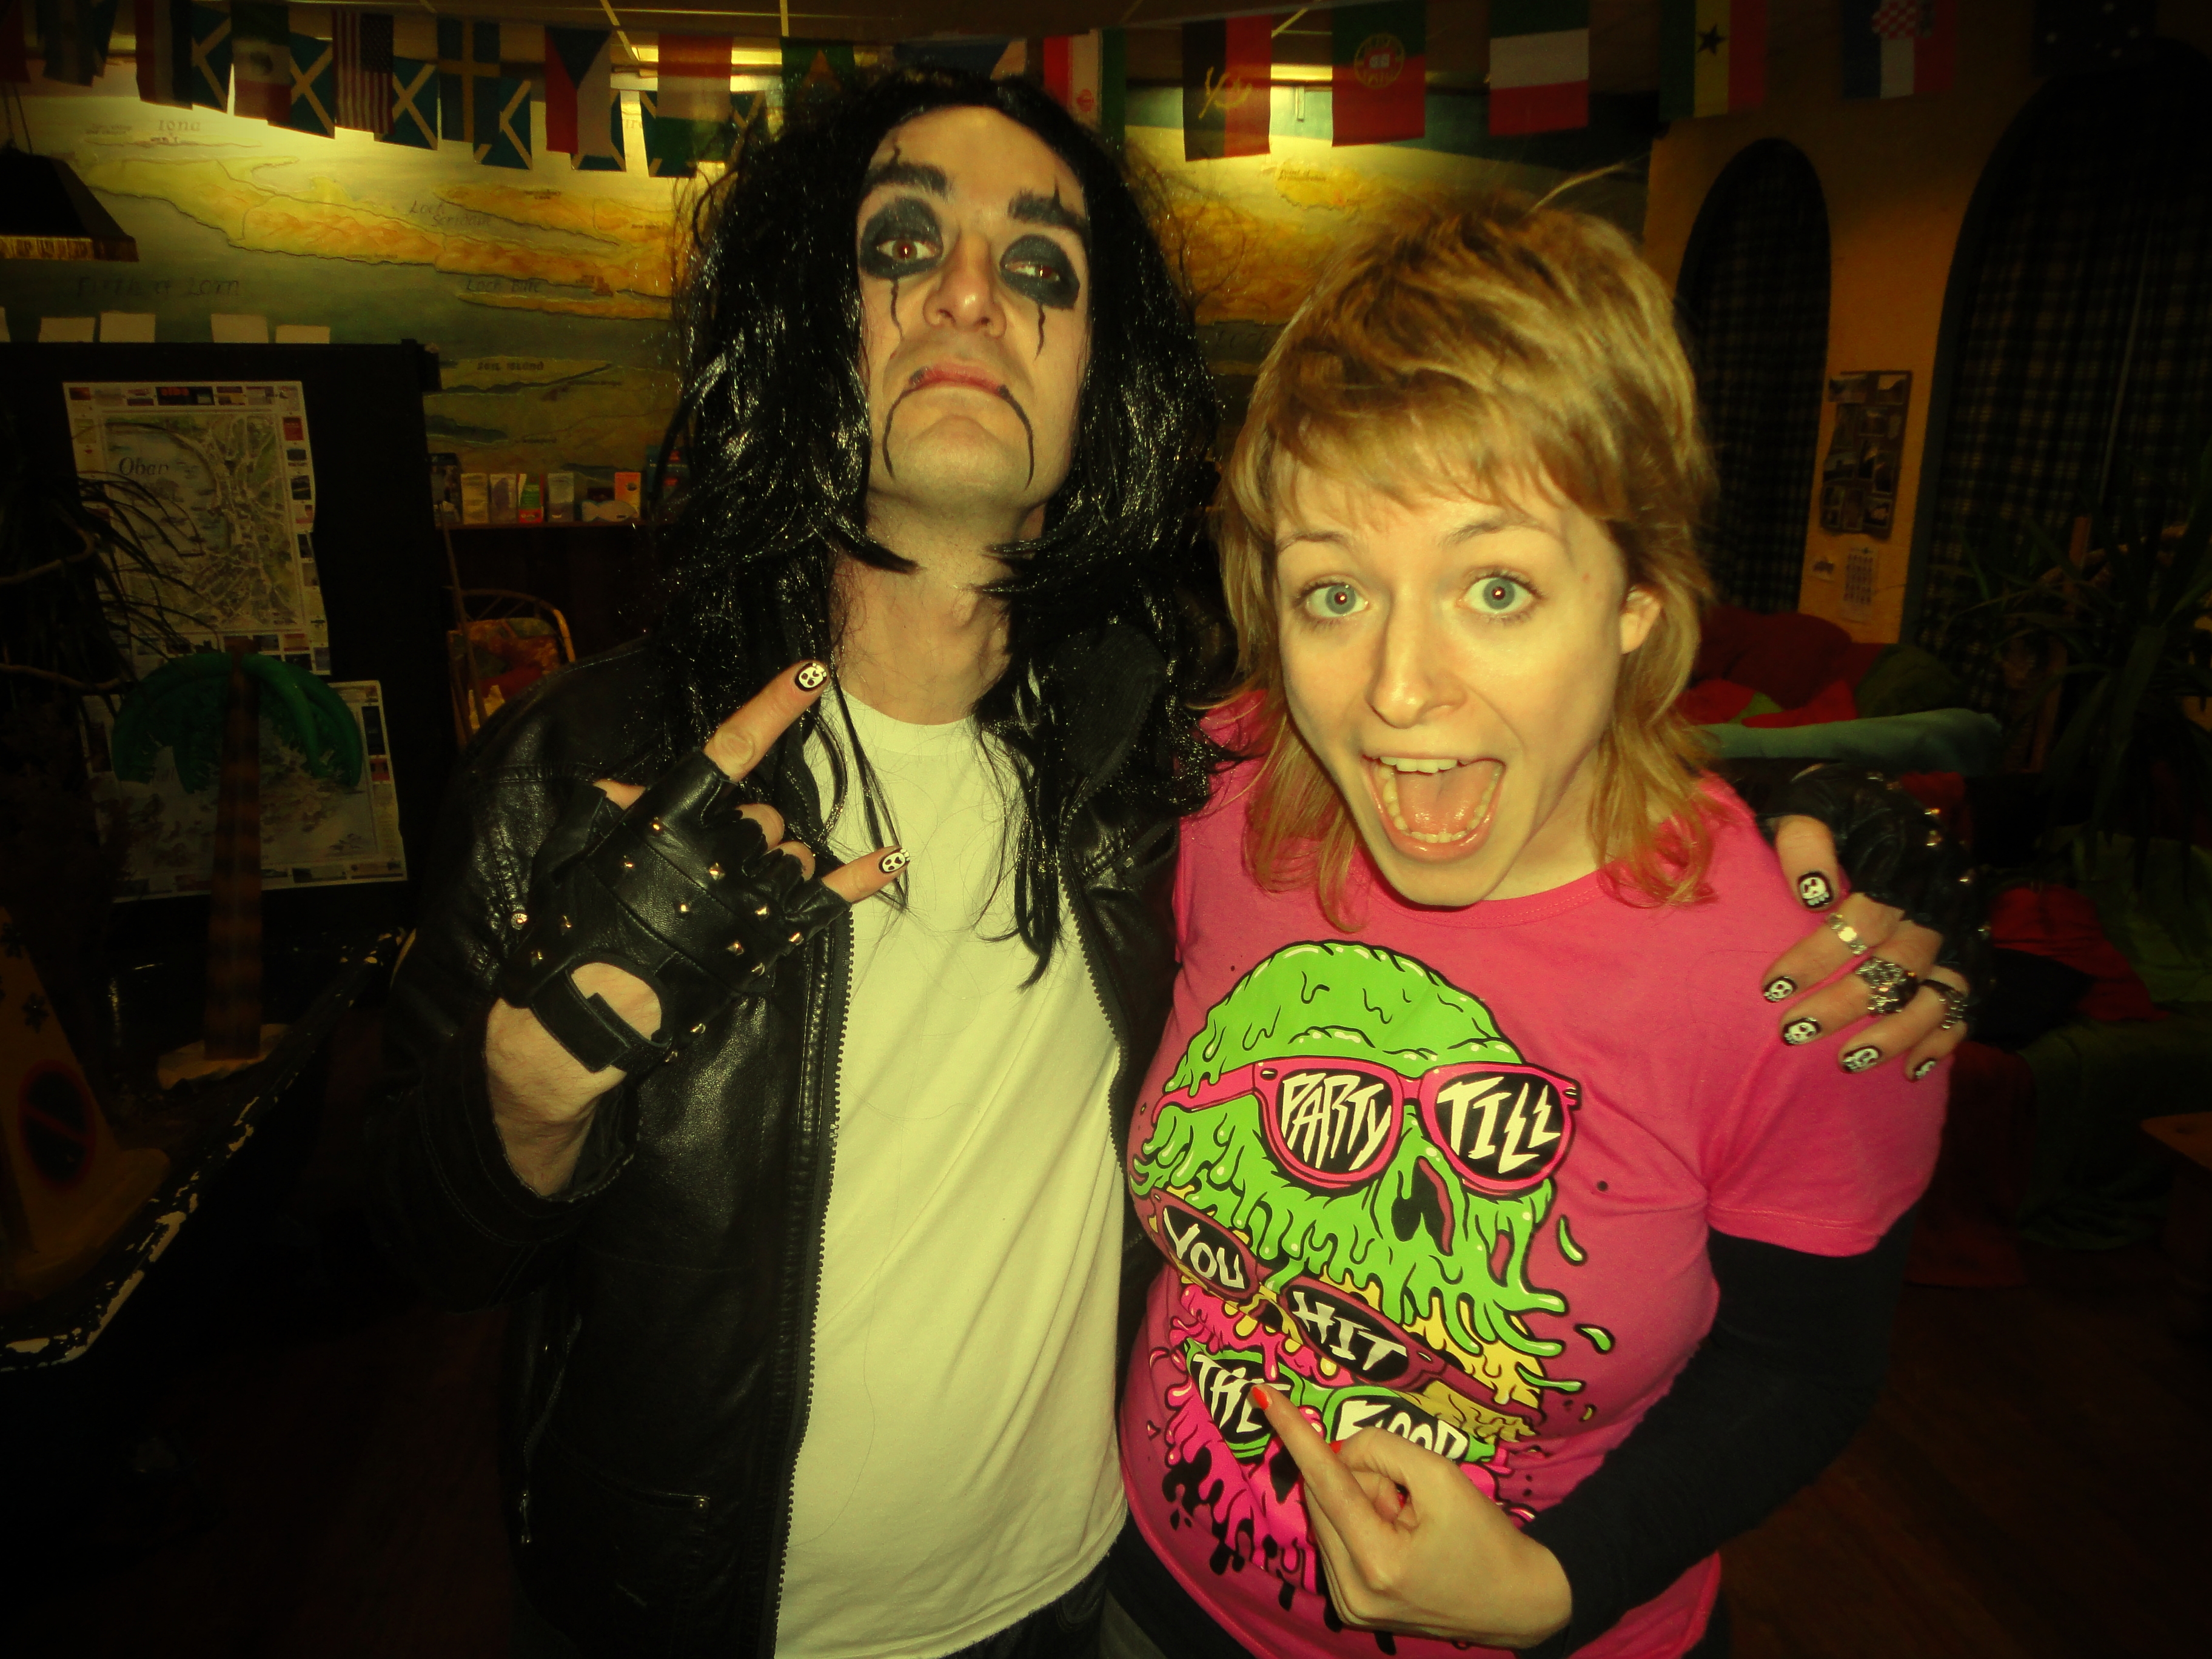
Add a black wig – I found this one under the reception desk – and fingerless stud faux leather gloves. Borrow a leather jacket from a Spanish guy called Sergio (if you can find one), and Bob’s your uncle. Or Grant’s your Alice. Or whatever.
Have fun, dear children.
To begin, take 1 x sister who wants fancy feature eye makeup for a night at the pub.

Chloe has very good skin, the lucky so-and-so, however I did still feel the need to use some colour-correcting concealer under her eyes, which can look quite blue. (Agi calls under-eye bags ‘douche bags’, fun fact for today).
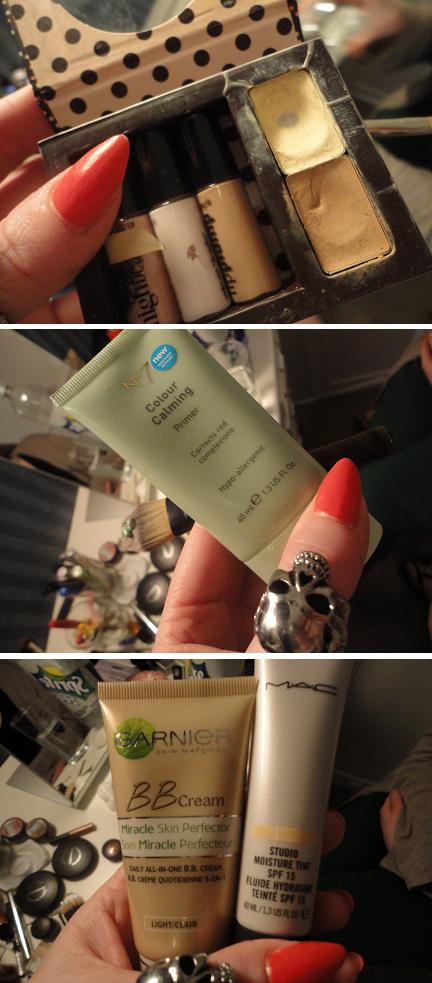
Using a mini Benefit Realness of Concealness kit, I put the lemon-yellow concealer under Chloe’s eyes from the inside corner, down alongside her nose and back up under the eye again, kind of in a triangle if that makes more sense. Boots green primer was buffed along her t-zone to correct redness, and Garnier BB cream in Light was used just under the cheekbones as it’s slightly darker than the light MAC tinted moisturiser I used sparingly over the whole face.
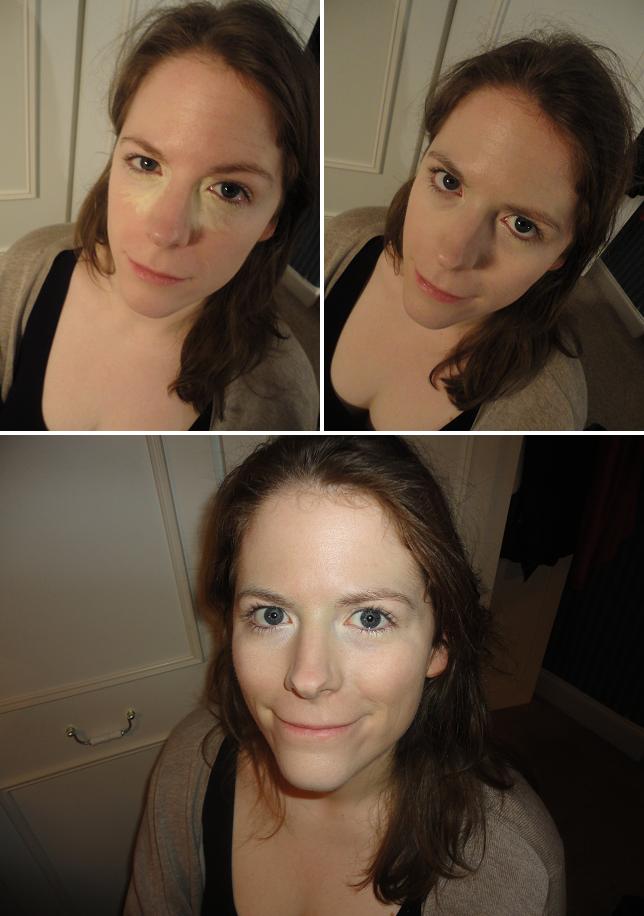
lemon, lime, PURDY!
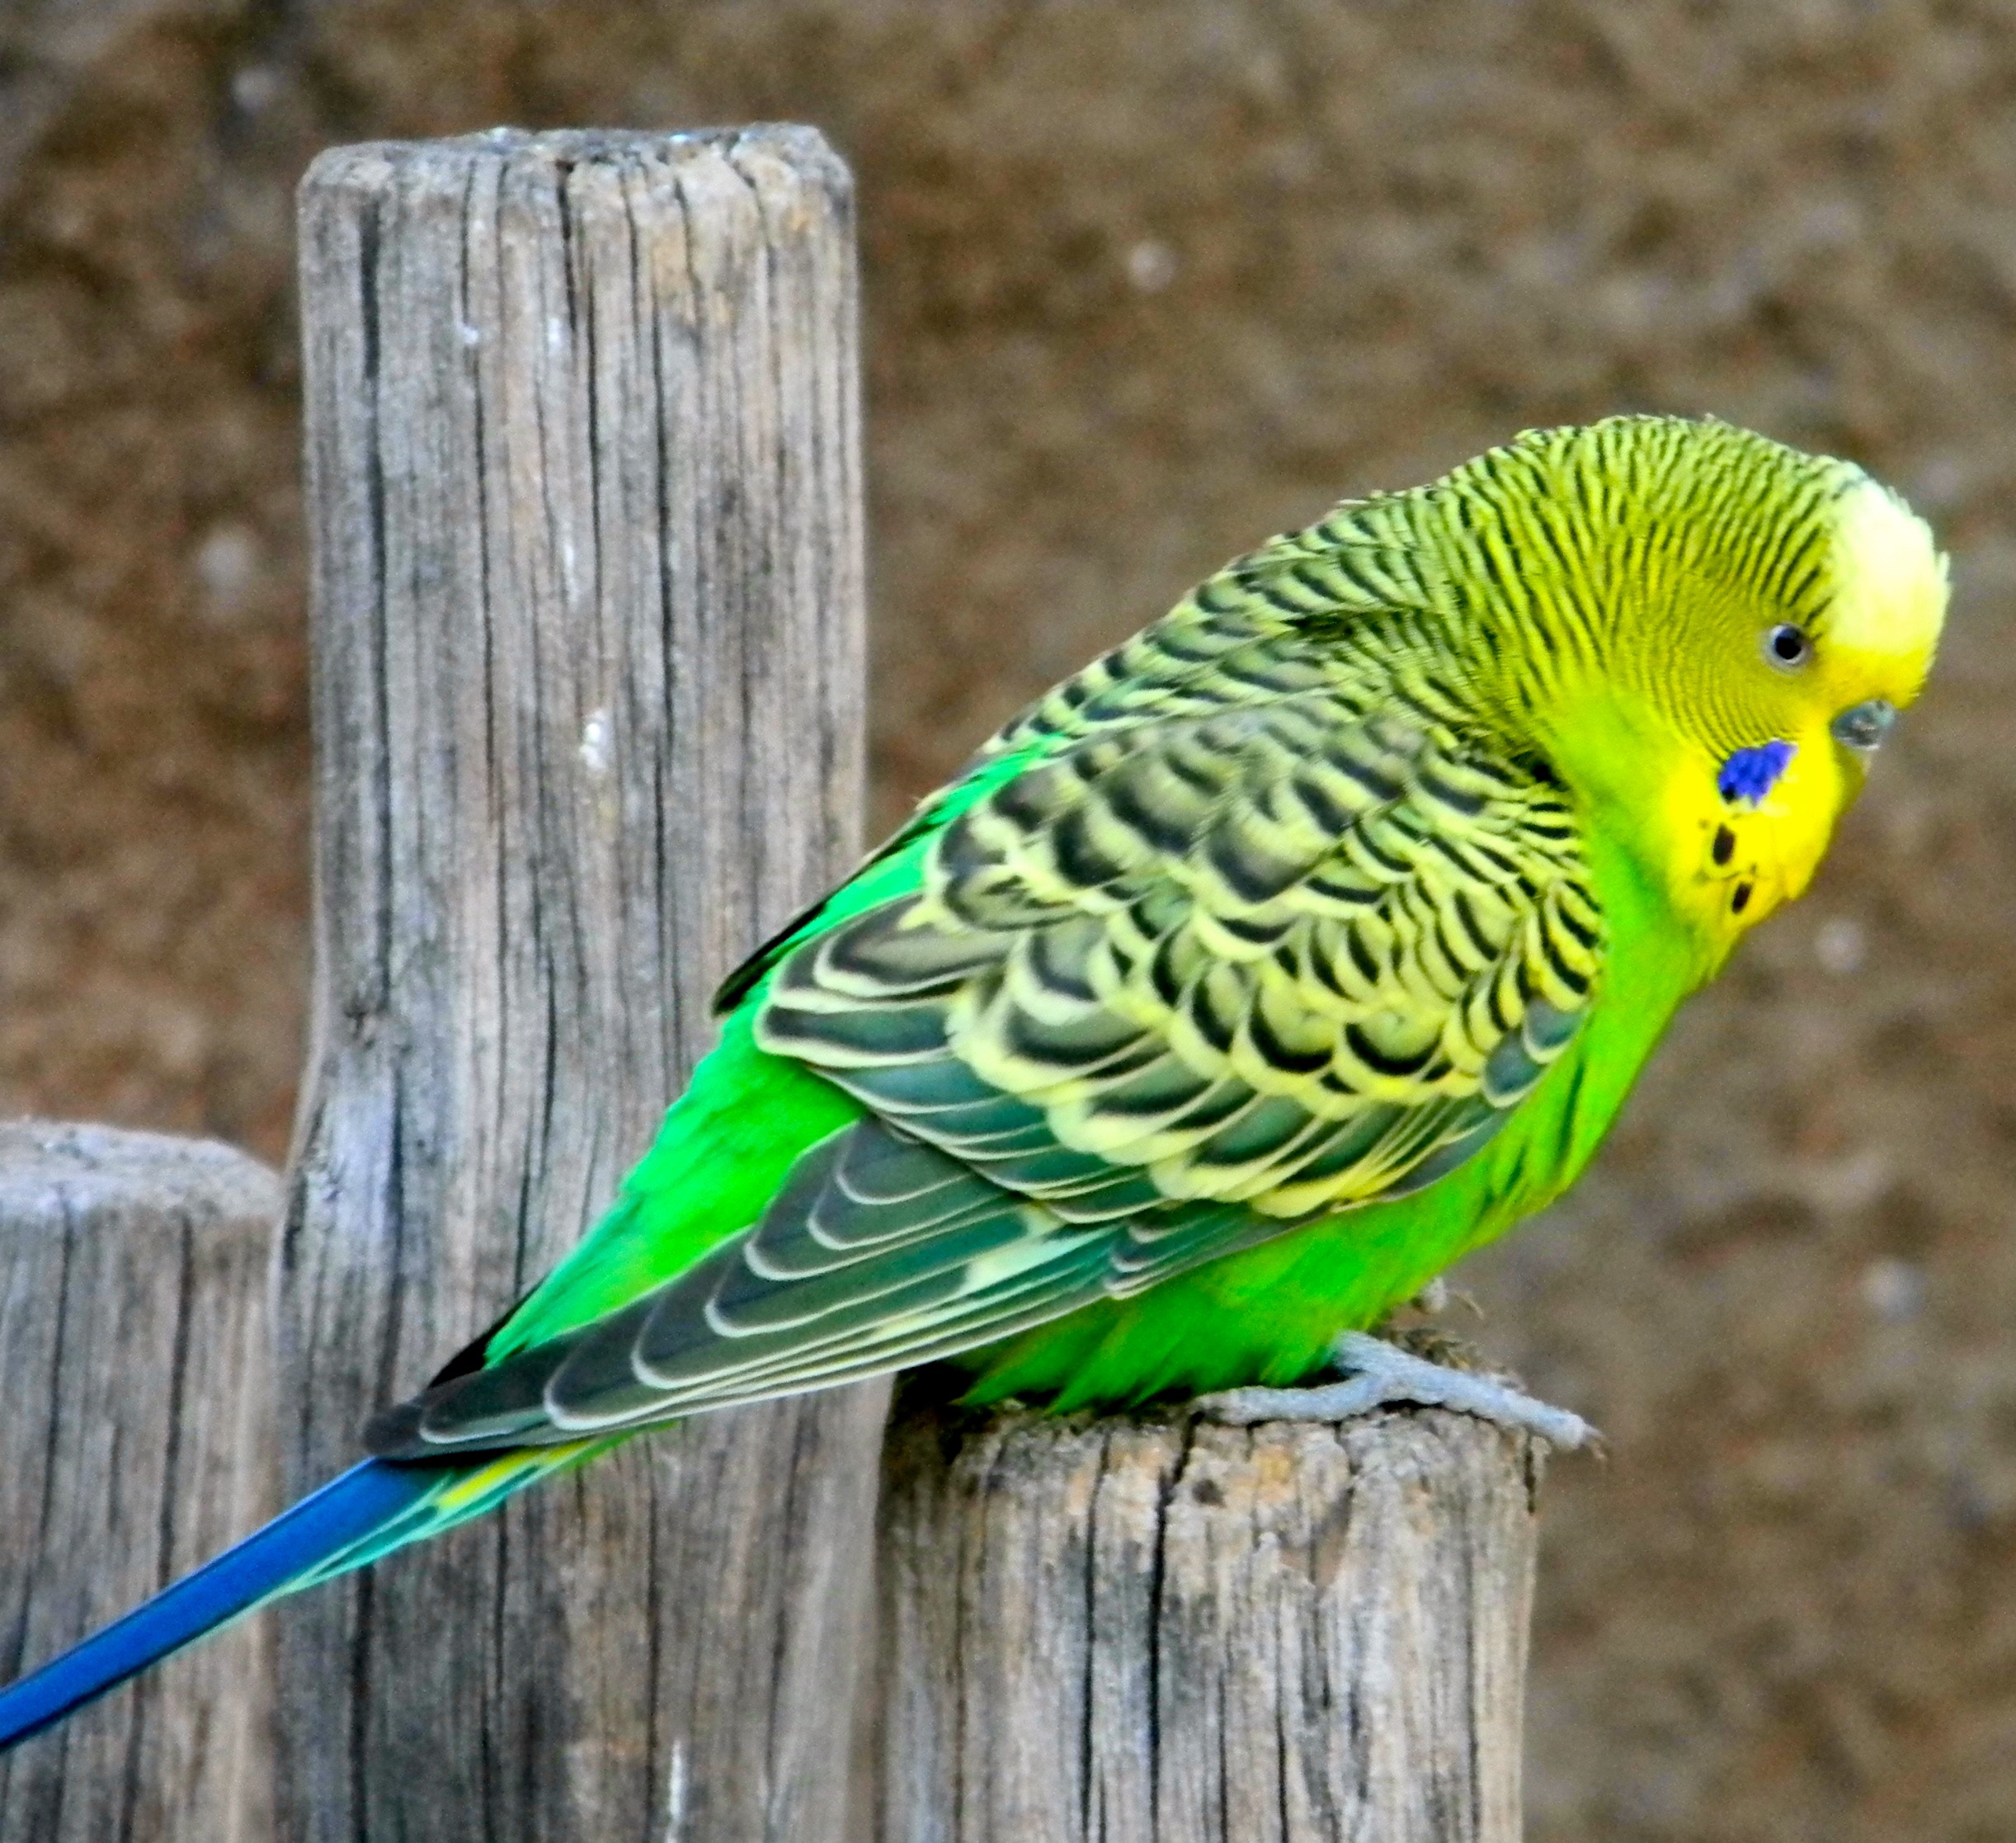
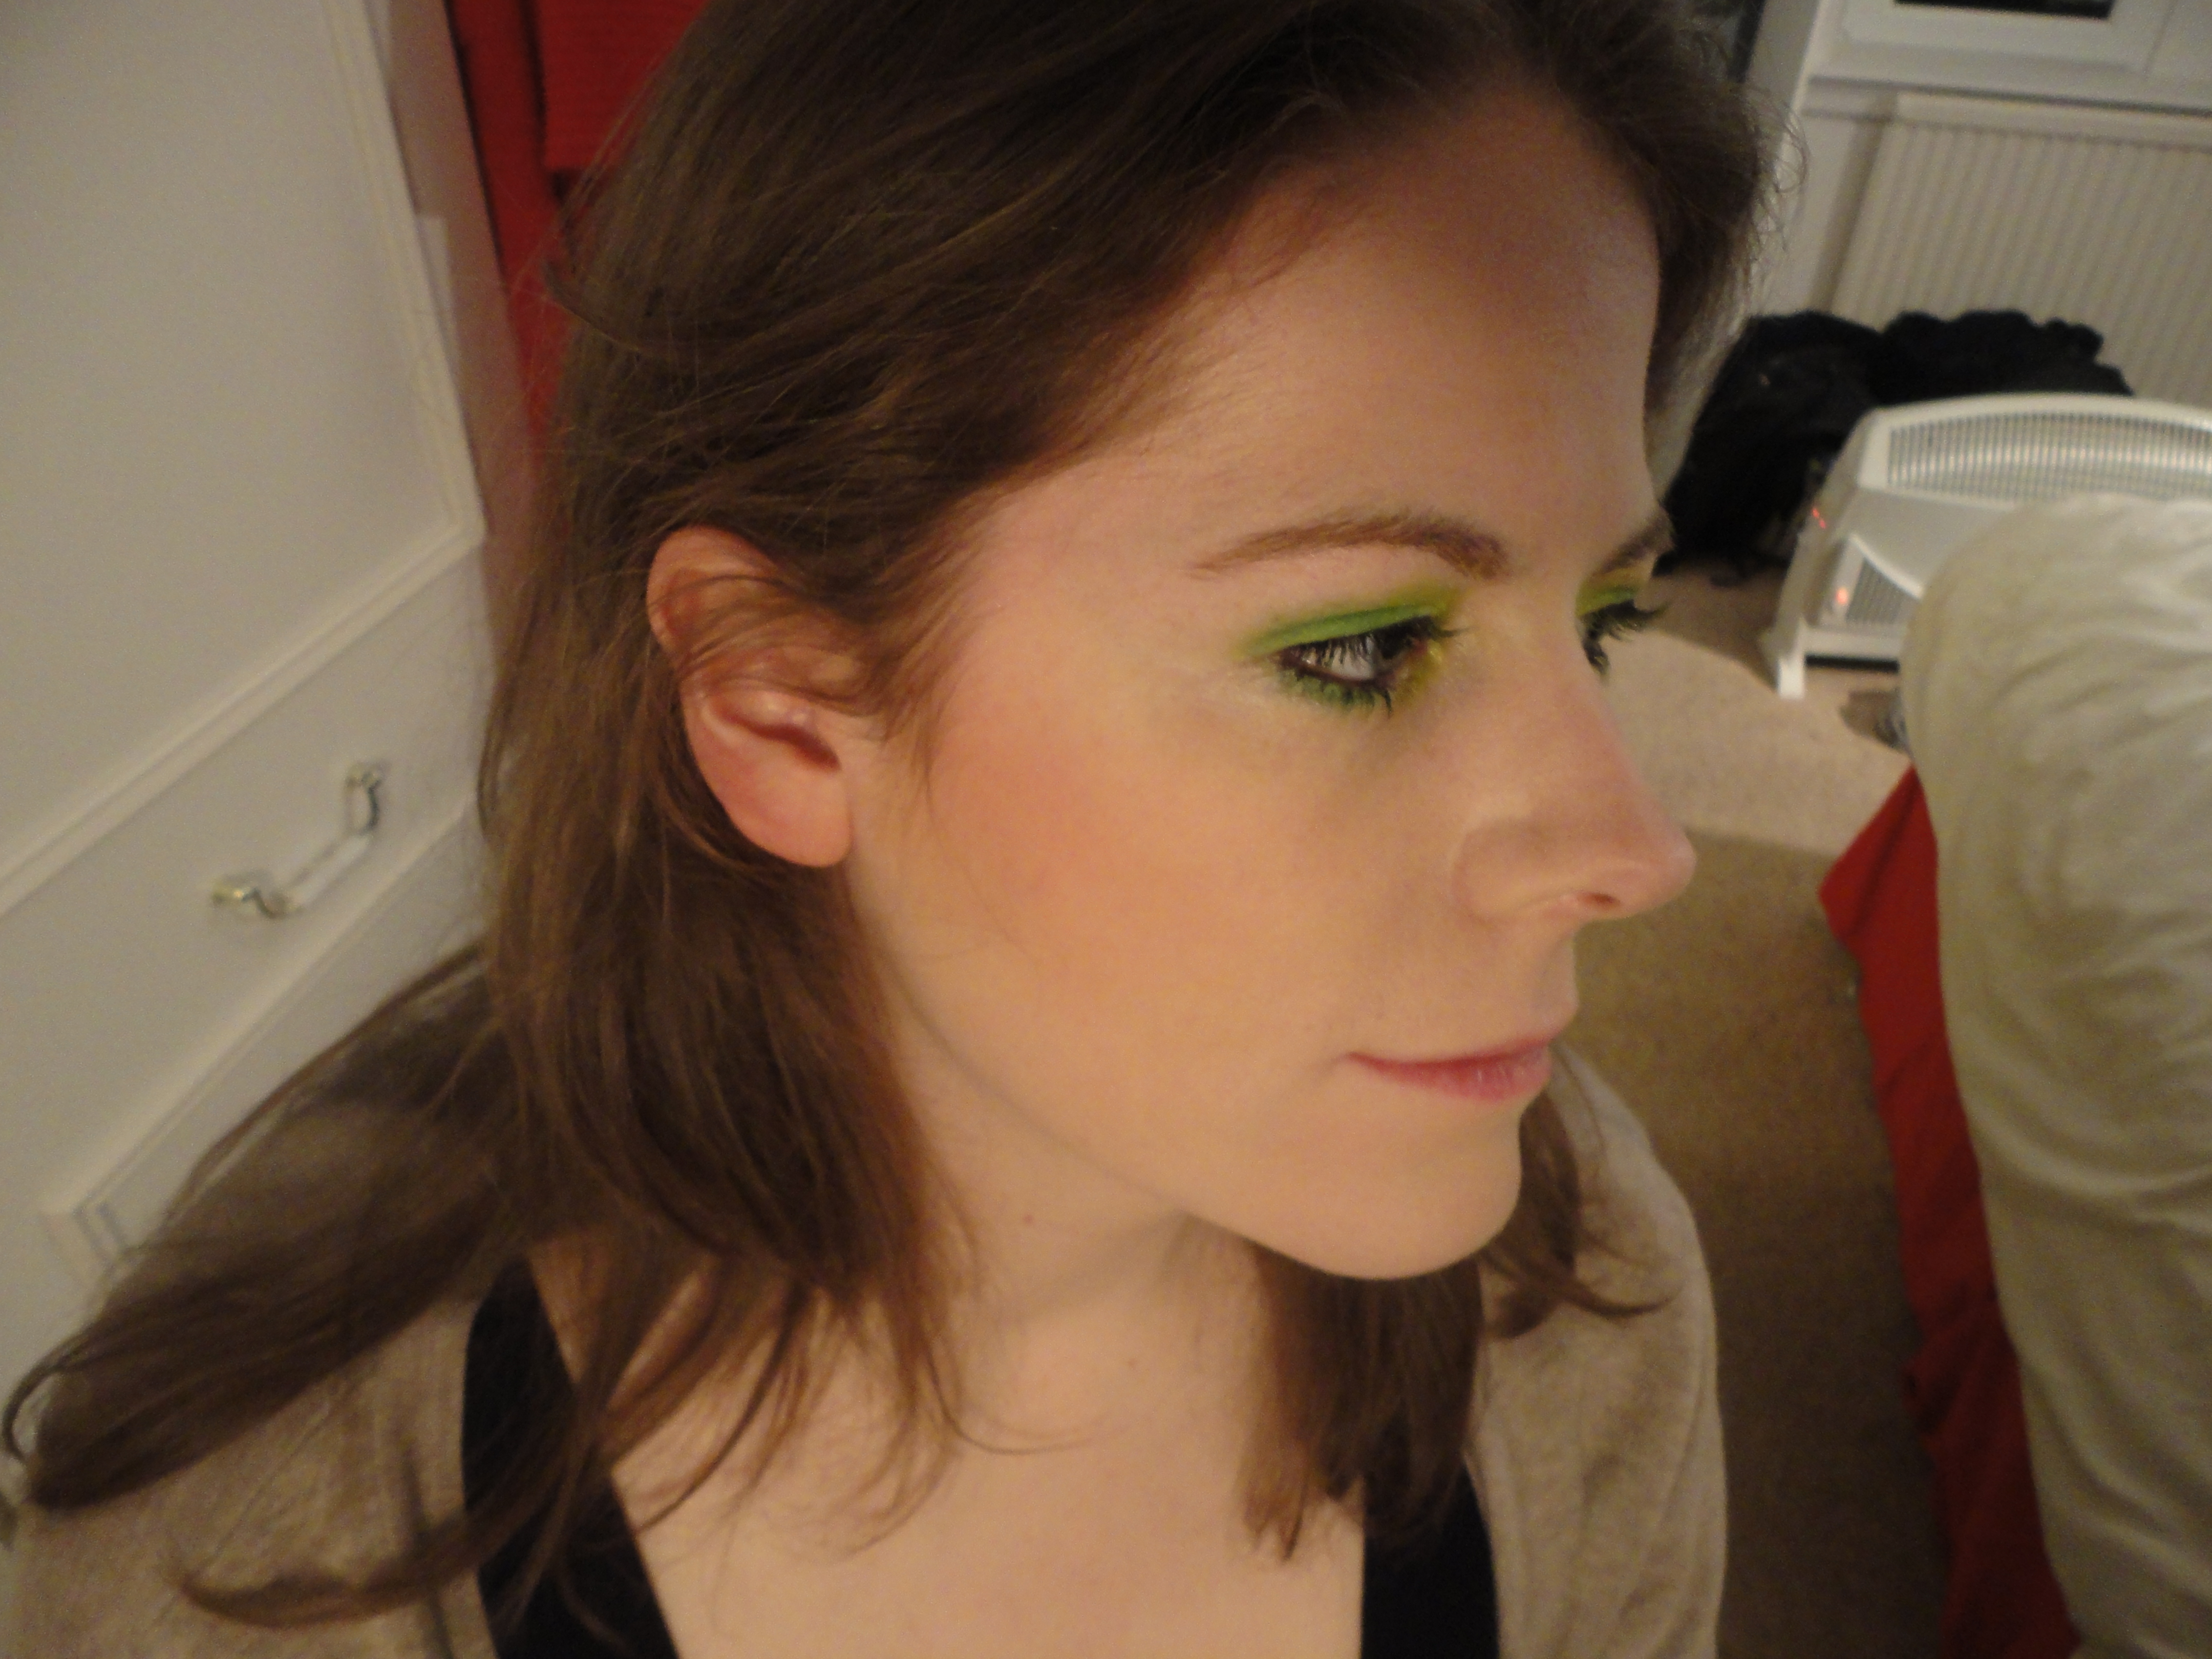
And now time for the budgerigar-inspired green and yellow smokey eye…
Using MAC Paintpot in Pharaoh, MAC eyeshadows in Wondergrass and Eyepopping and MAC Pigment in Chartreuse, it’s a standard smokey eye … but green! Woooo. The Paintpot creme eyeshadow goes on first to give the powder shadow something to stick to, intensifying its colour.
The darker powder shadow is in the outer corner of the eye and underneath, and the lighter shadow blended out from the inner corner with the glitter pigment applied on top. The pigment is messy (or maybe it’s just me), so I press it on carefully so it doesn’t go EVERYWHERE.
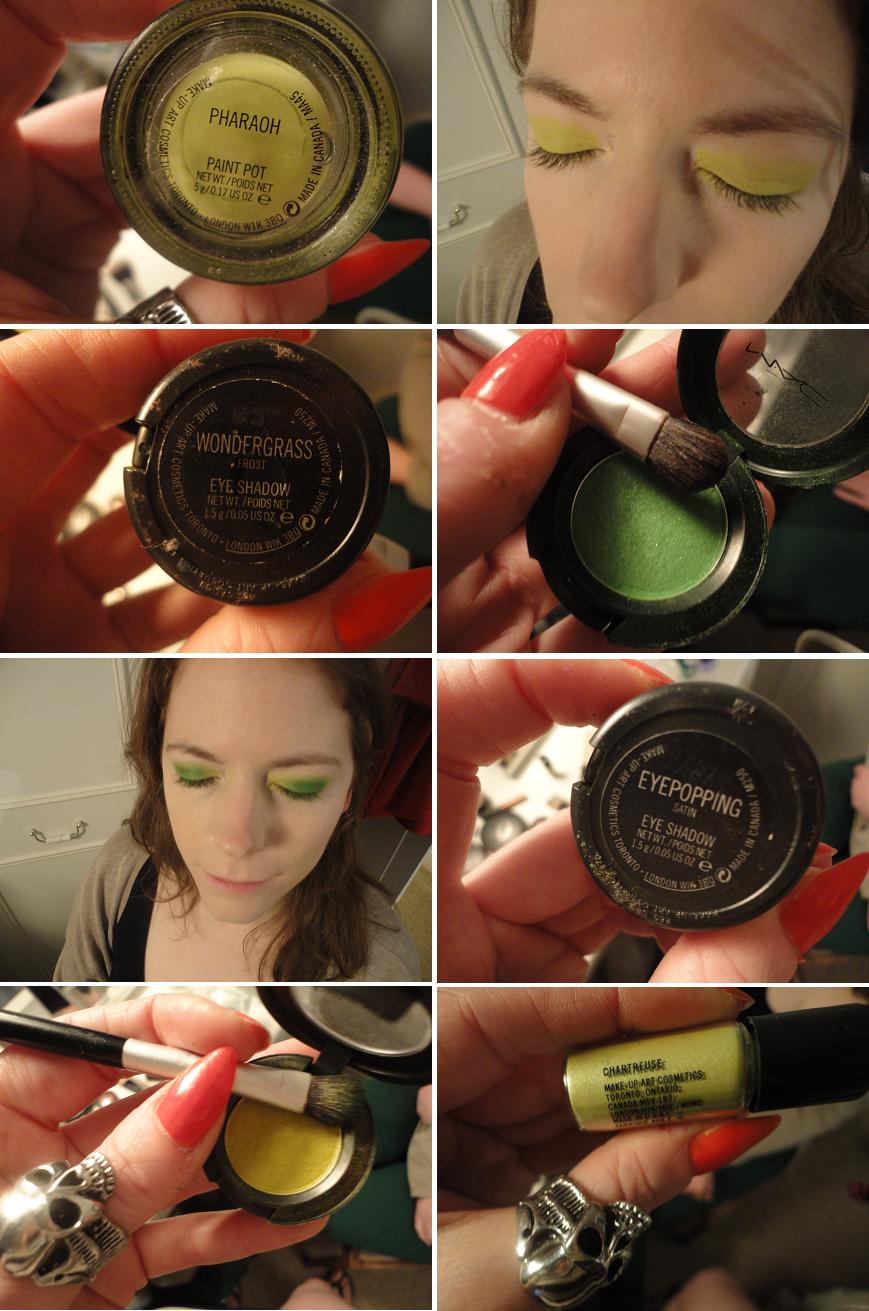
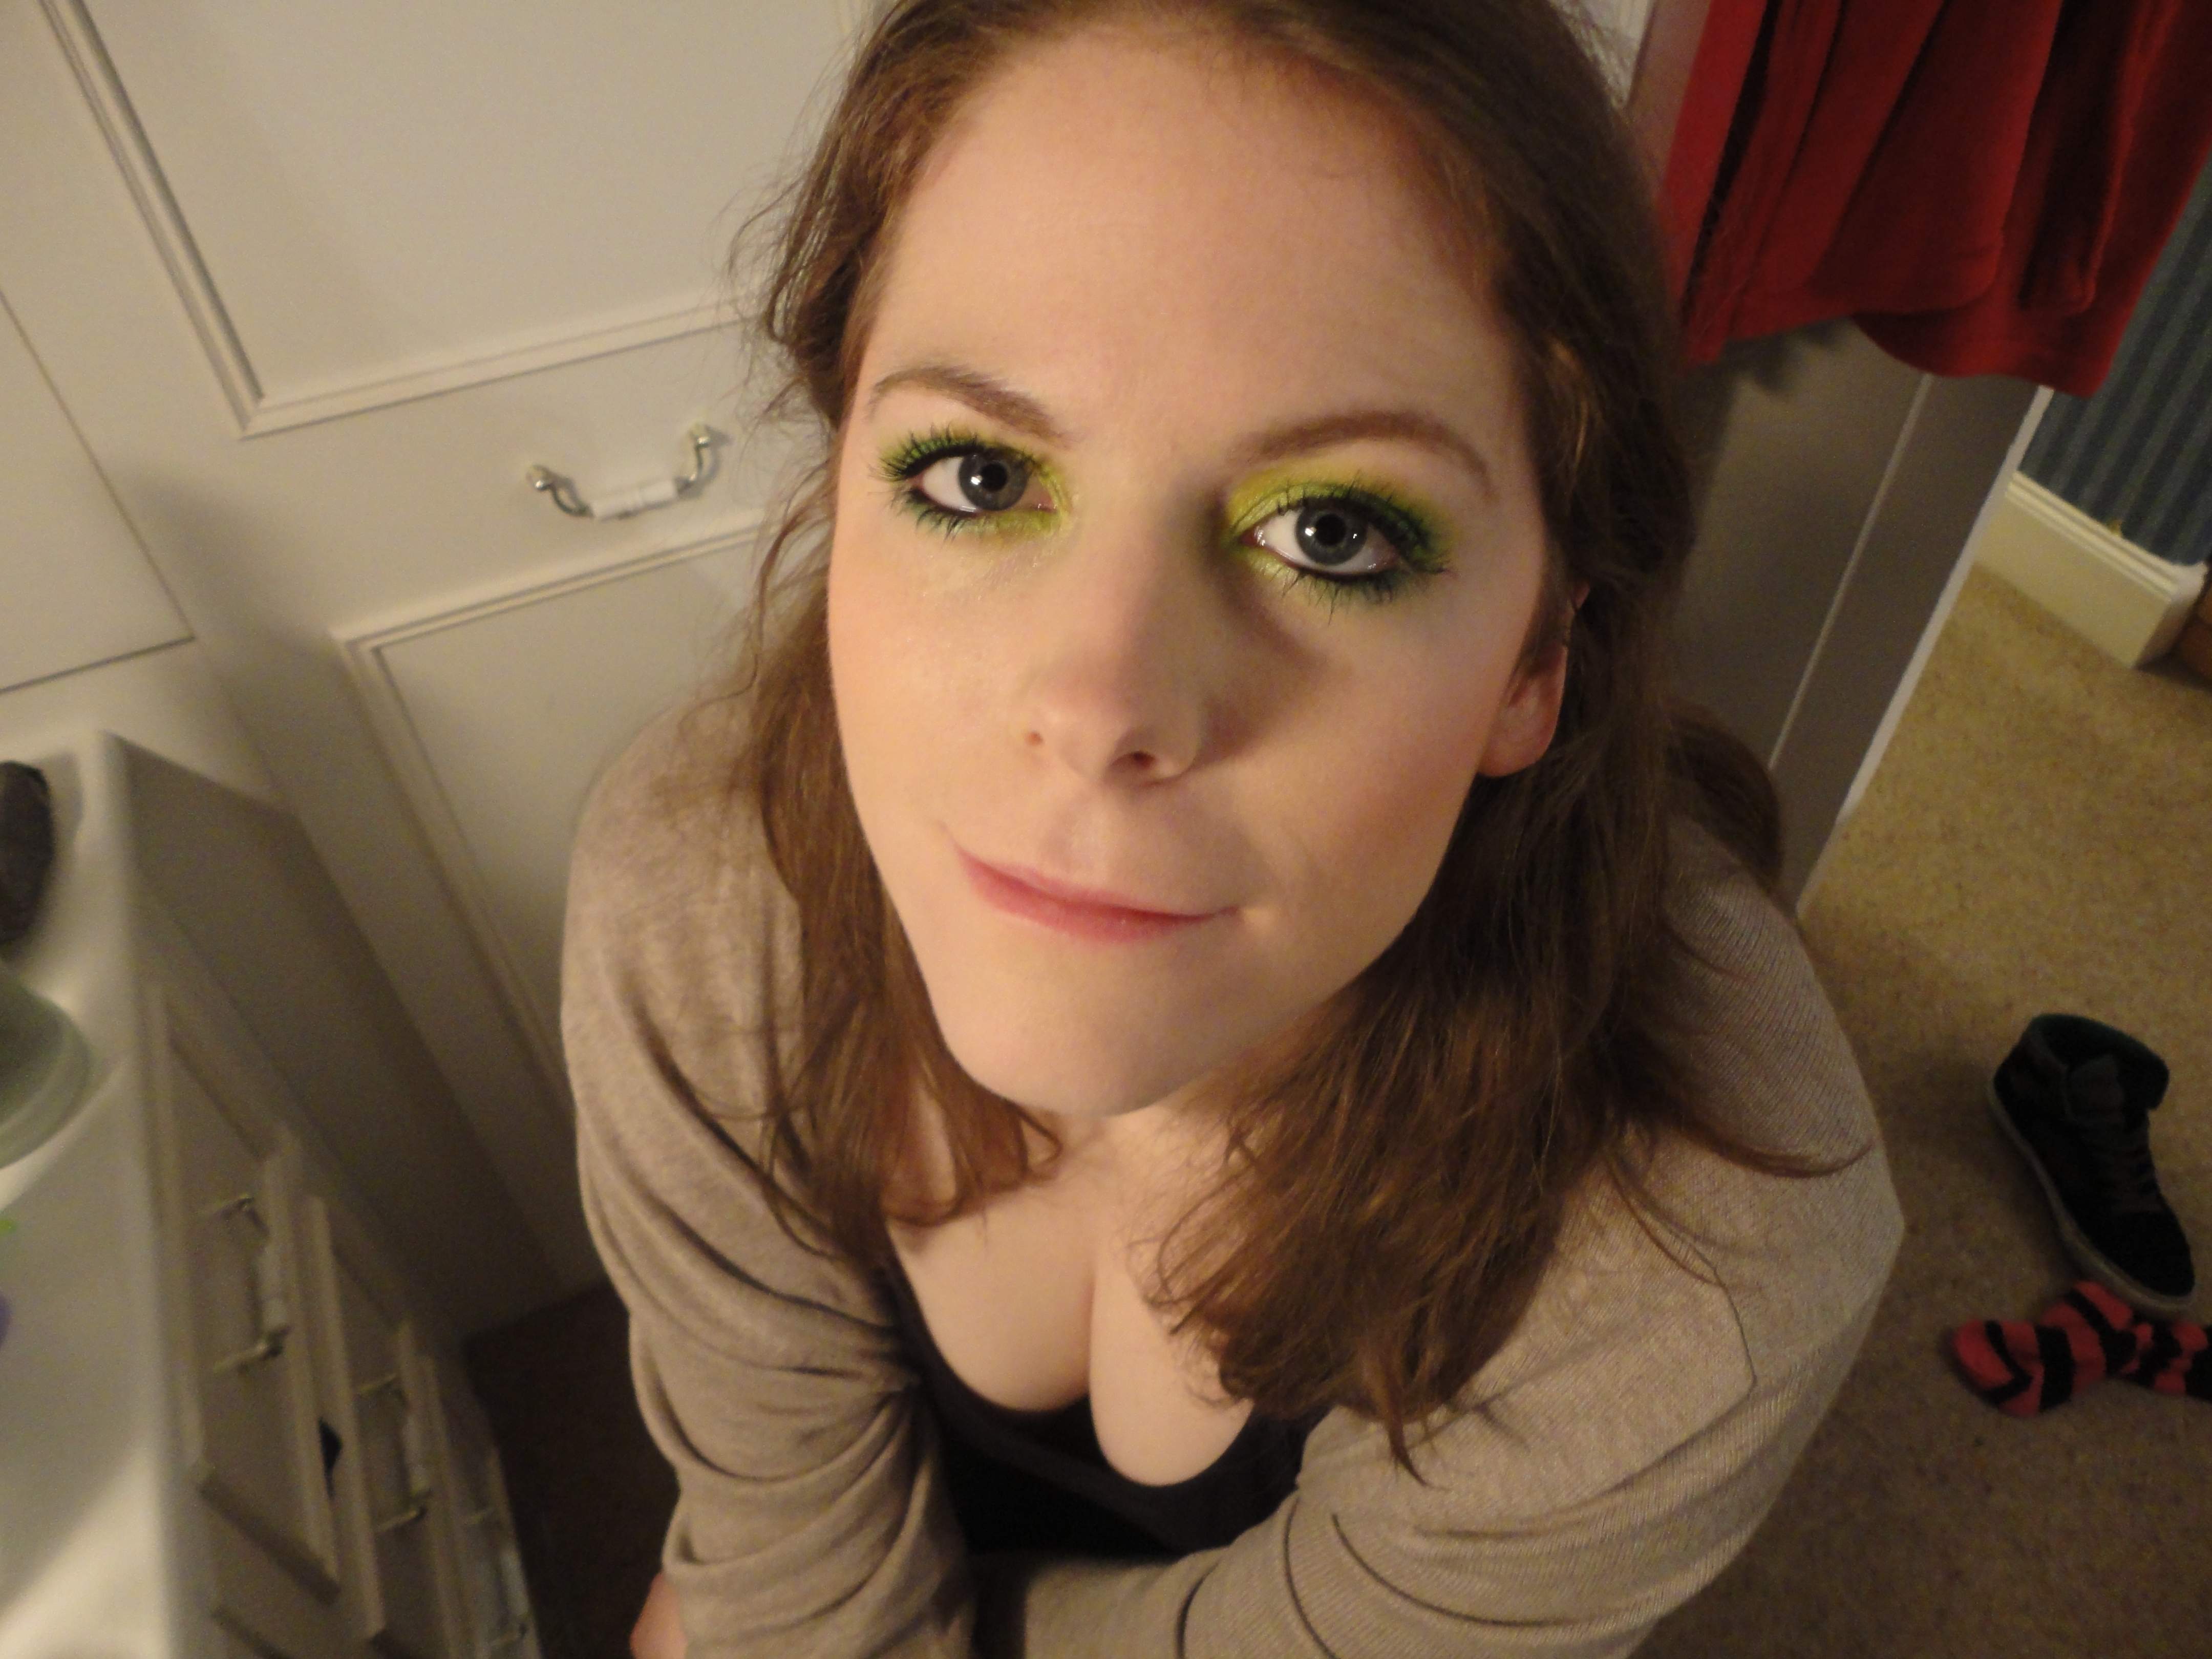
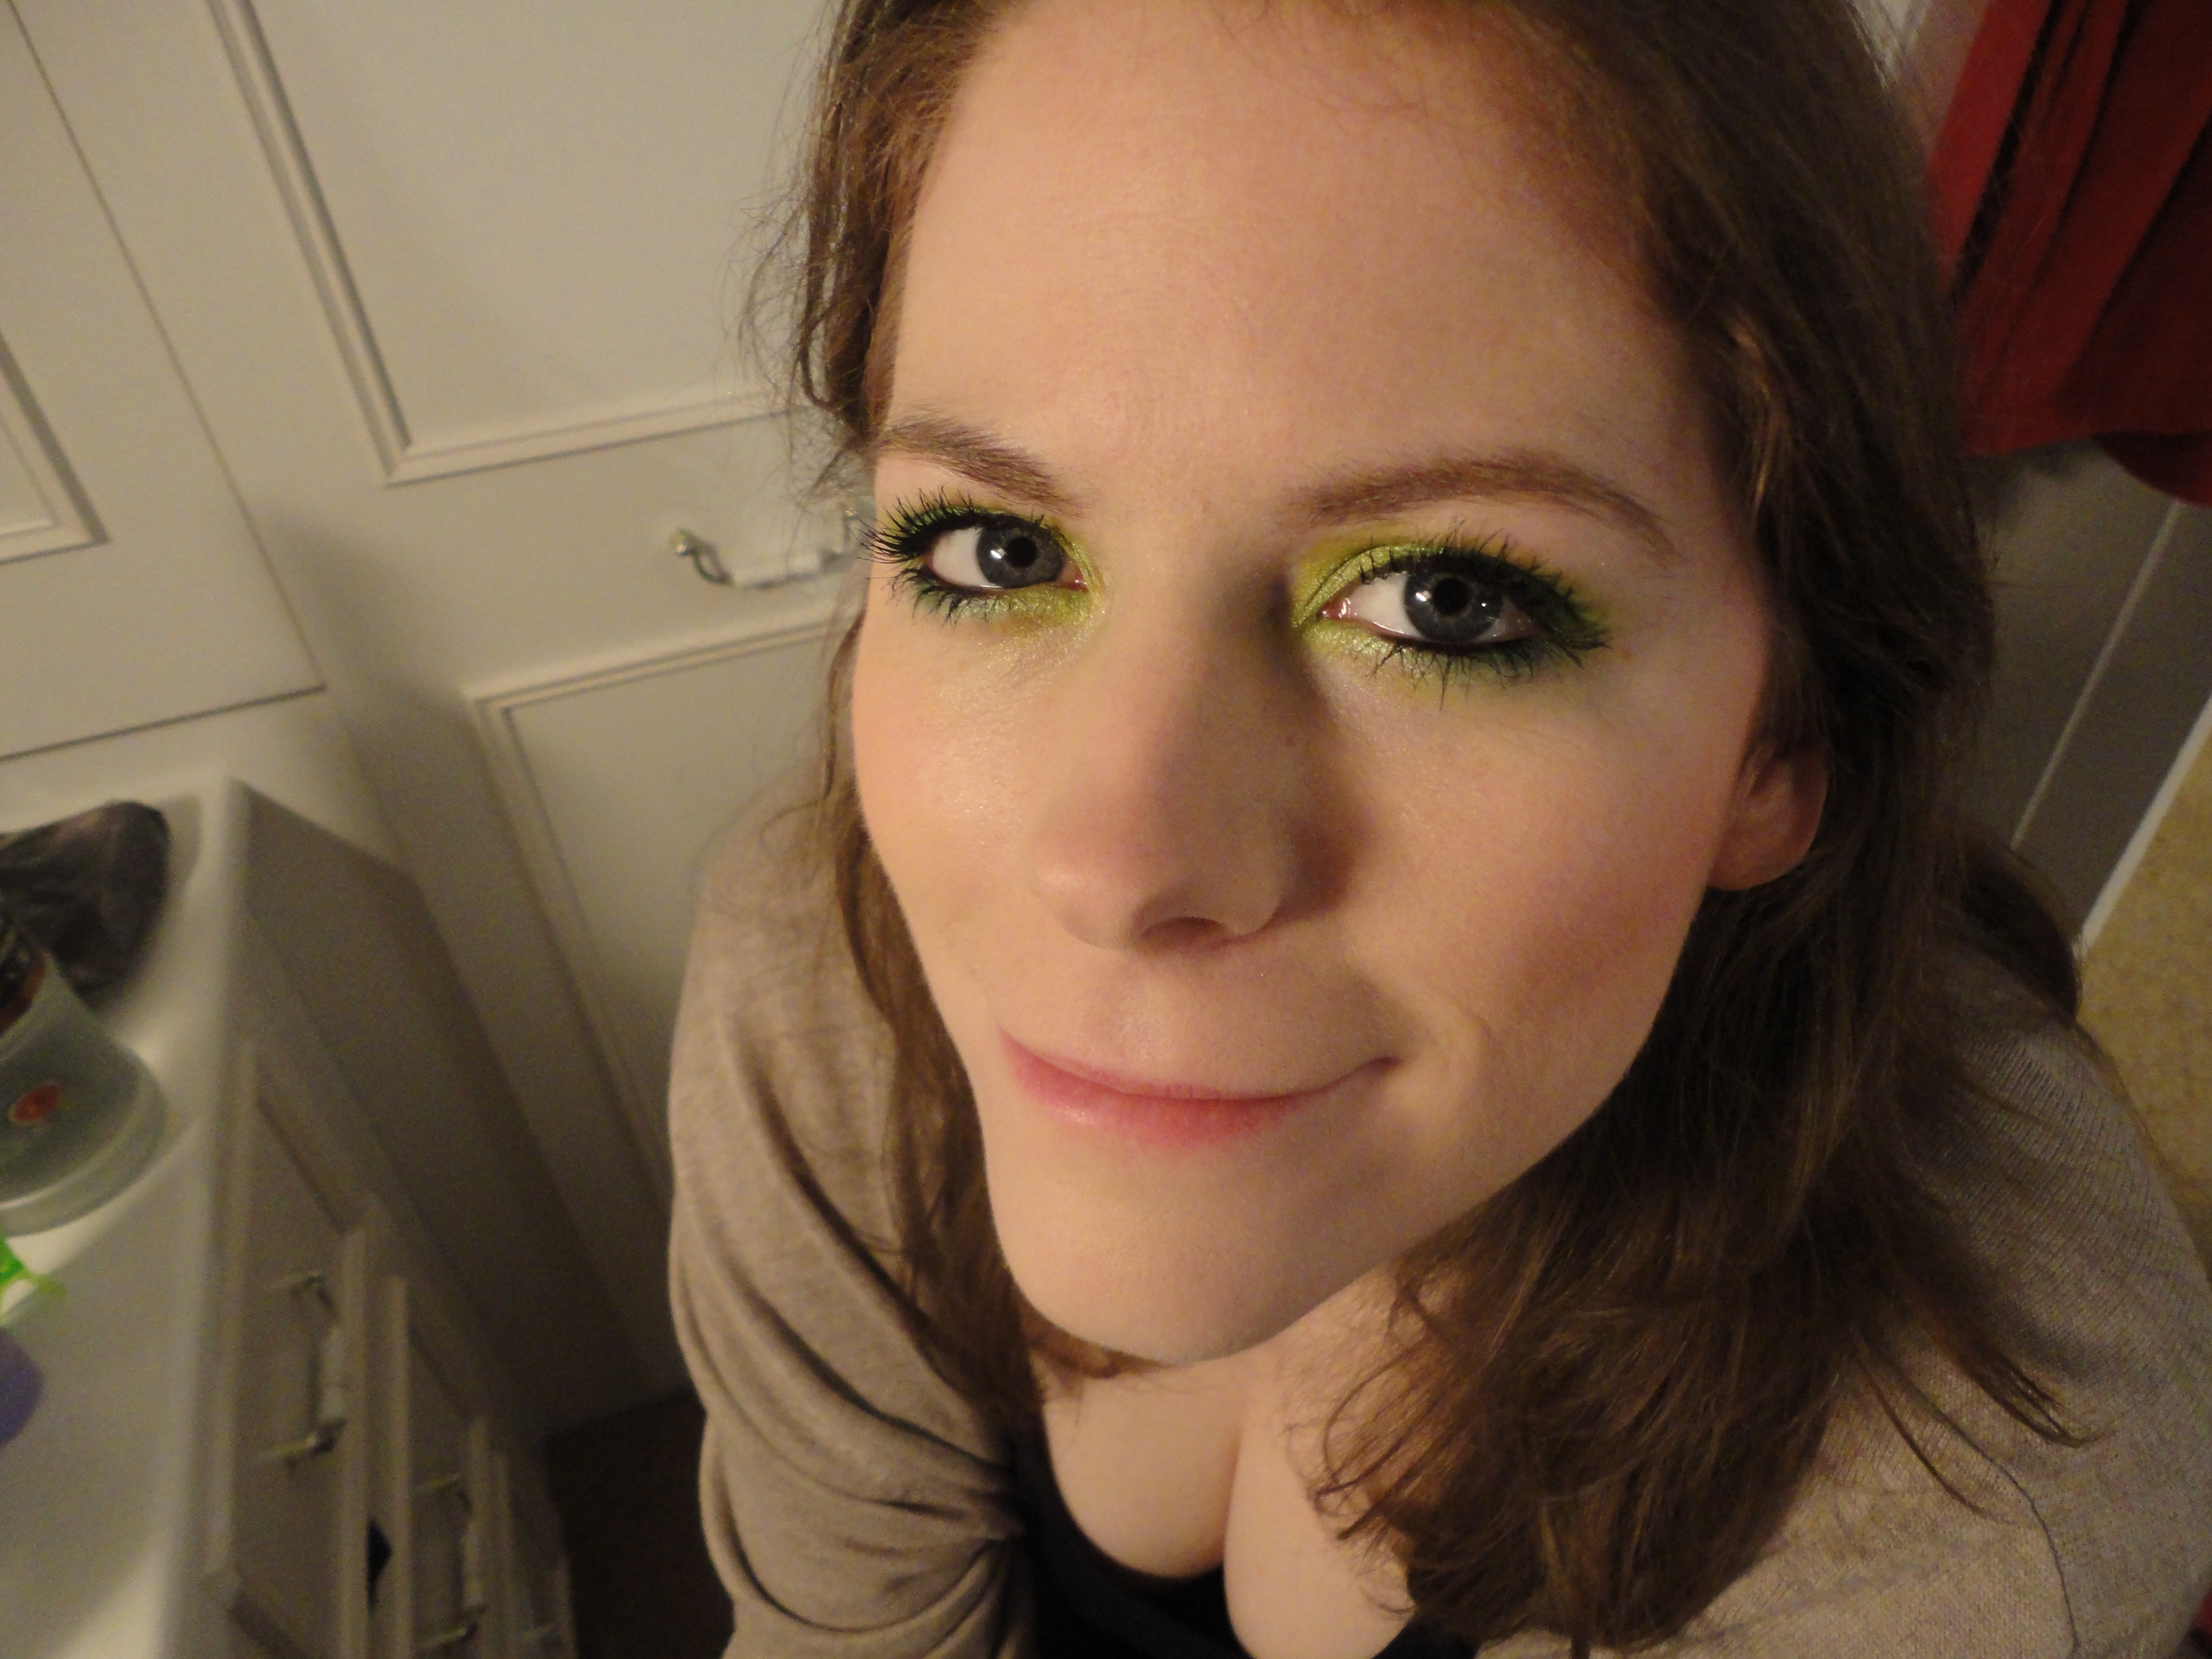
and now for the finishing touches, with MAC Hi-light powder (this is a limited edition one that I bought in Australia about 100 years ago, from the Dame Edna range – check the catseye specs on the front). I used two types of blush, because two types of a good thing at the same time is the secret to success.
The two blushes are a MAC matte peachy-apricoty powder blush in Goddess, and a dirt-cheap-but-one-of-my-faves Miss Sporty brand blush (from Superdrug for about a quid, from memory) that’s a very pale and just-sparkly-enough pink.
Eyebrows filled in with Maybelline eyebrow pencil in Dark Blonde, which is one of the best eyebrow pencils I’ve ever used – waxy, sticks to the hair not the skin, grooms perfectly. And it’s the right price. Wink.

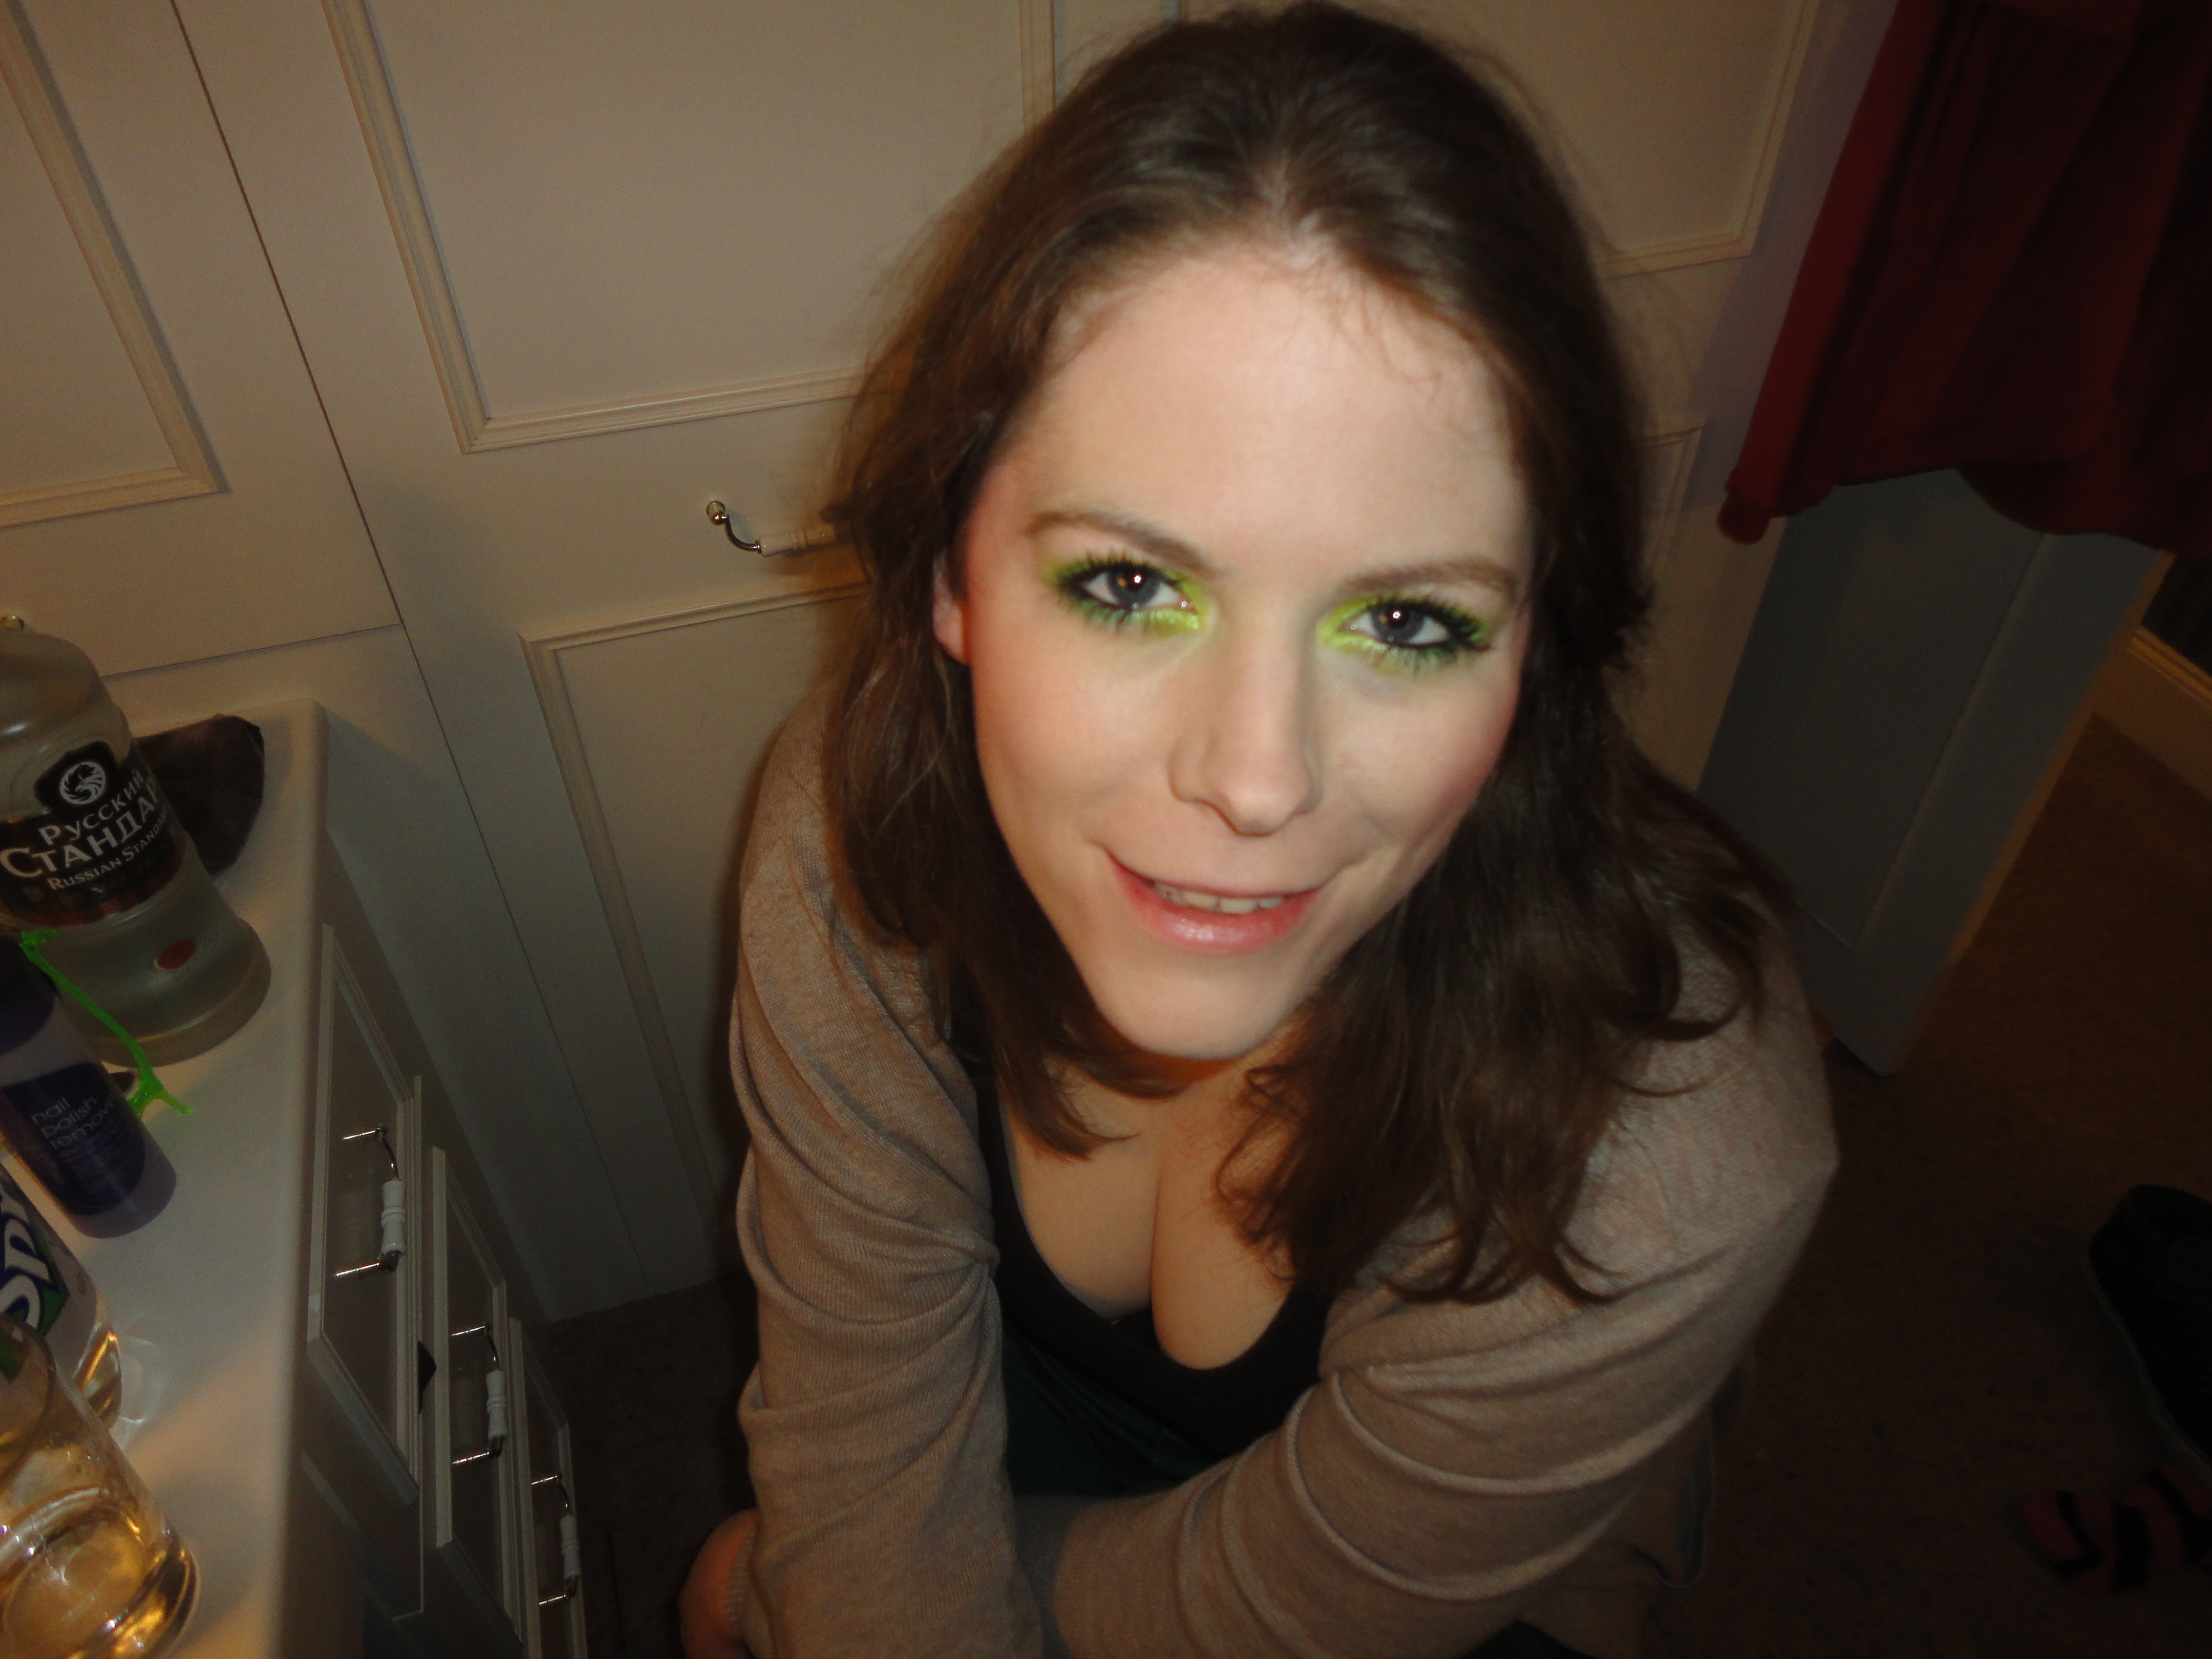
To finish, a bit of black eyeliner on the waterline and under the lashes (Chloe’s favourite part of getting her makeup done – NOT – but she is getting much much better at it). The best eyeliner I’ve used cost me 50p from Primark. The colour is INTENSE, it’s really soft and goes on like a dream, and lasts and lasts and lasts. They have it in brown occasionally as well, and when I come across it, I stock up. Recommended. The mascara is Maybelline Colossal Volume in black.
Isn’t she pretty?
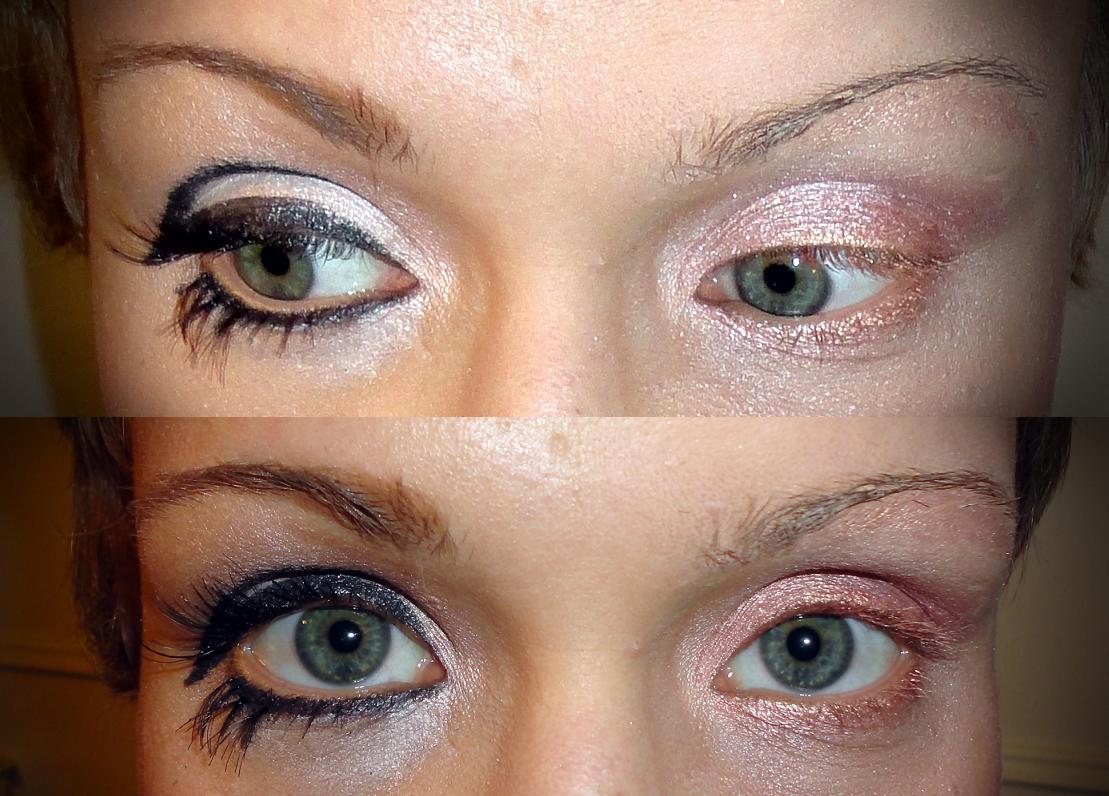
Agi is a big fan of the asymetric look. She often gets me to do a feature eye (just the one – see the pictures of her on my Introductions post), so today we did two different eyes. A graphic black and white eye which Agi has wanted to try for a while, and a ‘goldeneye’ that I have always wanted to do on Agi – she’s really blonde and I thought making a feature of her pale lashes would be cool. So here she is!
The black and white eye was done with MAC eyeshadow in Shroom all over the socket, MAC Paint Pot in Blackground, MAC Pigment powder in Vanilla between the top lash line and socket to make it extra white. Maybelline Colossal Volum’ mascara in black, and some Eyelure individual falsh lashes glued on with Revlon’s new Precision dark lash adhesive. Maybelline Master Shape brow pencil in Dark Blond and the Body Shop Lightening Touch 01 under the eyes. Her lips are MAC lipstick in a shade called 15 Minutes which from memory was part of the Andy Warhol limited edition, so not available anymore, although their shade Scanty is similar.

The goldeneye was done with my lovely, shimmery new creme eyeshadow, Maybelline 24HR Colour Tattoo in 65-Pink Gold. (I’ve also got it in 35-On and on Bronze, which is great for blue eyes). It’s all over the eyelid and slightly above the socket, applied with a concealer brush because my nails were too long to get into the pot with my fingertip. Agi’s golden lashes (top and bottom) were done by coating them with MAC Paint Pot in Rubenesque, also used on the brow bone to highlight. This photo doesn’t really capture how it looked in real life unfortunately; it really suited her olive skin tone and brought out the colour of her eyes.
Both eyes looked cool however if we’d actually been going out, rather than just doing two completely different eyes just for practice, I’d have matched the graphic black and white eye with something a bit stronger on the other side to balance it. The goldeneye would be good for some kind of ethereal dress-up. Angelic 🙂
What do you think?
I like skeletons. I have skull-motif everything. If it comes in a bones version, I’ll take that one. It’s no surprise, then, that one of my first major Halloween face-paint undertakings was skull makeup.
First I hit Google images for some guidance; quite often I’ve got no clue how to actually execute these brilliant ideas of mine. I’ll admit it… I’m very ‘inspired by’. Luckily, there’s the internet, just brimming with ideas to be pinched, mixed together and re-done. There are some fantastic ideas out there… check out this and this and this!
So after a LOT of research, I pinched ideas from basically all of them and got busy. I really liked the idea of vertebrae painted on the neck, and I wanted the teeth to be the main detail/feature. Alewyn lent me his face to practice on:
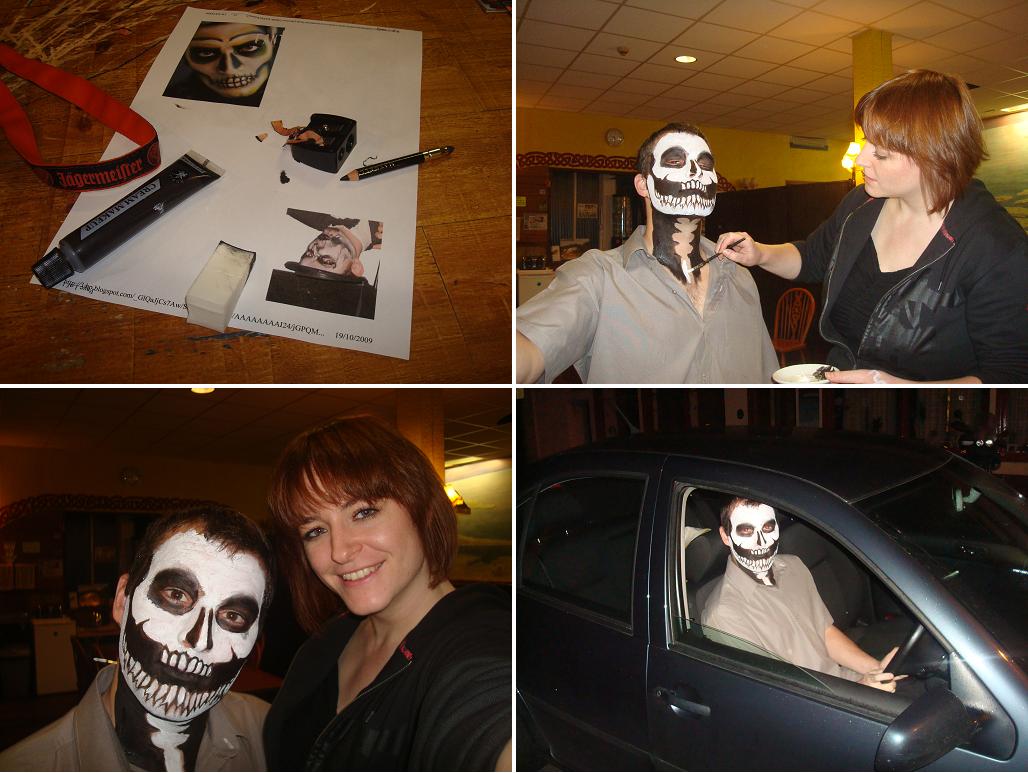
…which I was pretty happy with. Not bad for a first attempt. Here’s my second attempt, on myself:

… and in negative, X-ray style.
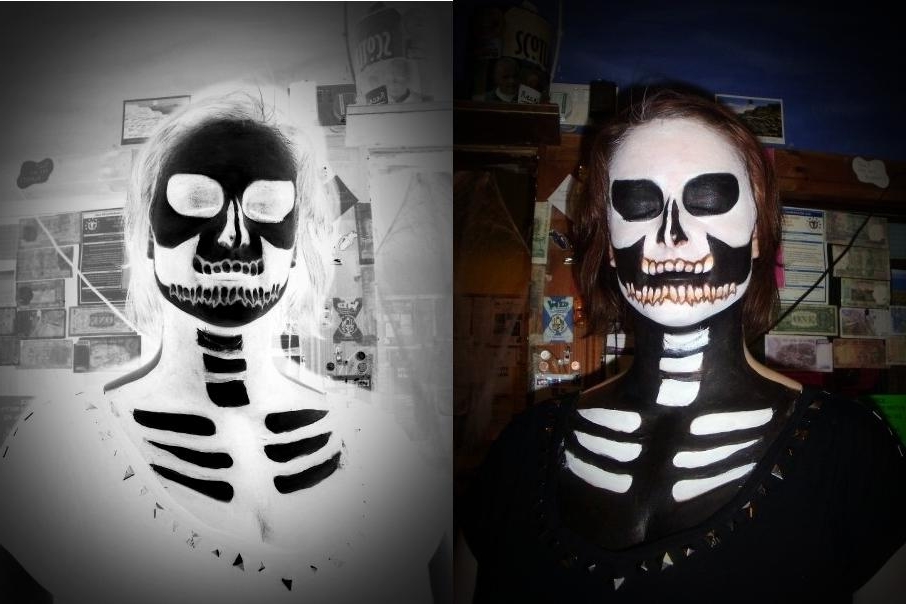
I actually like Alewyn’s better. No one recognised me, which was my secret goal, so still a good effort. Here’s what I used to do it:
Oooh, now I’m inspired to do another skull-face again soon. These photos are from Halloween 2009 I think… so it’s long overdue. Next time I’ll be using my newly-acquired Illamasqua Skin Base Foundation (Shade: SB01) which gives a good translucent ghost-pale. Set with universal/colourless finishing powder so black and grey powder can be used to create hollows and shadows, make it a bit more 3D.
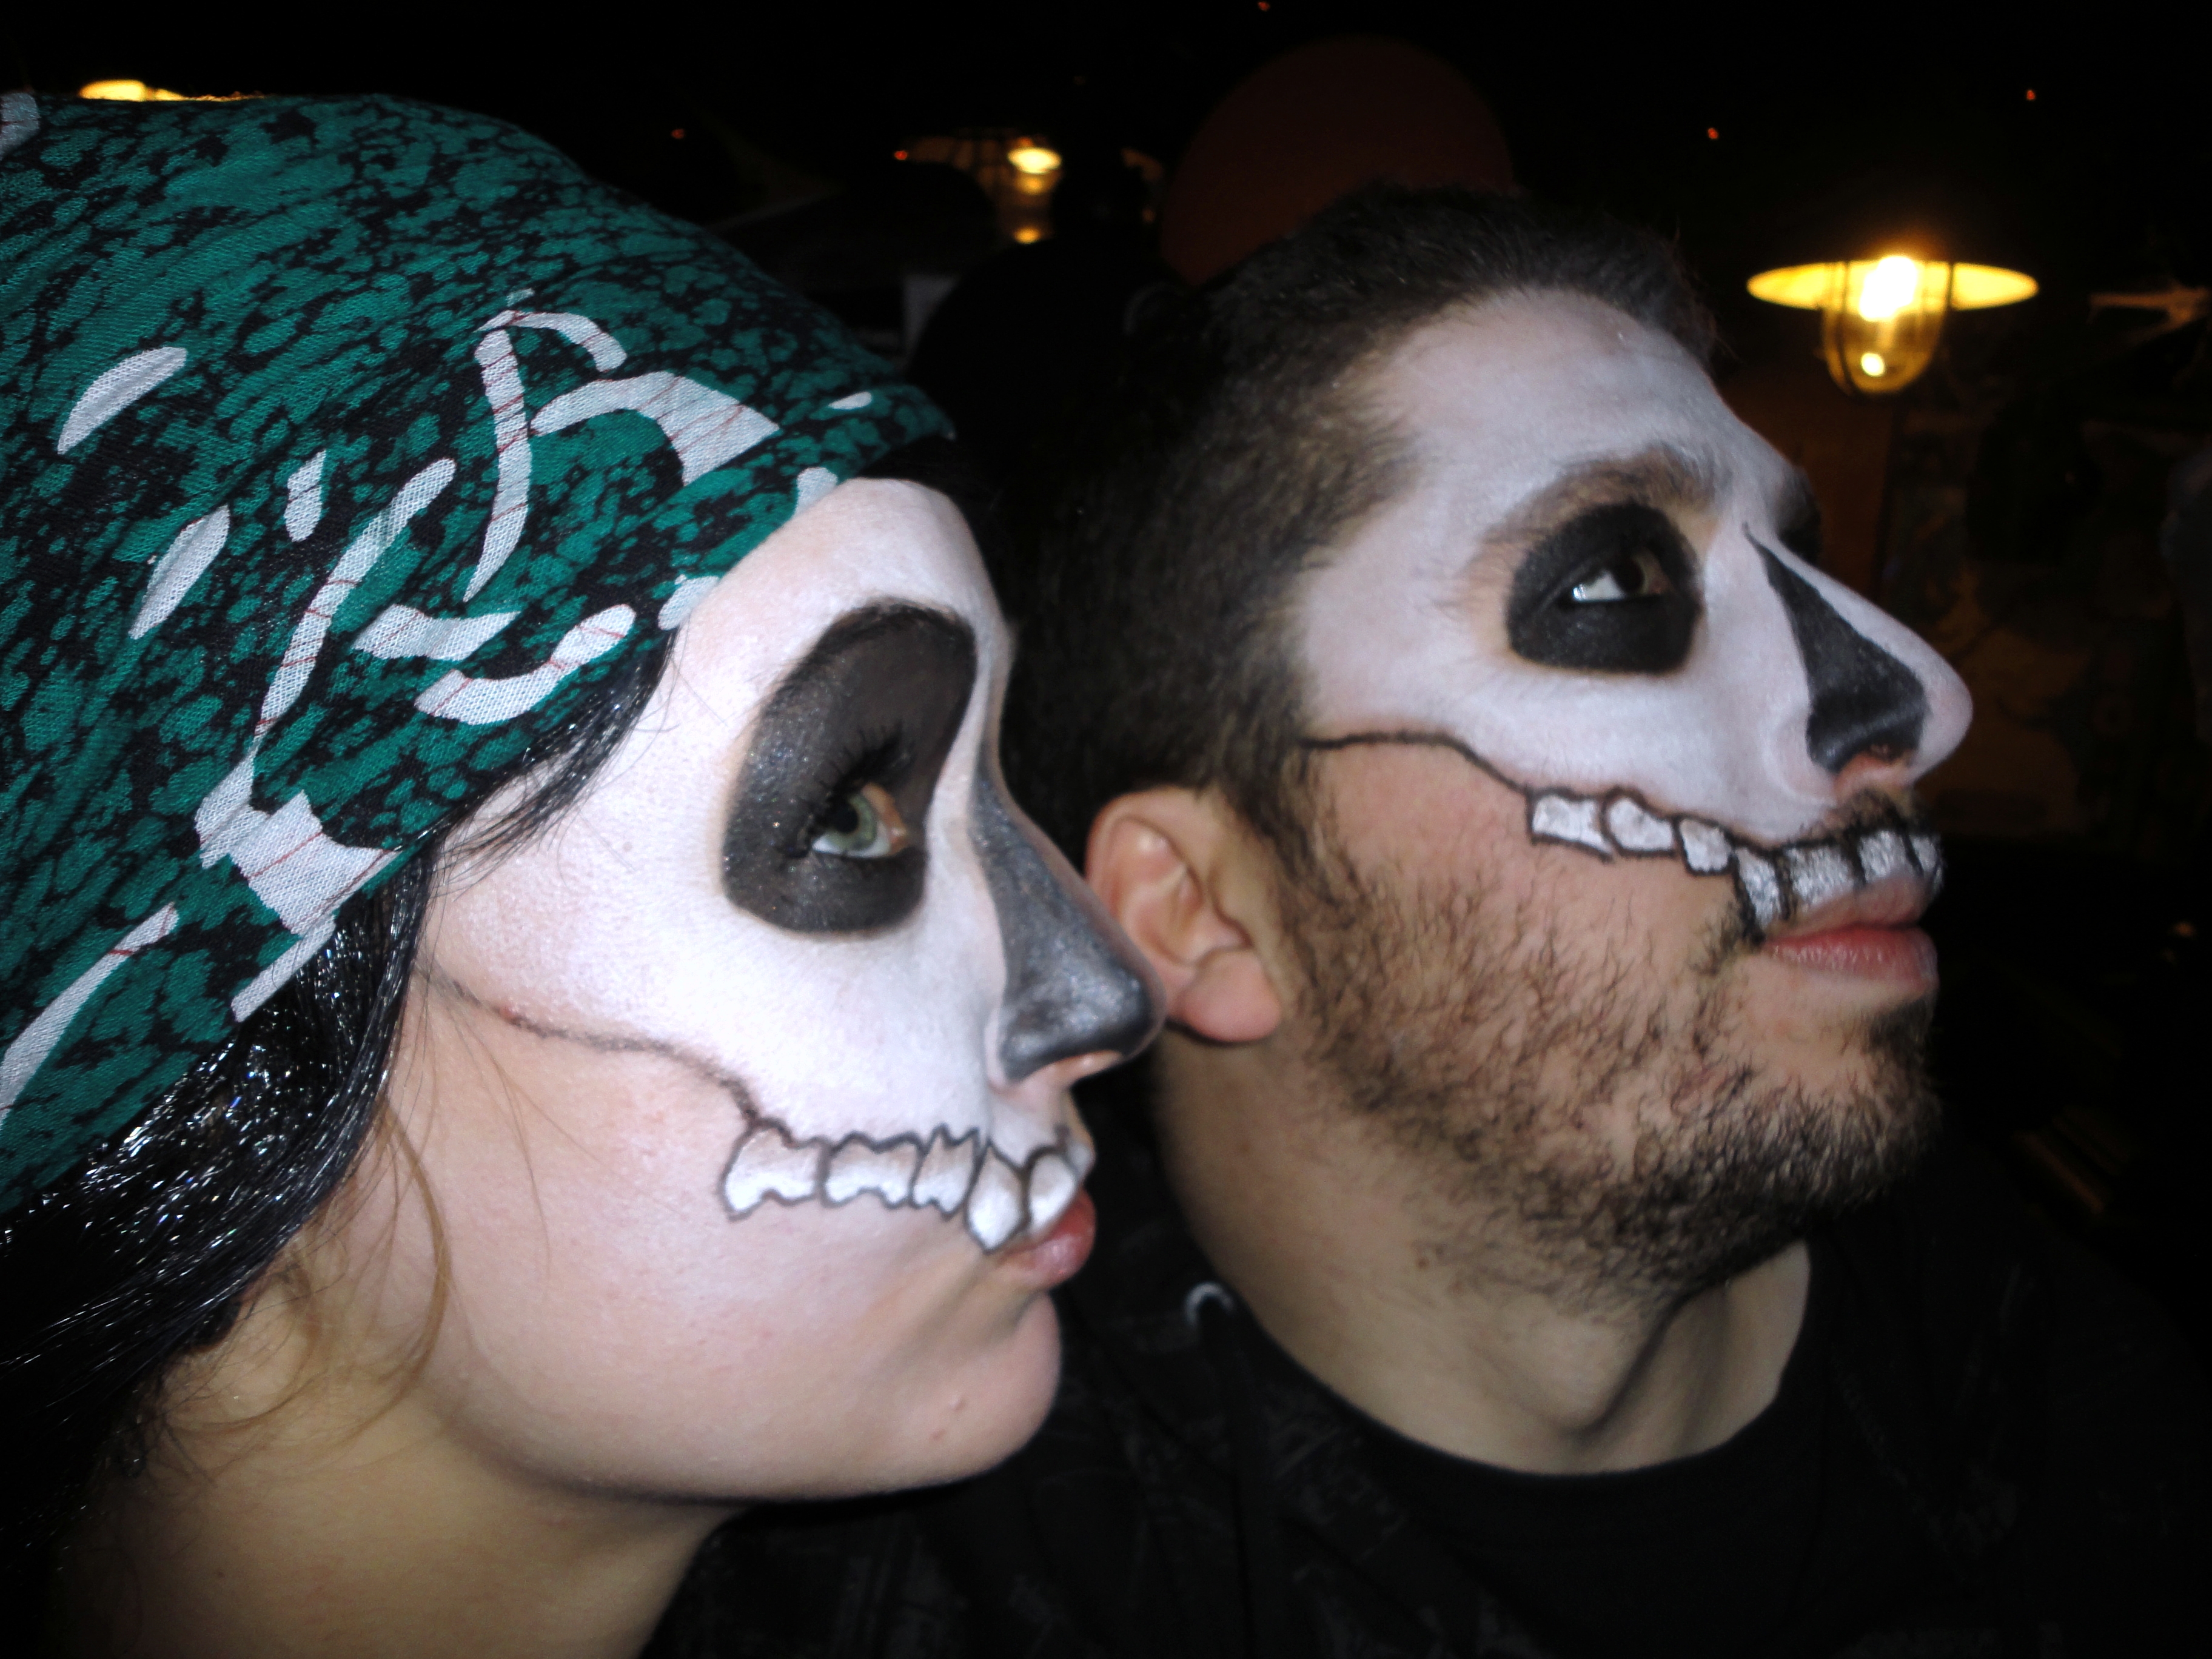
Since we’re here, here’s Agi and Paul, both with a quarter-face skull done by me for Halloween 2010. Looking at this photo now I am going to guess (cos I can’t remember) that the black in the eye sockets and on the nose is MAC Paint Pot in Blackground, and the white is Snazaroo Clown White. By the by, Clown White is more comfortable to wear and doesn’t flake as much as cream makeup, and you can build it up as you want it (you can see it extends down to the jawline on Agi, and is much more opaque from the teeth up where I’ve put on additional layers). So for whitening up a bigger surface, I’d recommend it over cream makeup, even though it’s probably not as opaque even when it’s on nice and thick. It’s just less likely to become dry/uncomfortable, and crack up. Anyway, here they are:
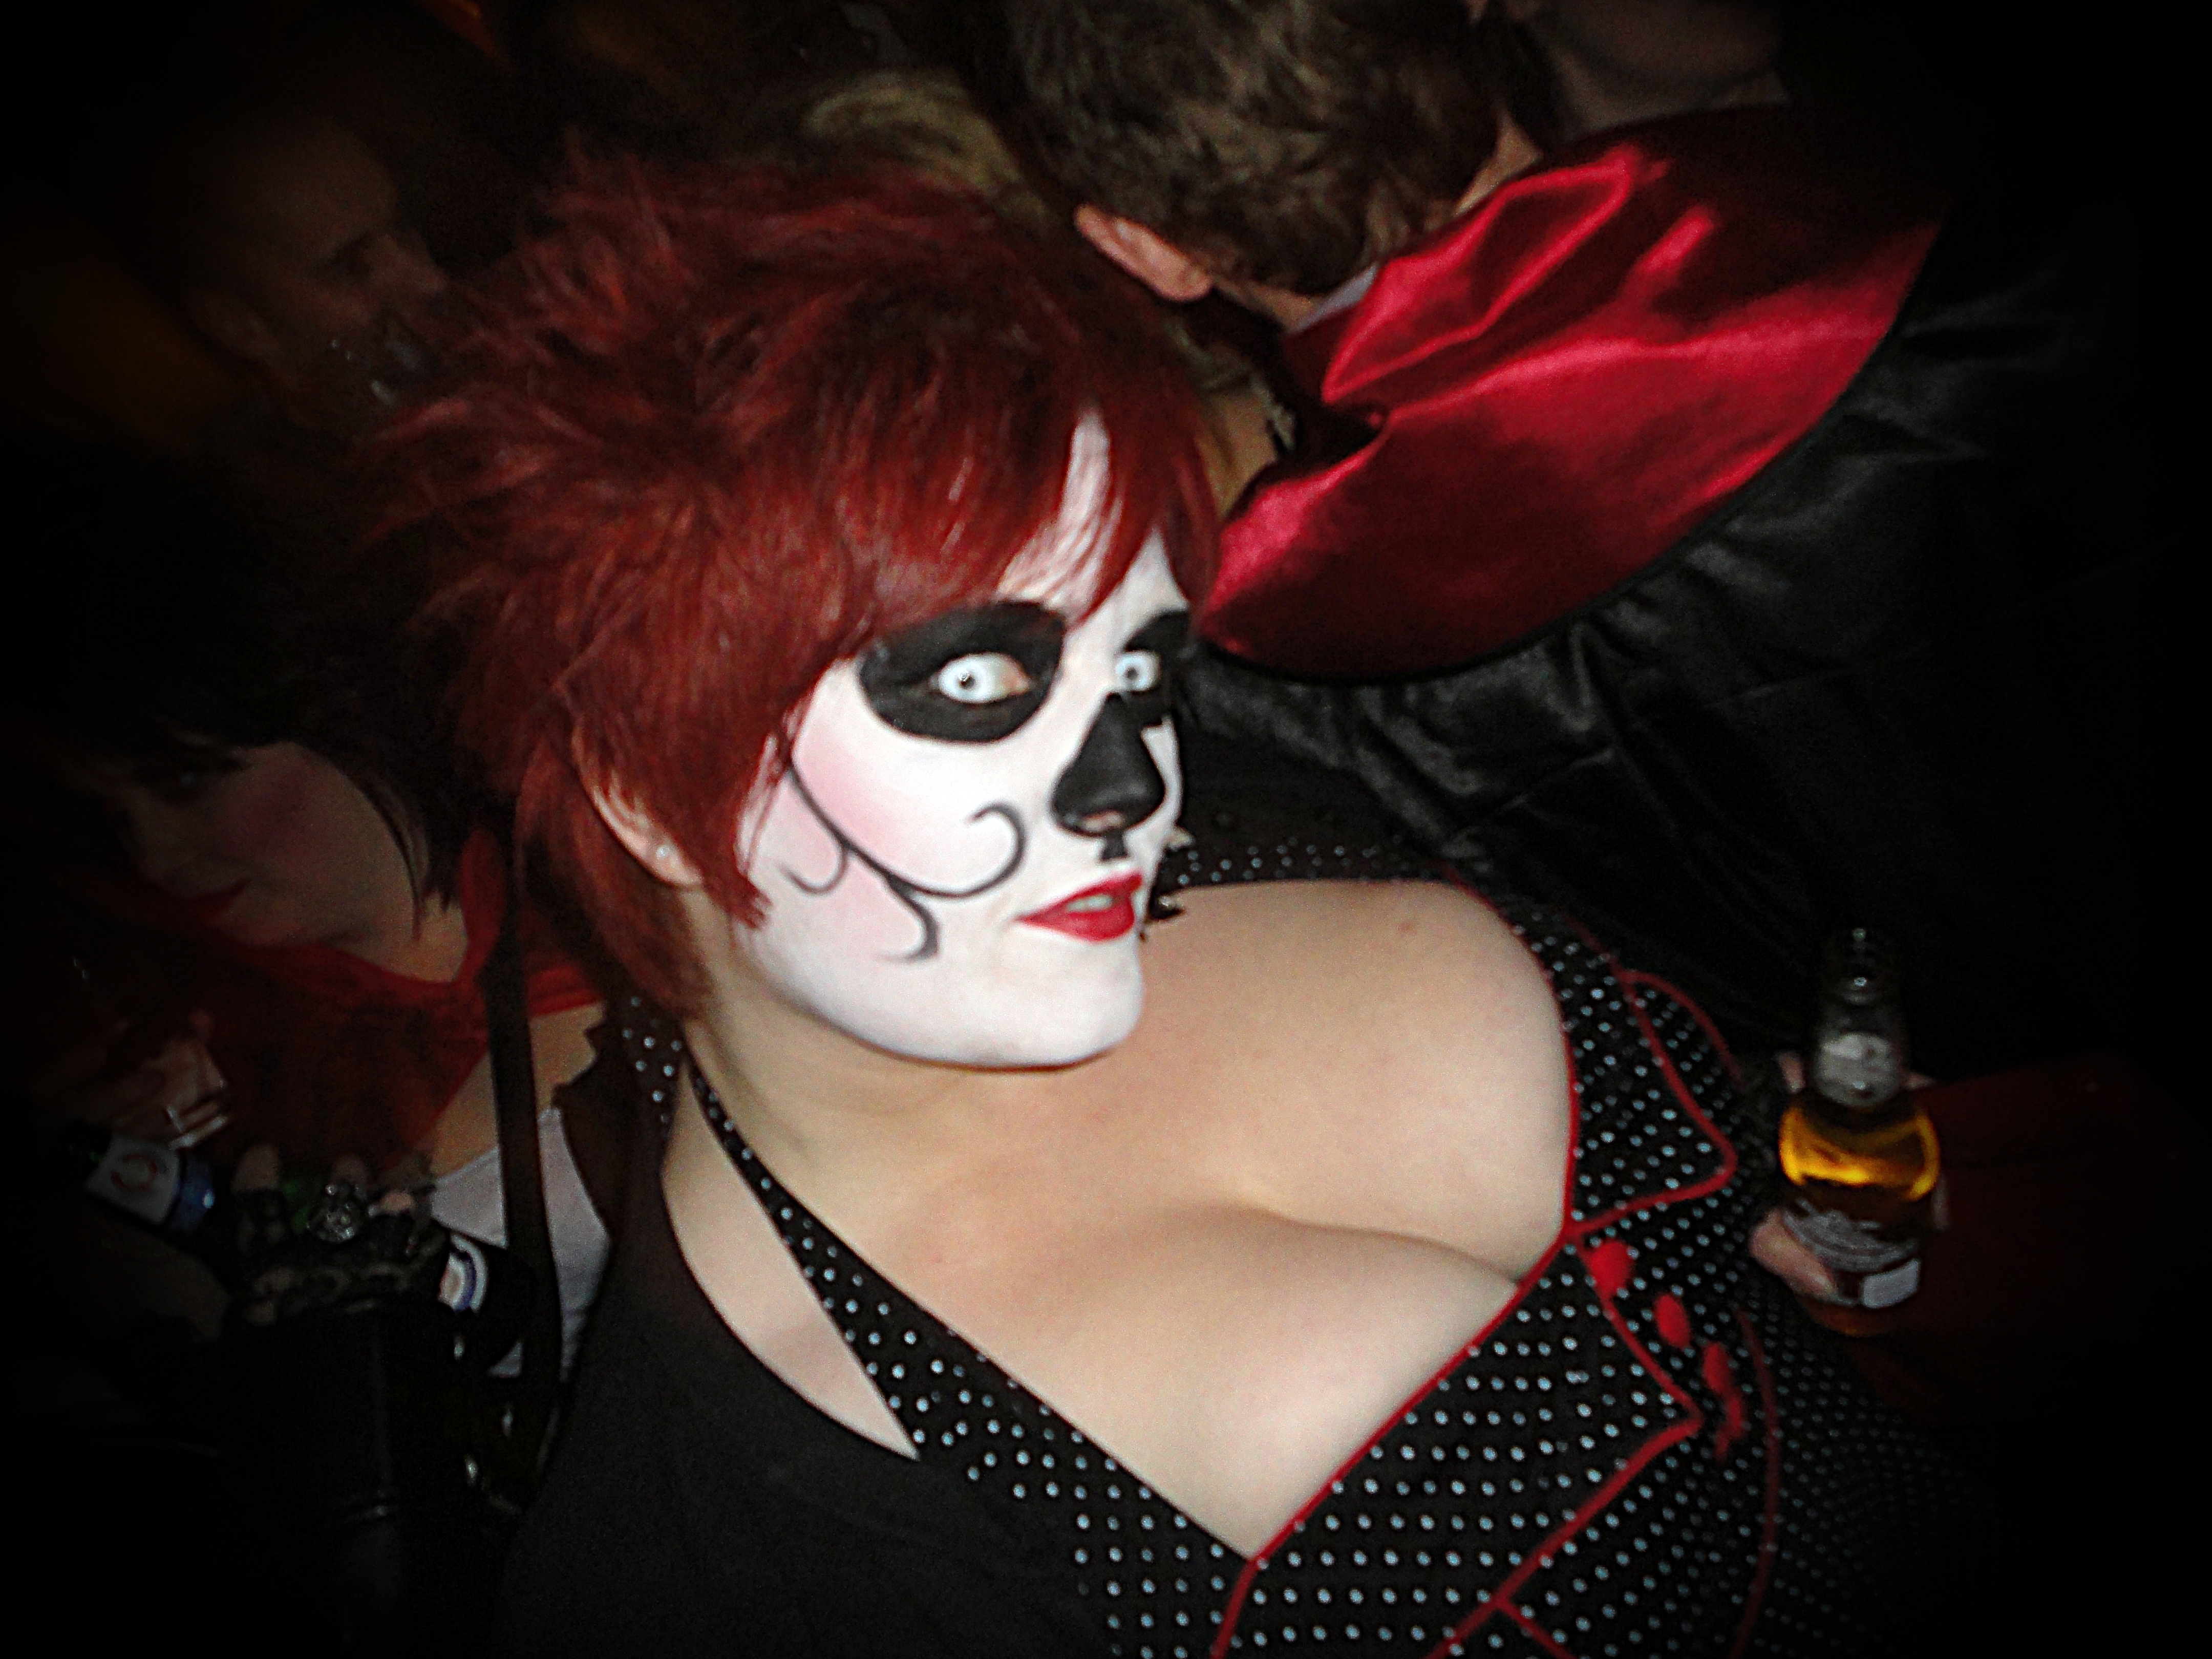
… and from Halloween 2012, here’s my friend Joy looking amazing as a sugar-skull. It wasn’t me that did the makeup, but I love her look; the cherry-red hair and white contacts, wow –
So there you have it, boys and girls. Skeletal fun. Stay tuned for further adventures in the underworld, this is one of my favourite faces to do so it won’t be the last you see here 🙂
